
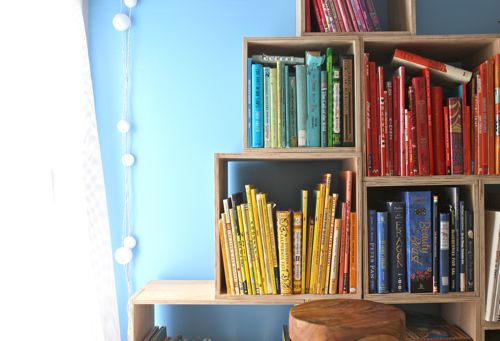
Here is a tutorial for the DIY Crate Shelves we used in the reading loft in our home in California. The inspiration for the shelves was this image. I like that you can see through them and get a glimpse of the wall color behind. And I like that there are various sizes. At first, I did a search to see if I could find a similar product to purchase, but I wanted more control of the exact dimensions of each box. So I concluded making them was the way to go.
We worked with a handyman/sculptor, Alex Oslance, for some of the small projects around the house, and I hired him to help me with these. It’s a huge bonus to me that he’s a sculptor, because it means he has an excellent eye for detail, and he’ll brainstorm solutions with me thinking as both an artist and a builder. And brainstorm we did!
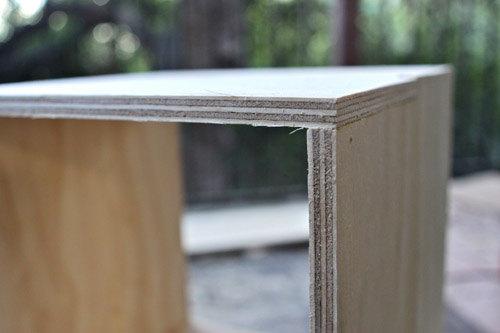
I determined I wanted to use 3/8 inch thick plywood, but Alex was concerned because that was thin enough that the boards could split if we screwed them together. So I considered the thicker plywood, but it just didn’t look right — the proportions were off — too heavy looking. So we discussed ways to make the 3/8 inch plywood work. We looked at metal brackets and all sorts of fasteners. Then happily, Alex came up with this smart format.

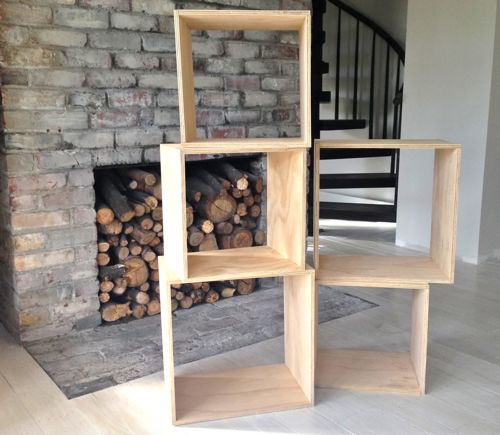
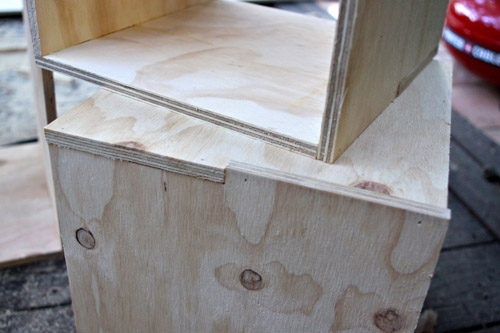
Notches were cut out of opposite corners of each box piece, then the pieces were fit together. Simple and brilliant! Interlocking the cubes this way adds stability.
And I love that we don’t have to mess with the simple profiles of the boxes by adding protruding hardware.
Want to make some DIY Crate Shelves of your own? Then, let’s get started.
DIY Crate Shelves Tools
I would say this is an intermediate skill-level project. Ideally, you have access to a table saw (though anything from a skil saw to a table saw can work), a jigsaw, and a palm sander with 120 grit and 220 grit paper.
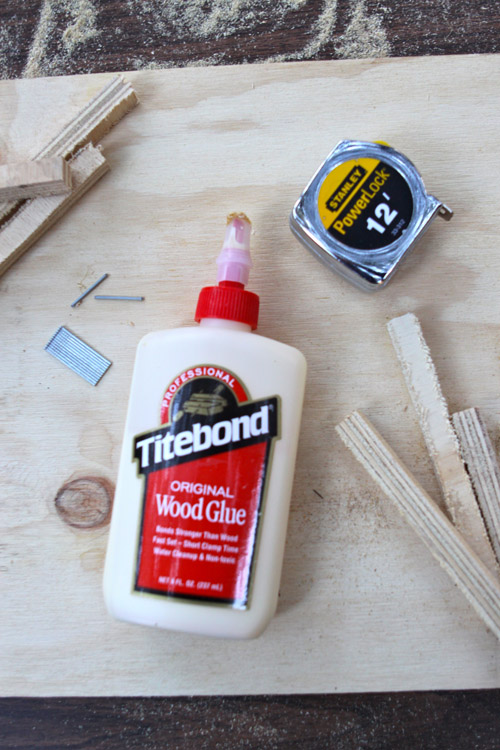
You’ll also need a measuring tape, wood glue, paper and pencil. If you want to make as many shelves as we have, plan on this project taking a couple of full days.
DIY Crate Shelves Instructions
To put them together, we bought 4 foot x 8 foot sheets of plywood. Then, had the lumber yard cut the plywood into 4 equal long strips that were 11.5 inches wide. We chose that width to minimize the plywood waste.
Note: I know 12 inches across seems like the easiest way to divide a 48 inch wide sheet into 4 pieces, but the saw eats up some of the wood, so if you go with 12 inches wide, the first 3 pieces will be fine, but the last one won’t be quite 12 inches. That’s why I recommend 11.5 inches.
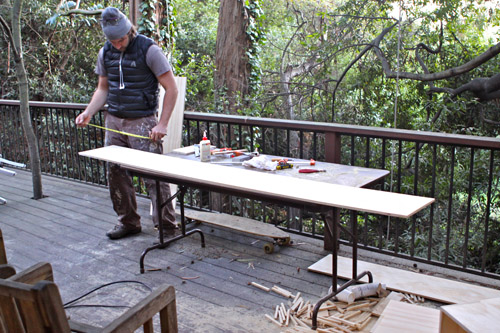
Then, using a table saw at home, those long pieces were cut into smaller pieces for the 3 different box sizes. 18 inches, 15 inches and 12 inches — 4 pieces for each box. If you don’t have a table saw, you can likely get these cuts made at a lumber yard as well.
Note: This part was a bit of a math game, figuring out how many pieces could be cut from each length of board. And depending on what size boxes you’d like to make, and how many of each you’d like, the math will change. So plan on pulling out paper and pencil for this part and sketching and measuring before you start cutting.
You can make the boxes in any size you like. I chose 18″, 15″ and 12″ based on what I was planning to store on the shelves, and based on the small loft where they were going to live. I studied our book collection, measuring several books as I went, to get a good idea of what would work. But if I was using these to hold toy bins, I would have measured the bins first and then designed boxes to fit around them.
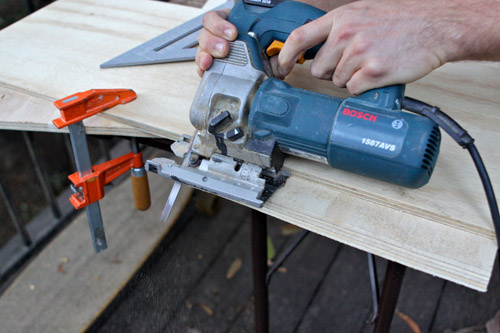
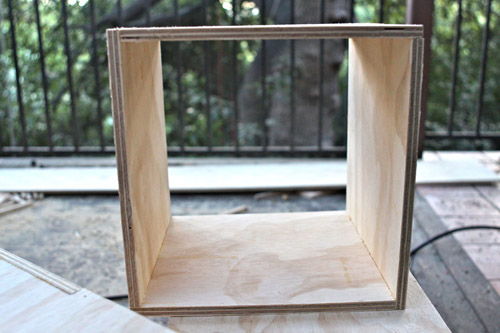
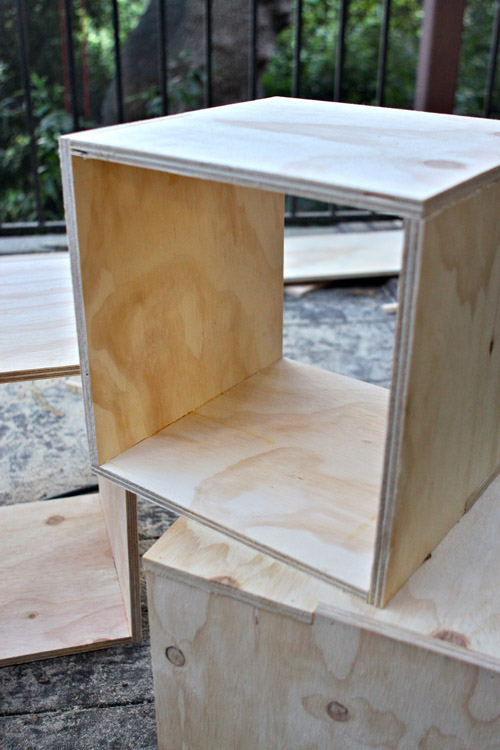
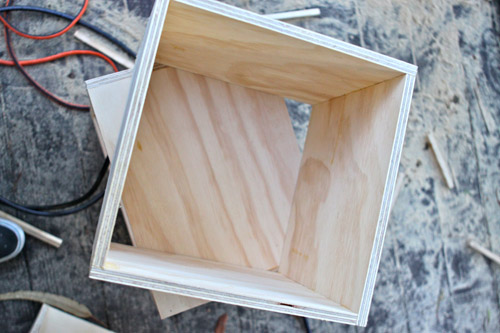
For the next part, a jig saw is needed. You’ll cut out 1/2 inch notches that go halfway across, in opposite corners, from all four pieces of wood on each box. I know that’s hard to picture, so definitely study the photos to see what I’m talking about. : ) This is the longest part of the process, and you’ll have lots and lots of half inch scraps piling up.
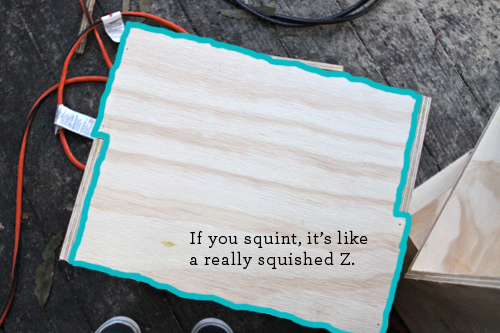
Once you have each piece looking like this shot (I made a blue outline to hopefully make it really clear)…
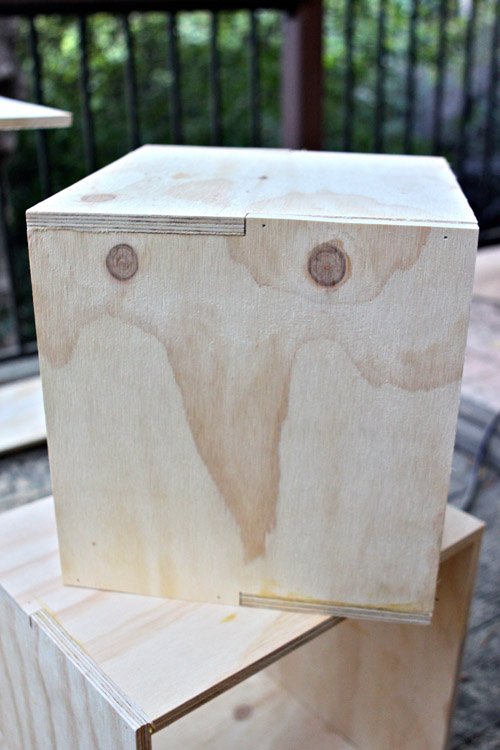
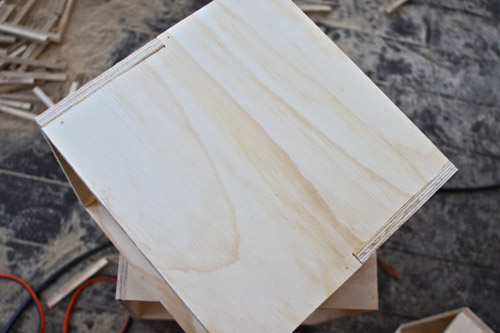
… you can put the boxes together like a puzzle.
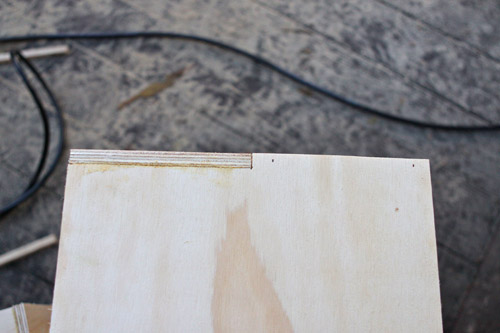
Then, to secure the pieces together, use a strip of wood glue wherever the pieces join, and 2 finishing nails on each of the uncut edges.
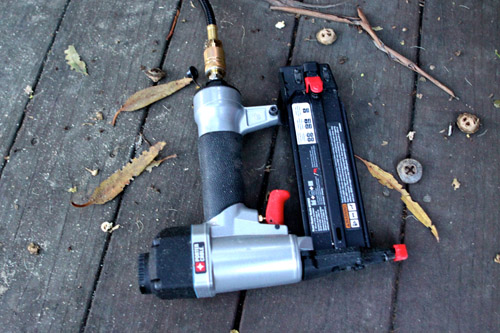
We used a nail gun because we happened to have one on hand, but a hammer would also work just fine.
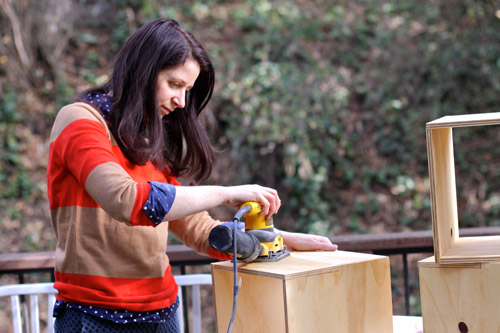

The last step is to sand them. A good plywood will be fairly smooth already, but going over them with a fine grit paper, then an extra fine grit paper will ensure no slivers for little hands. With a palm sander, this goes really fast! I was able to sand all of our shelves, inside and out, in less than 2 hours.
Note: I thought I wanted a clear matte varnish to give them a little shine, so we added one, but it didn’t work the way I hoped at all! It raised the grain of the wood in a rough way and yellowed the boxes. So I sanded it all off, and kept them plain and unfinished instead.
And that’s it! Our set has three of the 18″ boxes, five of the 15″ boxes and seven of the 12″ boxes — 15 crates total. (I don’t have instructions for you on the little triangle piece. Alex made that one with some trial and error from the shelving scraps. It’s so cute!) The whole set came under $125 for materials. Not bad for a full set of good-looking, flexible storage. If you make some, I hope you’ll tell me how it goes!
P.S. — Like to make things? Find all sorts of projects here.
So were these attached to each other? Would it make them more stable if holding heavy books to either be attached to each other and/or the fall for a topple risk?
I love that “z” shape. I haven’t seen that before and it is brilliant.
This ties in so well with your post on public speaking! The way I feel about trying to make things is the way most people feel about public speaking. And I have NO skill!
You have BOTH talents! So amazing!
Hello, would it be possible for you to share Alex’s contact information? We are looking for a handyman in the area. Thank you!
Certainly! You can contact Alex through his public website (link is in the post).
I love this DIY! I also just love getting glimpses of your house. We moved away from Montclair a few years ago and I miss our eucalyptus grove and hilly backyard.
I LOVE this! I wanted to let Oakland residents know that the Oakland library on Telegraph Ave has a Tool Lending Library. Something that will come in handy for projects like this! Happy building!
http://www.oaklandlibrary.org/locations/tool-lending-library
And if you’re in Berkeley there’s one on MLK too :)
http://www.berkeleypubliclibrary.org/locations/tool-lending-library
I love Oakland & Berkeley! :)
I’ve been looking for a storage solution for my dining area but haven’t been able to find anything suitable. Now you’ve got me thinking maybe I can build something like this :)
Time to visit the tool lending library…
Amazing!! Could Alex help me make these? I live across the Bay in Marin. Thanks so much!
Alex is away for a few months on an artist’s residency. I imagine he’d be up for it when he’s back. Feel free to contact him through his public website (I linked to it in the post.)
You know what I love? You look so cute, even when you’re doing a DIY home improvement project! Whereas I’d wear an old t-shirt, you have on a stylish sweater/shirt combo. :)
Pingback: Sunday Selections - The Department of Wandering - 'Not all those who wander are lost.' ~J. R. R. Tolkien
Hi, Gabrielle. I loved this post on creating shelves and my husband and I are considering these for our Christmas present to our girls. Thank you for all of the thoughtful details you’ve shared!
I wanted to ask how they’ve held up over the last few months for you. Are they fastened to each other, or to a wall in the reading nook for stability?
Thanks,
Jen
Pingback: Ordnung für CDs, DVDs und Vinyl-Schallplatten - Geliebte Ordnung
Pingback: DIY Mandala Bookshelf - Steaten
Thank you for sharing this tutorial! I made something like this a few years ago, and had to use brackets, which I didn’t like. This idea of the notches is brilliant. But I have a question: why make the notches 1/2 inch, when the plywood is 3/8? Don’t you end up with uneven edges/corners?