
Images and text by Gabrielle.
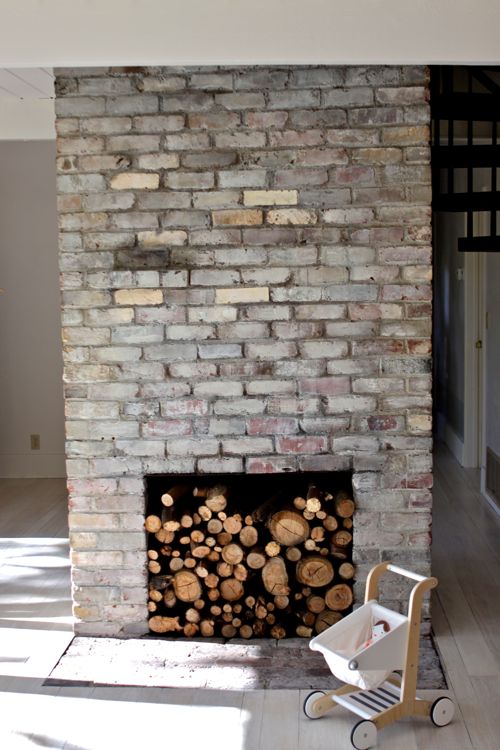
I’ve got another Treehouse report for you today, all about our fireplace whitewashed bricks. Plus, I worked in a little story about the bricks in my childhood home as well (find it when you click through).
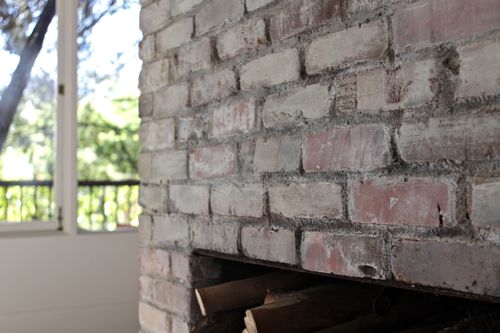
When I started to consider whitewashing the bricks, I looked up as many tutorials as I could find. This one and this one seemed to have the most clear instructions, and both mentioned using leftover white wall paint they had on hand. They both showed examples of more paint coverage than I was looking for, but I figured I could just dilute the paint more and get less coverage.
As I read further, some commenters recommended using lime for your whitewashed bricks, or other natural paint products that would let the brick “breathe”. I didn’t know if I cared whether or not the bricks breathed, and whether or not it was worth looking for alternatives, when I already had spare latex wall paint I could use. But the more I read, the more I thought it was at least worth looking into.
In the meantime, I decided I’d better do what I could to clean the bricks first, because the front of the fireplace was covered in soot.
Ready to see what the process was like?
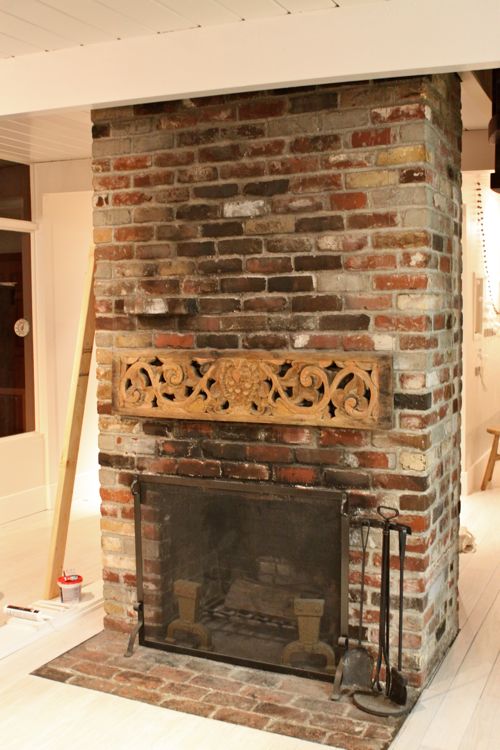
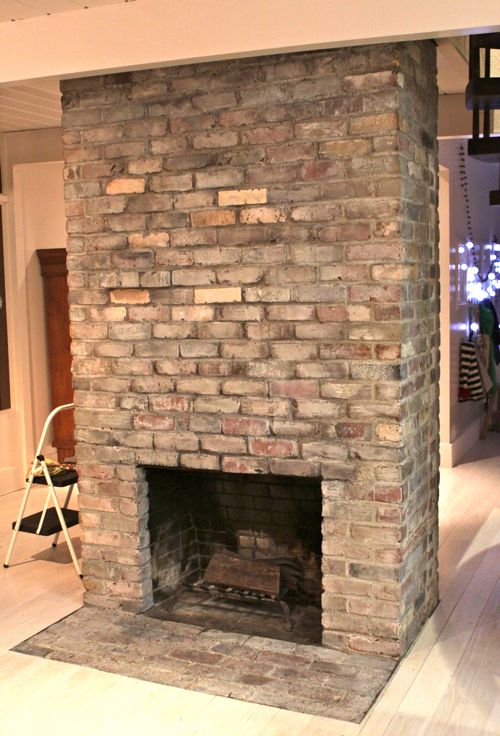
This is the fireplace when we started. Not bad looking, but coated in soot.
(By the way, all but the “finished” photos were shot fairly late at night, which is when the work was happening, and why the images have a yellow tint.)
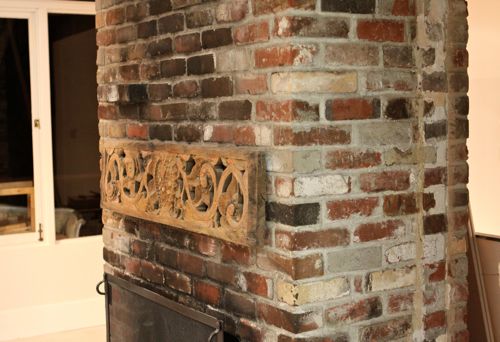
I really like the carved wood piece — it’s one we inherited when we bought the house. It was hanging from wires. We took it down while we cleaned and whitewashed, and I can’t decide where I want to hang it next. But that’s for another post. : )
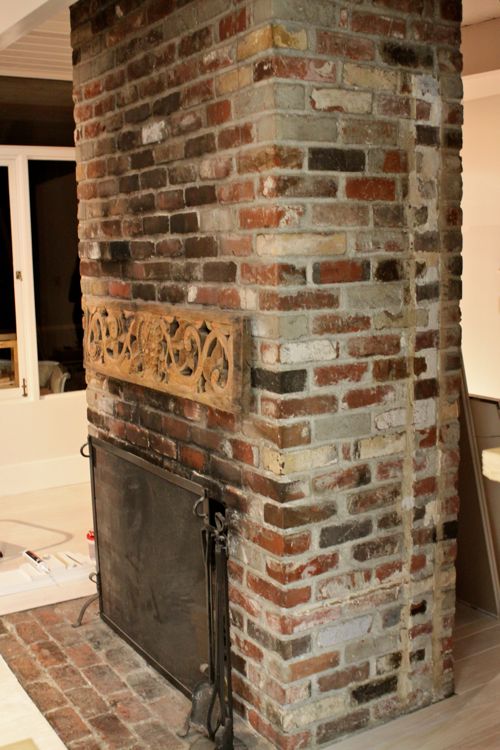
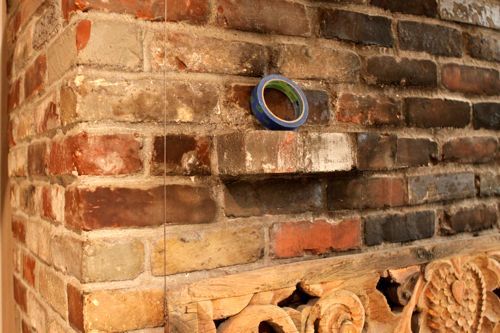
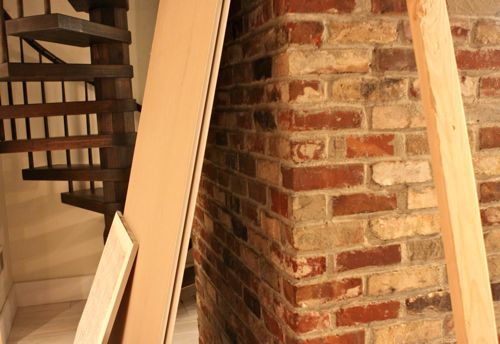
Here are a few more shots so you can see the bricks from every side. You may notice there’s one brick that juts out, forming a small shelf. I put a roll of blue tape on it, so you can see it better:

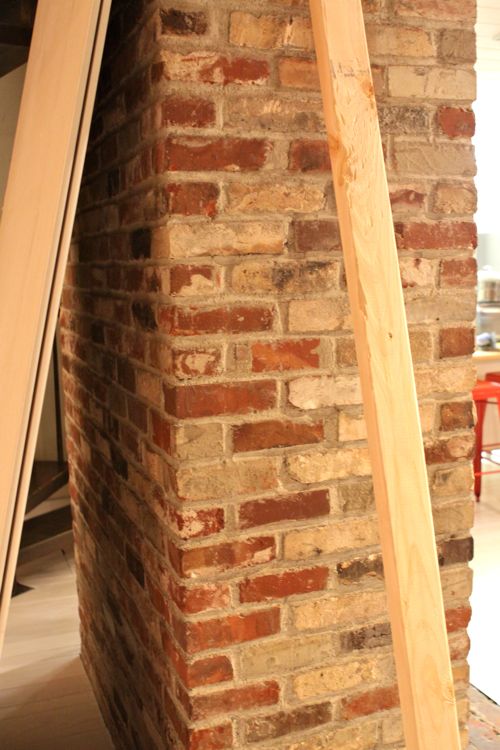
On the sides and the back, where the brick isn’t covered in soot, I think the brick is actually very pretty. It reminds me so much of the brick my parents used in my childhood home.
A side story about that childhood brick: We moved from California to St. George, Utah when I was 5, and for about a year, we rented a home while we built another home. During the time period when we were building, the City of St. George decided to tear down the old library building that was constructed by the early residents of the town, Mormon pioneers. And the building was made of beautiful sandstone brick.
Well, the town offered to let residents take that original sandstone brick. You would come to the demolition site, climb the scaffolding, and use tools to chip off each brick one by one. You could take home any bricks that you chipped away.
Chipping those bricks is one of my earliest St. George memories!
And I laugh when I think about it now, because it’s the sort of thing I can’t imagine would be allowed these days — too much potential for lawsuits.
Anyway, my family used those bricks on the bottom section of our house (you can see it in this image), and those bricks were used inside on our living room fireplace as well. They were beautiful, and I loved knowing they had some history.
All that to say, I actually like these bricks! And did consider just cleaning them up and leaving them as is. But ultimately decided they could still stand to be lightened up a bit.
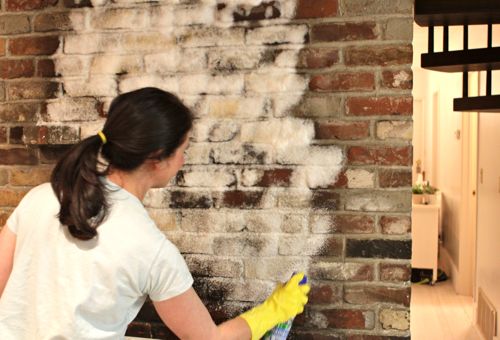
WHITEWASHED BRICKS – A STEP BY STEP TUTORIAL
First step, was removing the carved wood piece, moving all the fireplace accessories, and cleaning the brick. I looked up instructions online and discovered that foaming bathroom cleaner (like Scrubbing Bubbles) was universally recommended.
I’d spray it on, then let it sit for a minute or so until it was turning yellow/brown from absorbing the soot. Then I used a scrub brush and a bowl of water and scrubbed the brick clean.
I put old towels at the bottom to absorb the water that spilled down the front as I scrubbed. and I ended up coating the bricks 2 or 3 times as needed, and using the whole bottle of cleaner!
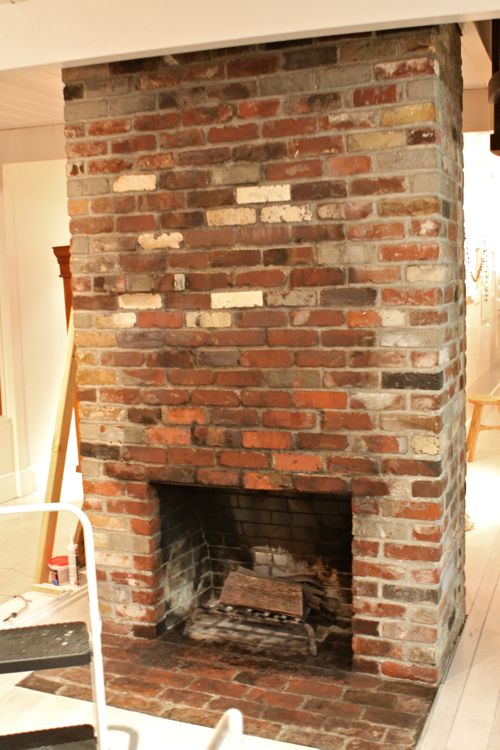
When I was done, Ben and I went to a late movie so the bricks could dry. We shot this photo when we got home. The bricks were about 75% dry by then. Looks much better, right?
But notice the center section of bricks is mostly red, and side sections have a white, chalky texture. The soot and cleaning apparently removed the chalky texture. Some of it did come back as the brick fully dried, but there was still a big difference. By white washing the brick, my hope was to bring that chalky texture back and amp it up.
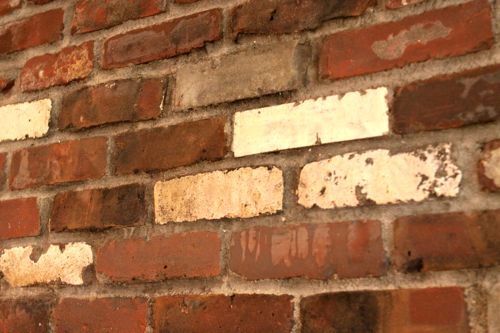
As I scrubbed, I also discovered there were a few bricks that had been painted white. An experiment from decades ago? Who knows?
But having that handful of painted bricks really showed me the difference between a brick that can “breathe” and a brick that can’t. The bricks that hadn’t been painted responded to the cleaning and the new paint on an individual basis — some absorbed more than others depending on their composition. But I noticed while I worked that it was easy to see why the word “breathe” is used. The bricks that had been painted didn’t react at all, and felt “dead”.
It was very interesting to experience the differences.
At that point I was fully convinced I wanted to try a paint product that would let the bricks continue to “breathe”. So I started my internet research and found something called milk paint which looked very promising. And when I posted about whitewashing the bricks on Instagram, I received some emails/comments from readers who had used milk paint, so that was extra encouragement. (By the way, the comments on that Instagram are fun to read. Lots of strong opinions on whitewash!).
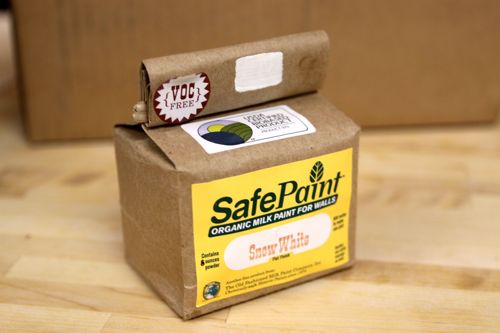
So I picked up some milk paint that I found at an eco paint store in Berkeley. (It’s sold all over the country, you can find store listings on their site). It was about $15 for this little bag of powder (and I didn’t even use half a bag for this job).
Two nights later, when I knew the brick was fully dry, I started the white washing. It was basically an experiment. I would pour some powder in a little bowl that had a lid (the kind you use for leftovers) — like maybe 1 to 2 tablespoons of powder at a time. Then I would add water and stir it until it was like milk.
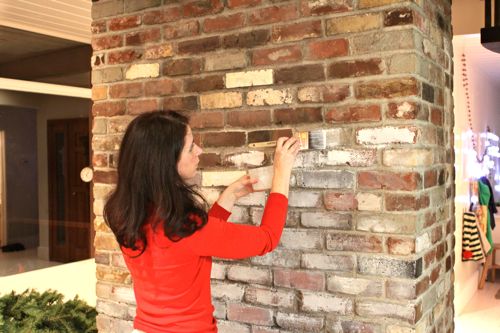
Then, I would paint it on brick by brick…
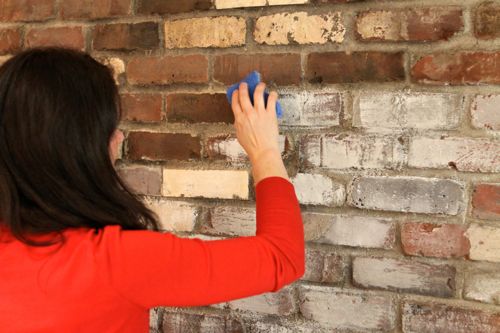
…and immediately wipe some off with a wet sponge until I achieved the coverage I was after.
Here’s the first section of whitewashed bricks I did:
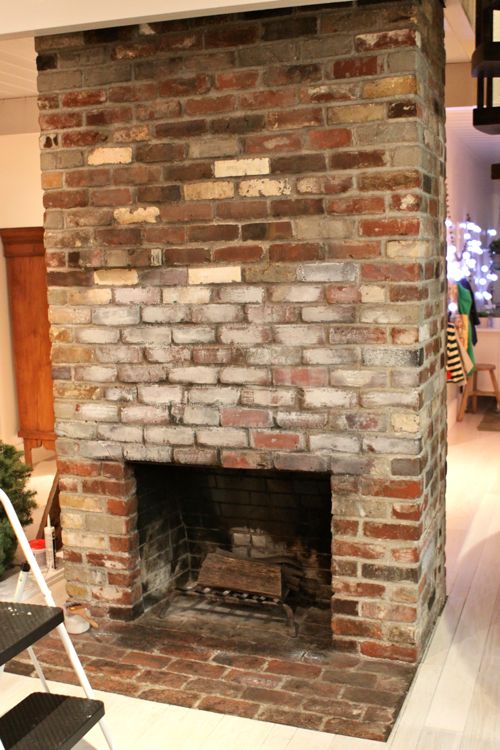
About an hour after taking the photo, I decided the coverage was too thick, and used the sponge to wipe off even more. And the next batch of paint I mixed up, I made even thinner.
If you are using milk paint, I would recommend starting with very thin paint and going from there. You can always add another layer!
Here’s the finished brick shot that same night, a few days before Christmas.
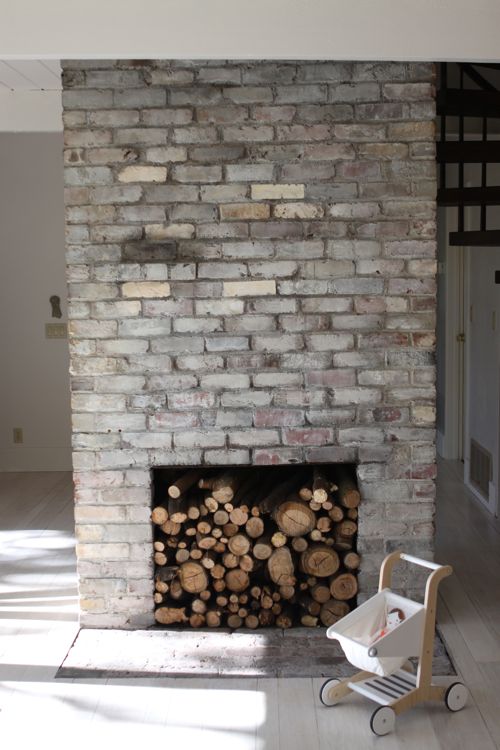
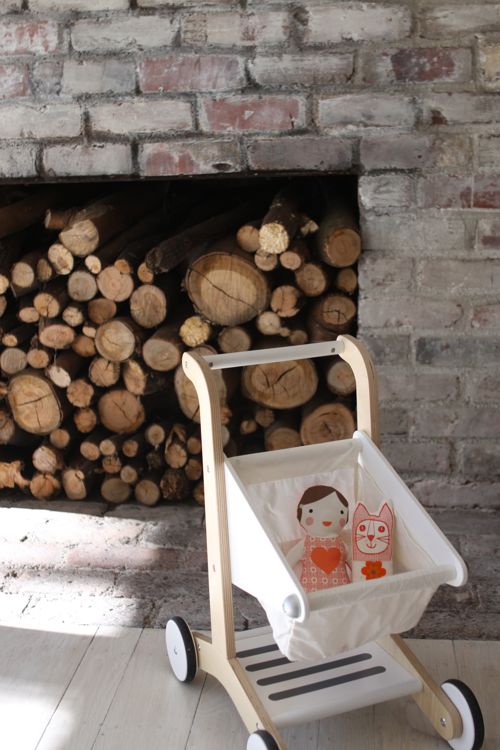
And here are the finished whitewashed bricks, shot yesterday. That one dark brick? It’s actually not dark, it’s just the shadow from the little shelf.
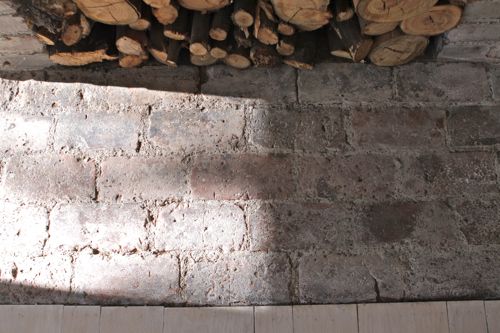
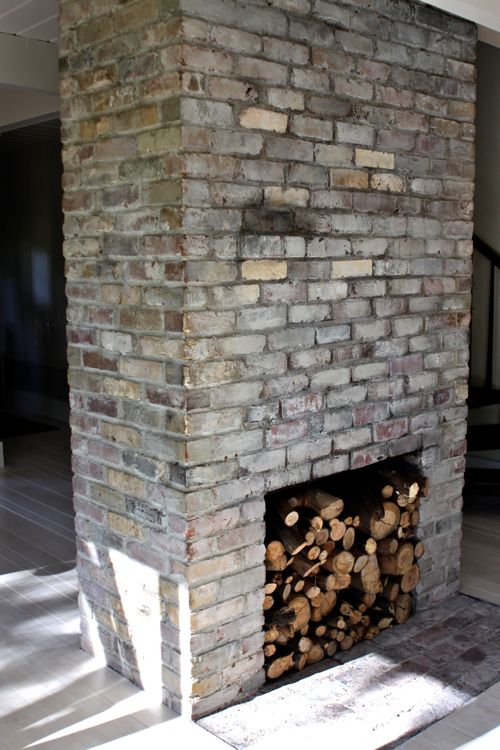
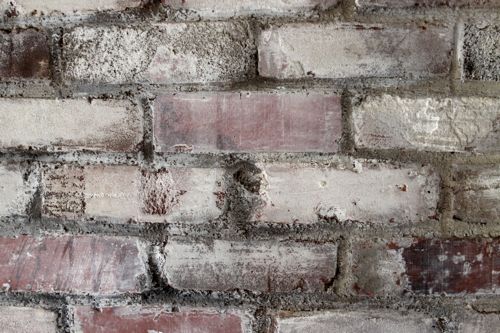
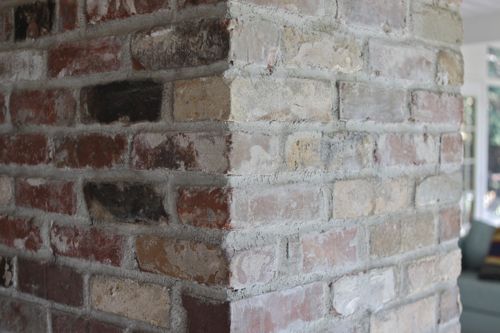
Fun Fact: I still haven’t finished the job! I did 3 sides in time for the holidays, but I still haven’t done the back section. Conveniently, that means I can share this photo that shows the back and the side at the same time so you can see the difference really clearly:
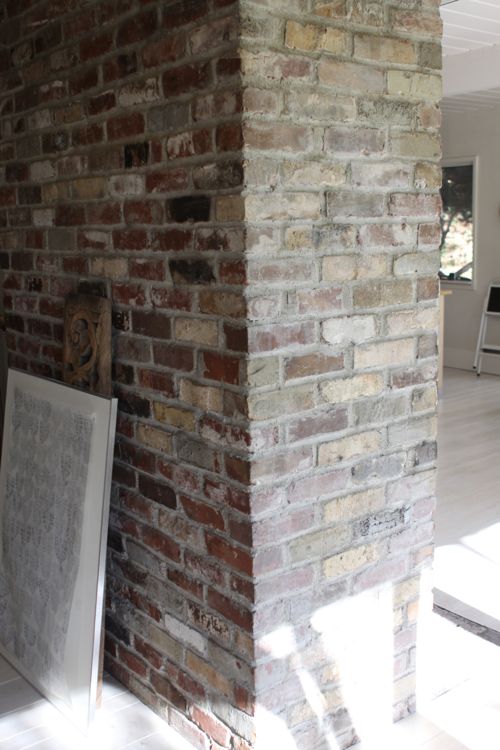
I really like the end result. The whitewashed bricks are certainly lighter, but you still see lots of texture and color coming through.
One interesting thing about using milk paint: it doesn’t seem to adhere to the bricks in a fiercely permanent way. Meaning, if I wanted to scrub it off, I don’t think I could get to back to the original brick, but I could get fairly close. And if I need to clean it in the future, I can already guess I’ll need to follow up the cleaning with another light coat of milk paint.
Also, some reviews I read said the milk paint would have a slight dairy odor until it dried, but I found it to be odorless.
I’d love to hear your thoughts. Do you like how these whitewashed bricks turned out? Or maybe you prefer the original brick (it won’t hurt my feelings, I promise.)? And have you ever tried something like lime or milk paint? This was my first experience with it.
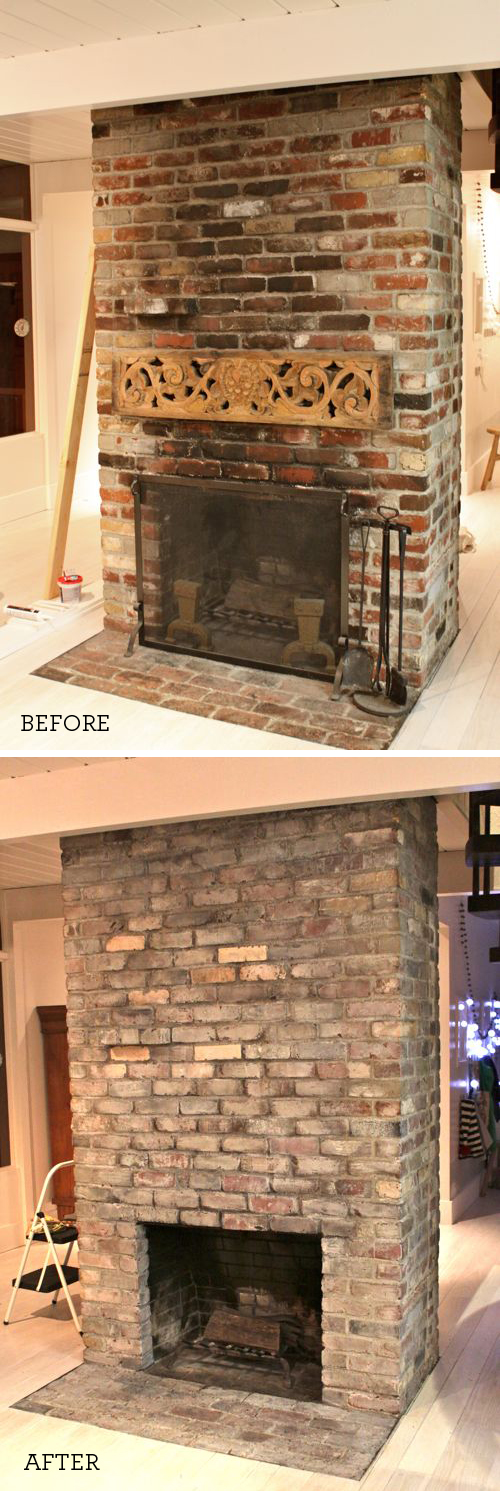
P.S. — Here’s the before and after right next to each other for easy reference:
I love it! I’m about to do our fireplace and was looking for inspiration! It’s the first time I’m hearing about the special paint/breathing but since I’m anxious to do this project TODAY so I’ll probably stick to the leftovers we have :) Thanks for sharing!
“As I scrubbed, I also discovered there were a few bricks that had been painted white. An experiment from decades ago? Who knows?”
This is because mason’s used to recycle bricks. Those white bricks were painted when they were in a different structure. I have a brick house, you should see all the different colors painted on the bricks in the attic! Luckily, the mason inverted them so they were hidden from outside views!
I have a brick fireplace that is already painted white, do you have any suggestions on how I could do this in “reverse”, and get this look? I LOVE the look of the white washing. Thank you & God Bless!
Looks great! Did you use the snow white, oyster white, light cream color, or another color?
LOVE THAT LOOK…thinking about doing it to ours…very talented.
Question – what did you do with the mantel that was on it. I would buy it from you…if you were selling it?
My all brick house has 2 colors. Half of the front has a beautiful very light tan and the rest of the half and borh sides of the house and all of the back is a very ugly dirty yellow. Through the years I always wished I could paint 0ver the uglybrick with very light tan but didnt because they paint wont last long enough. Maby i;ll try white washing. Is there such a thing as light tan washing?
I love it and thank you for the step by step diary of your adventure. I have ugly brick pavers as my kitchen and living room floor and wish to accomplish a look like this. What suggestions do you have for floors? Thank you.
I’m about to follow your directions and use milk paint on our fireplace! I’ll send you before and afters when I’m done!
Dear Design Mom, Thank you so much, what a service you have done. I have a cement brick (yellow, grey and orange…..Ugggly) fireplace. I will try your whole routine and post photos. I can’t wait plus I will be a subscriber.
i love the fire place I’m going to try it on mine it really makes a beautiful statement
I have brick floors that are sealed. Do you think I could white wash over the sealant? (Its a poly seal). They bricks are beautiful, but I want a very light cobblestone look. Also, what is the drying time on the milk paint?
I really want to whitewash my exterior brick. Do you think this application would hold up outside?
WOW!!! I LOVE IT! I’ve been toying with painting my fireplace, but after seeing your before and after pics, and reading your lovely blog, I am definitely white washing. Great job! I hope mine turns out as beautiful as yours did. Thanks for taking the time to write and share this.
Can u help plse. Have a brick interior. It is painted white. But we want the more rustic brick look. Any advice will be appreciated. Thank you.
Love it! Put the wood piece back up too!
It looks great! I, for one appreciate the tips, on using the milk paint. It seems much more suitable for the job. If you make a mistake, you have a little wiggle room. I am curious as to what color you used? Just a plain white? Also, forgive me, if I missed something, but you didn’t seem to cover as much of the mortar, as some of the other tutorials (which I like). Did you use the same coverage on the mortar, as the brick? I am very inspired, by your project! Thanks, so much for sharing.
Pingback: Holiday Blog
I want to do this, and even order some milk paint. I just want to make sure that milk paint can stand up to the intense heat of a fireplace before I do this.
May I ask, would you need to seal the bricks once using the fire place?
Can i use off white or even a very lite sandy beige, my brick is not really red, nore shades of lite pinky red and brownish tobes
I have white washed three fire places and found that using a toned paint avoids that too cool look that white can give. I ended up using a very light warm grey to do the painting. I used a a very light mixture of paint and water for the first coat. Also I left the grout unpainted so the finished product looked more natural. I used a brush the same width as the bricks.
How did it work with your paint water mix?
This is what I’m looking for as well. My husband was a carpenter in his earlier years and loves all the wood on woodwork instead of painting it, although we’ve done some and he loves it. He said the fireplace was off limits, because he doesn’t want it to be “white”. I’ve shared your pictures with him, so hope I can convince him. He has rodeled our 1974 home and I truly love it and people say how cozy it is. This will just lighten the dark wall it is on and I know he will like it. He has done the room with car siding and we’ve finishes them natural as well, so this would be great . Thanks for sharing.
How does the white washed brick look with black, greys, and reds?
I also wonder what milk paint would be like over black mortar. My husband built our fireplace about 30 years ago using instructions from a book!! I was terrified when he cut a hole in the floor for the hearth cement. It turned out beautiful (he is a perfectionist when it some to this sort of thing). The entire wall in my living room is bricked which is a bit dark. I have been toying with the idea of whitewashing it and have even been trying to break the idea to him slowly. You would think he carried that fireplace in him for 9 months before it came to be! I’m 70 this year. We have lived here since 1973 and I think its time to do what I want!! Goin’ for it!
Your fireplace looks just great…. Terrific job! I’ve been touring websites checking out whitewashing fireplaces. I was almost discouraged because most of them went from bright brick to white. I, like you, wanted just a haze over the brick so I can still see and enjoy the natural beauty of the brick. Thank goodness I don’t have the soot problem so I’ll just clean any dust collected and get started… You renewed my hope… gonna go for it! Thanks