I’m perpetually on the hunt for sweet, pretty, usable, handcrafted projects. Ideas that are perfect for a rainy afternoon, or for a Ladies Crafting Night, or for a birthday party activity, or to make as a gift. And this project definitely fits the bill! Homemade earrings that don’t look homemade at all! And so easy that your kids can get involved too. Yes, please!
Let’s get to making.
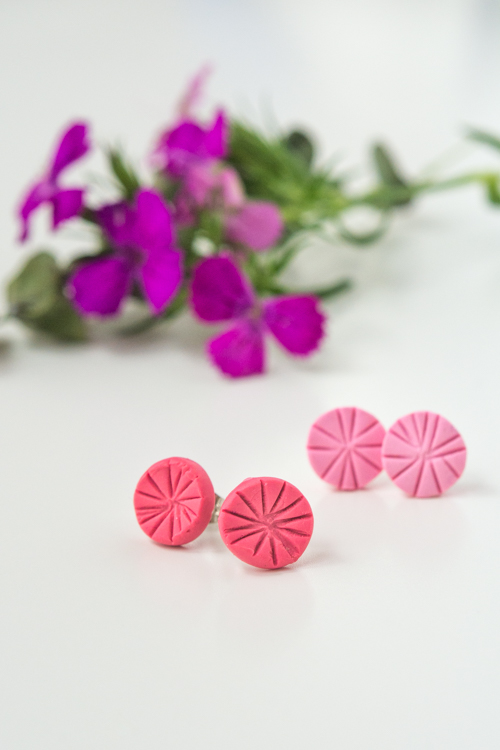
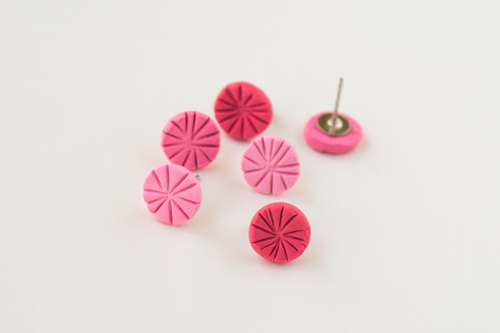
1) Polymer Clay Earrings – Circle Posts
A very simple circle earring post with little hatch marks for interest.
You need:
– polymer clay (we like Sculpey Premo)
– rolling pin, brayer or pasta machine
– small shape cutters or punches, optional
– dull edge (like a butter knife)
– earring posts
– strong adhesive (a two-part epoxy or E6000 is best)
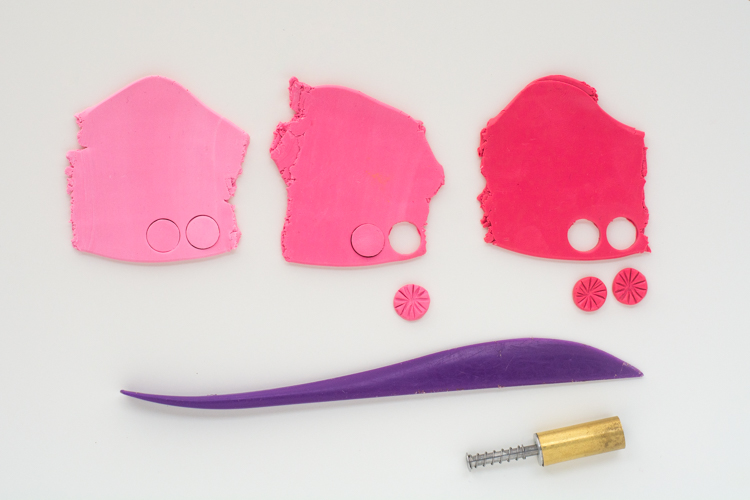
1. Roll the polymer clay. Thick is good. If using a pasta machine, use the 9 setting.
2. Cut out shapes with a cutting blade or clay punch.
3. Using a dull edge, make hatch marks radiating from the center.
4. Bake according to the manufacturer’s directions.
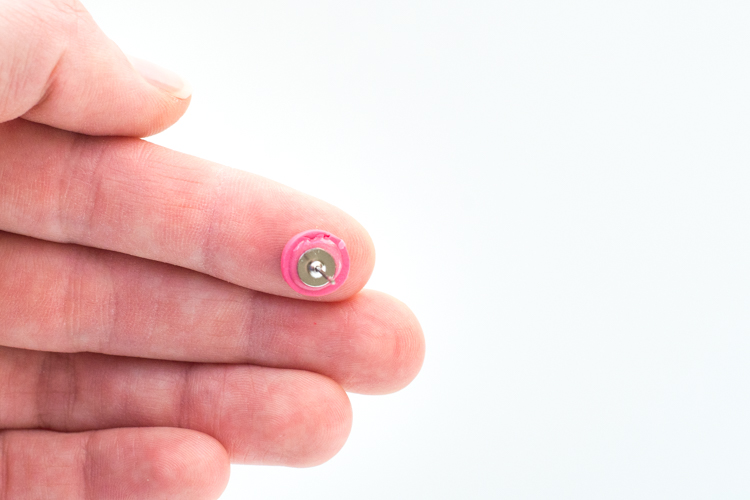
5. Allow to cool before attaching the earring posts with glue.

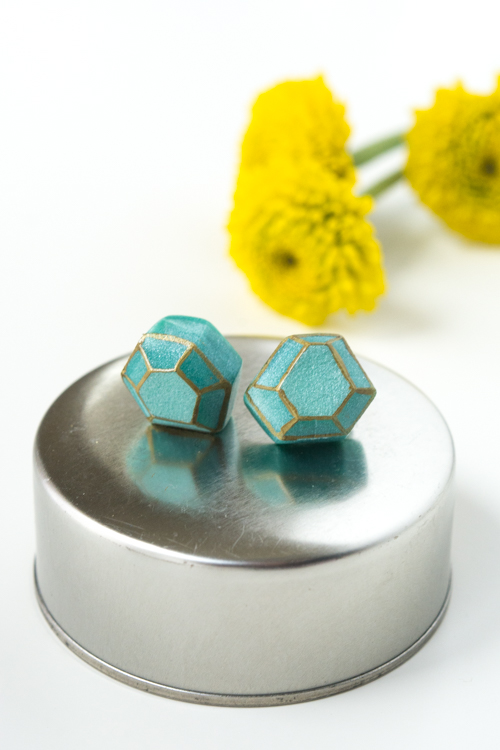
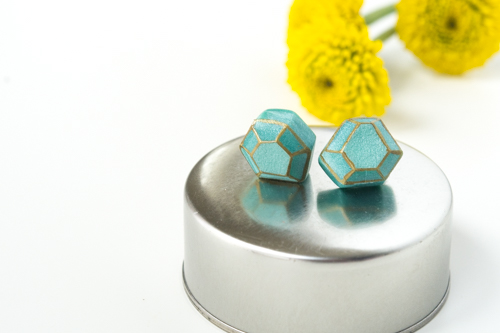
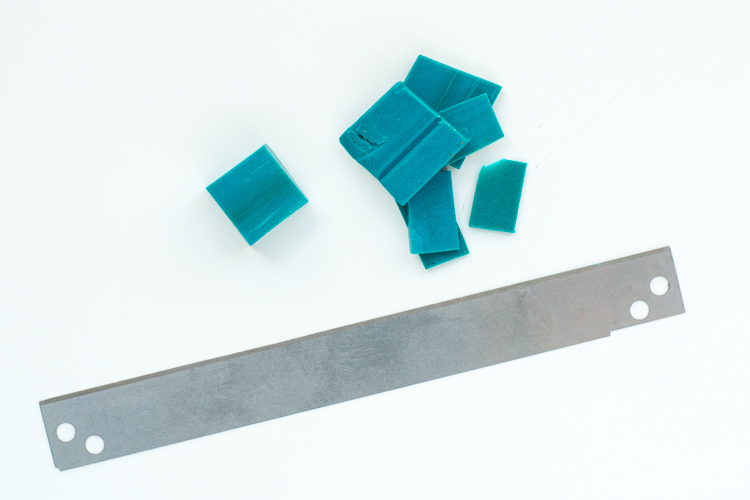
2) Polymer Clay Earrings – Cut “Gems”
I love these post earrings because they are so easy, they look really fancy and they don’t have to be perfect!
You need:
– polymer clay (we like Sculpey Premo)
– cutting blade
– gold pen
– earring posts
– strong adhesive (a two-part epoxy or E6000 is best)
1. Cut down the unconditioned block of polymer clay into a cube by removing the outer edges of the clay.
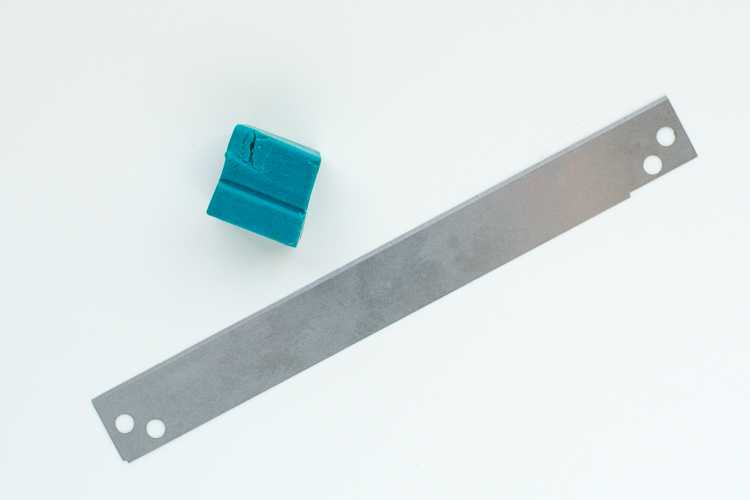
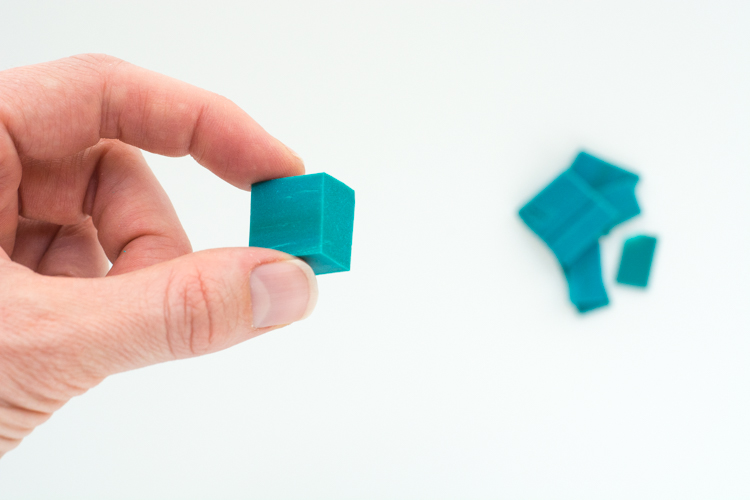
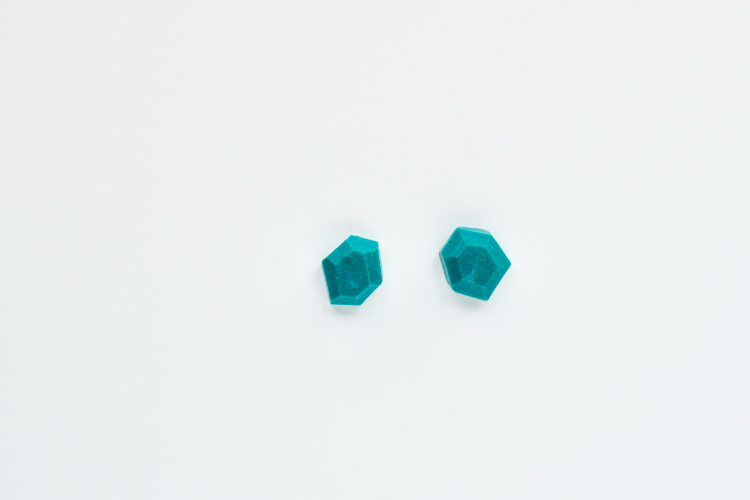
2. Next, cut the cube into a “gem”. We gave ours 6 sides but the number is up to you.
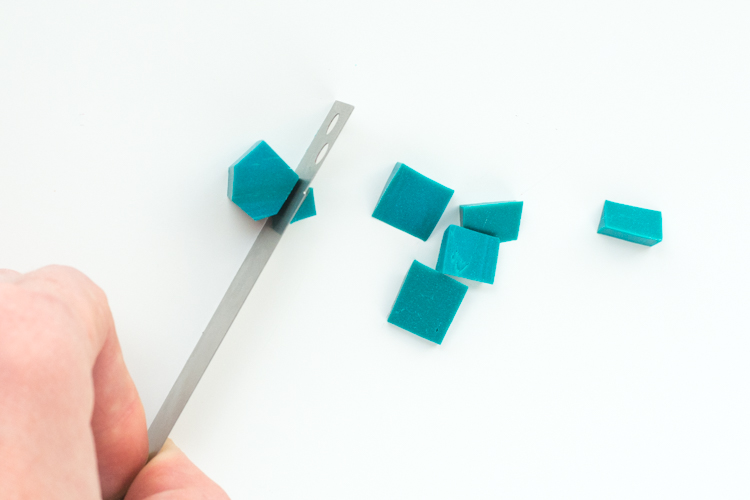
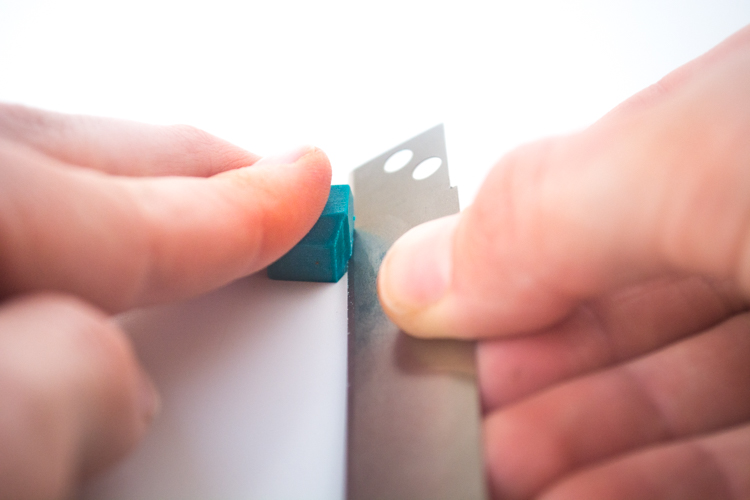
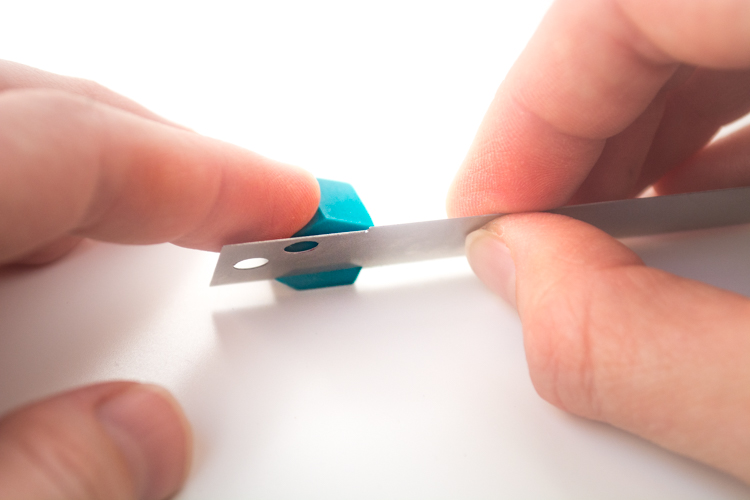
3. To make the facets, lay the gem on its side. Take the cutting edge and, setting it at a 45 degree angle, slice a facet. Repeat for each edge.
4. Bake according to the manufacturer’s directions.
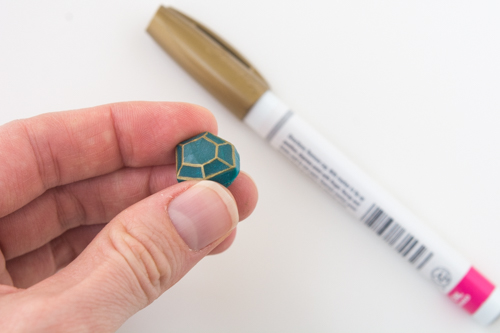
5. Once cooled, use a gold pen to trace the edges.
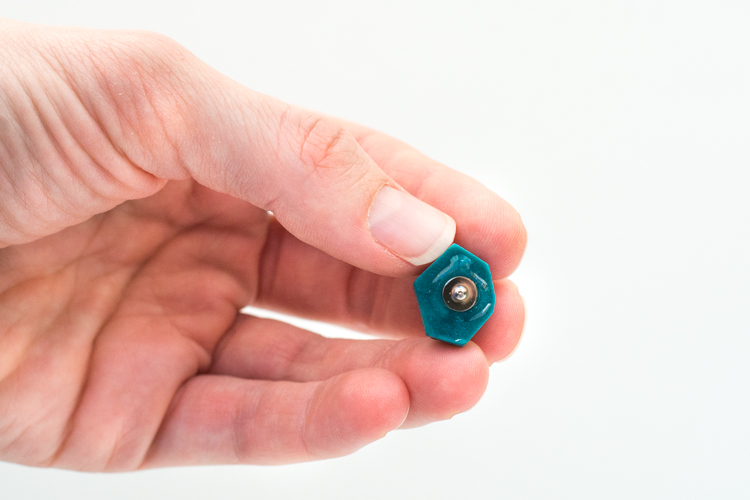
6. Allow to cool before attaching the earring posts with glue.
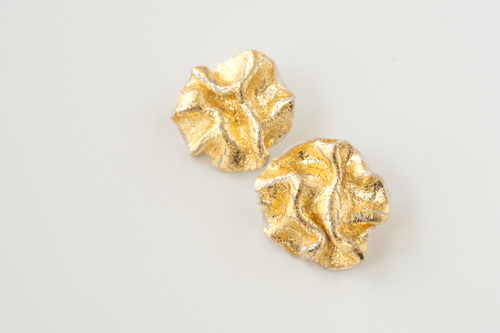
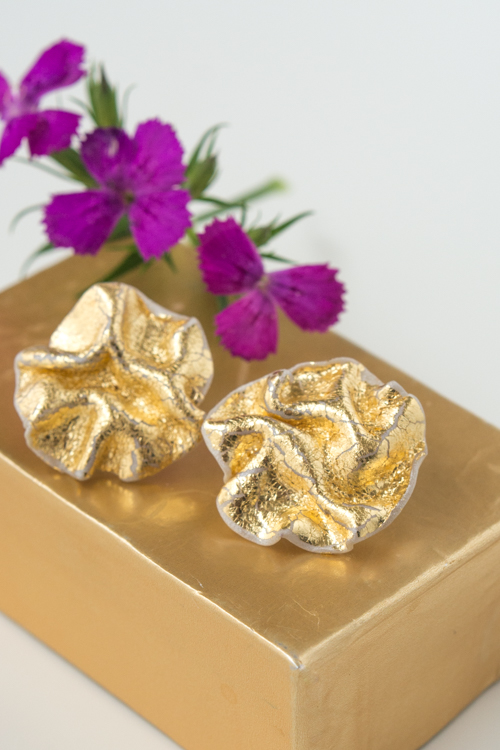
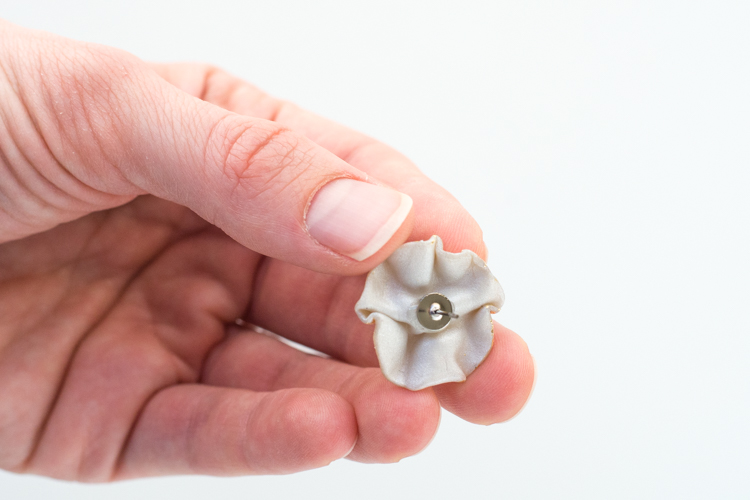
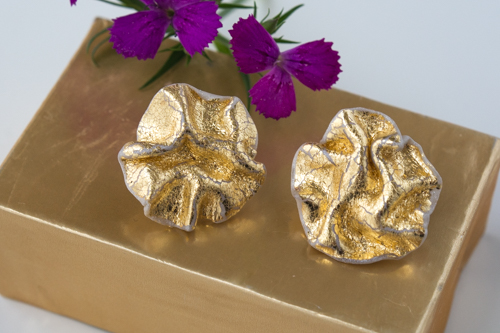
3) Polymer Clay Earrings – Gold Crinkle Disks
A little shimmery shine.
You need:
– light colored polymer clay (white or pearl) — we like Sculpey Premo
– rolling pin, brayer or pasta machine
– gold leaf
– circle cutter
– spoon
– earring posts
– strong adhesive (a two-part epoxy or E6000 is best)
1. Roll the polymer clay very thin. If using a pasta machine, use the 1 setting.
2. Add gold leaf to the polymer clay.
3. Use a circle cutter to make two circles.
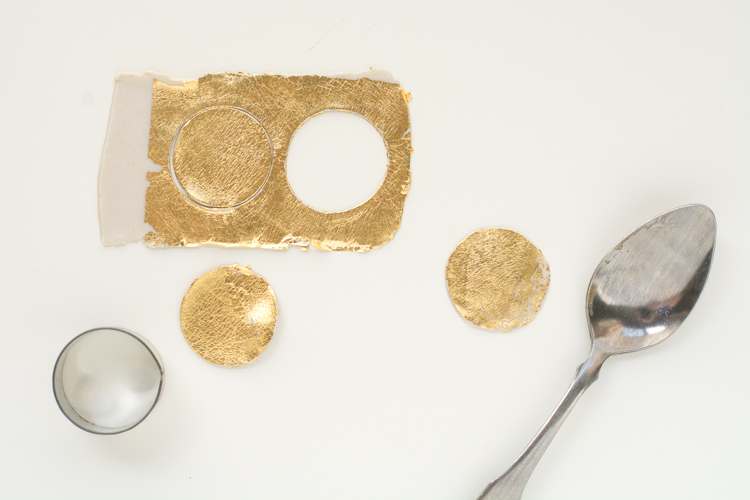
4. With the backside of a spoon, gently thin the edges even more. This makes the clay even more flexible.
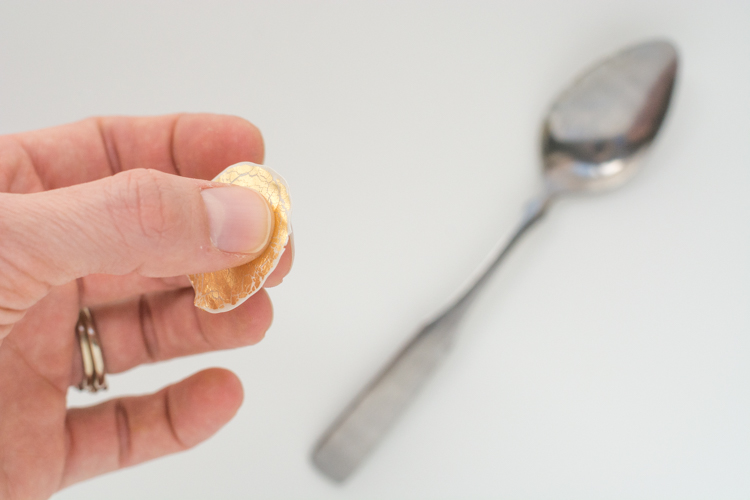
5. Using your fingers, gently pinch and squeeze the clay into a wavy, crinkled circle.
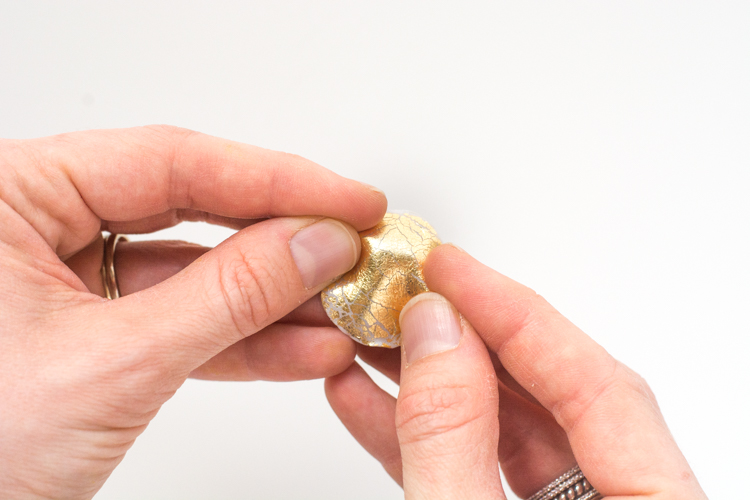

6. Bake according to the manufacturer’s directions.
7. Allow to cool before attaching the earring posts with glue.
__
Aren’t those polymer clay earrings fantastic! Thank you, Amy. I think the faceted “jewels” are my favorite, but I really love the crinkled gold ones too. I can’t wait to make some!
P.S. — Find more DIY projects here.
Credits: Images and project by Amy Christie.
I love the hexagon shaped ones! They’re so cute!
Paige
http://thehappyflammily.com
Pingback: Quilt Blog
Can air dry clay be used as an alternative? Thanks!
Thanks for this amazing post. It is really easy to create these earrings. I will try to create one for my daughter. She is very fond of fashionable items and accessories.
Such a lovely idea! Where did you find the earring posts and backs? I’m going to try ebay, but am curious as to where you found yours! xx
These earrings look so cute already. My niece would be so excited to make these.