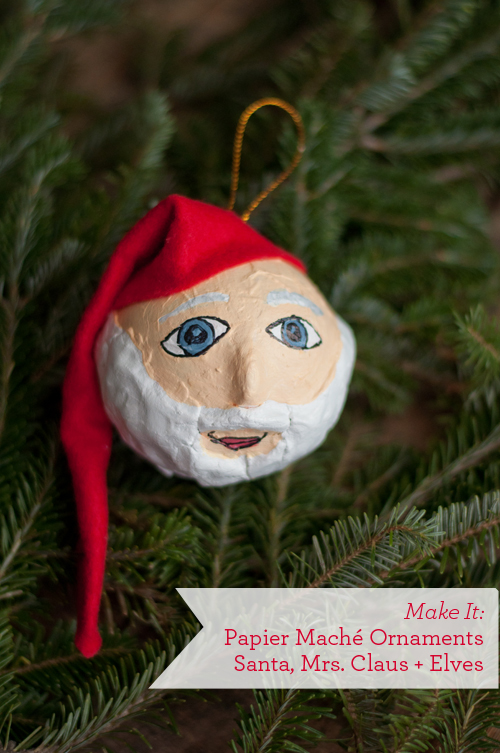
For these holiday ornaments, we settled on Santa, Mrs. Claus and a pair of elves, but you can decide for yourself who you want to create. The base of these ornaments are store bought papier maché ornament balls. With a little air-dry clay for facial features and some paint to give it color, these ornaments are much simpler than they appear.
Just think how darling these would be peeking out from the boughs of the Christmas tree! Or you could made a set as a fun gift. I break it down step-by-step below. Let’s get to making!
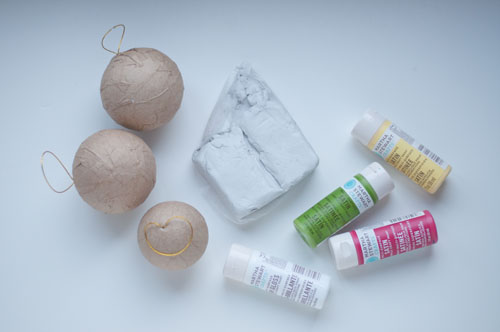
Supplies:
-papier maché ornament balls
-air-dry clay
-paint
-paint pens or permanent markers (for fine details)
-felt, optional
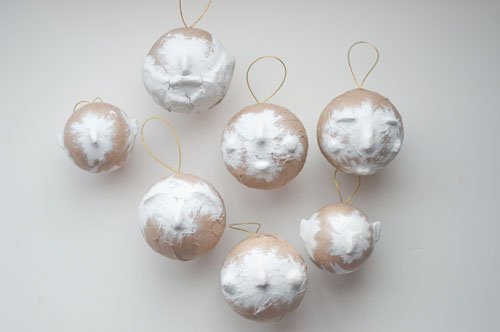
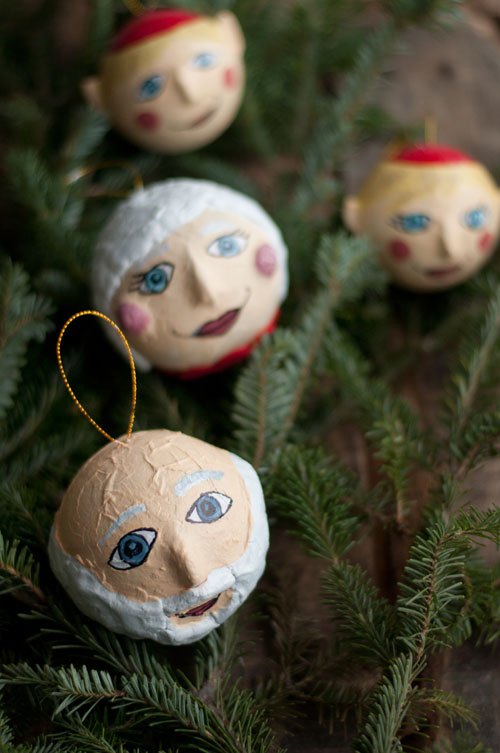
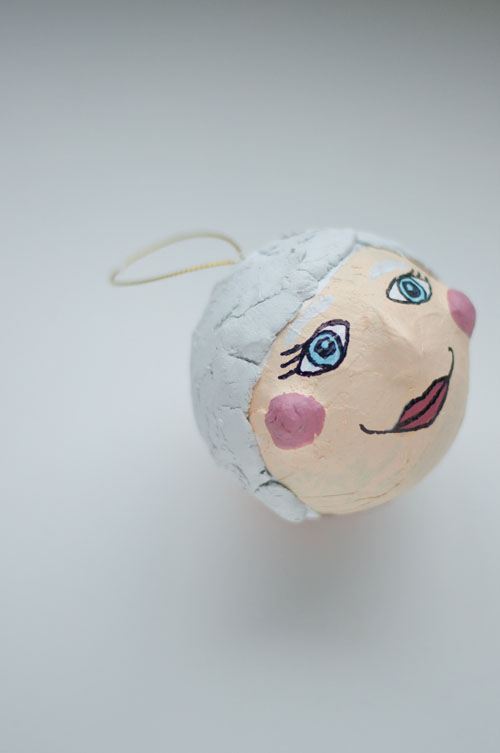
This project starts out with sculpting facial features. Noses, cheeks, pointy ears for the elves, facial hair, eye brows and chins. It is all about shapes and smooshing them down to connect them to the ornament surface.
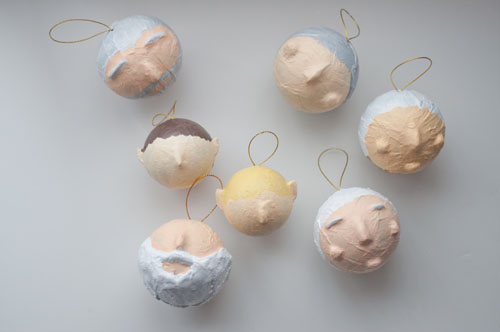
The next step is paint and specifically, layering the paint to get the best results. The first layer was the skin tone followed by the hair colors.
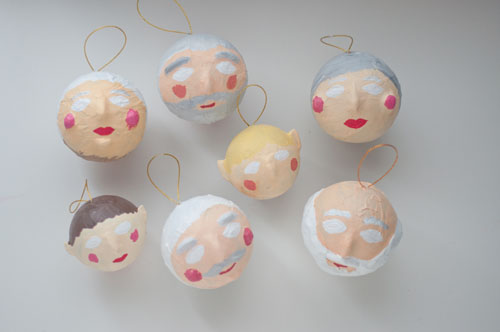
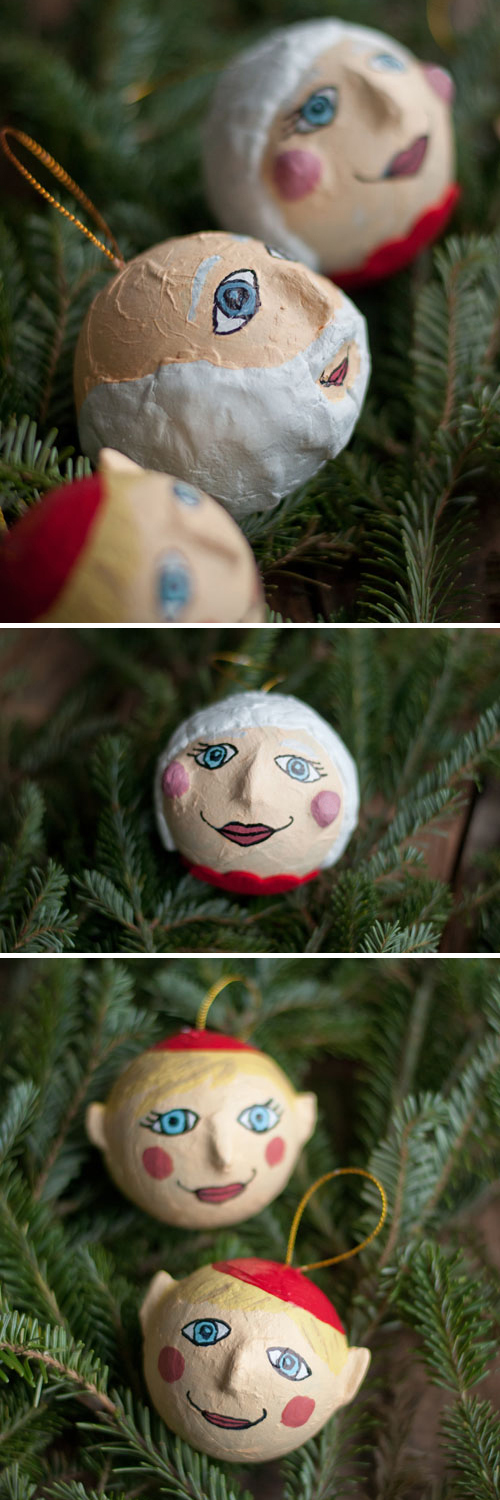
That step was followed by cheeks, lips and eyes. Regarding the eyes, I like to put down white first to make the color I chose for the eyes really pop.
I did go back to Mrs. Claus and amped up her hair by adding clay to her hairline.
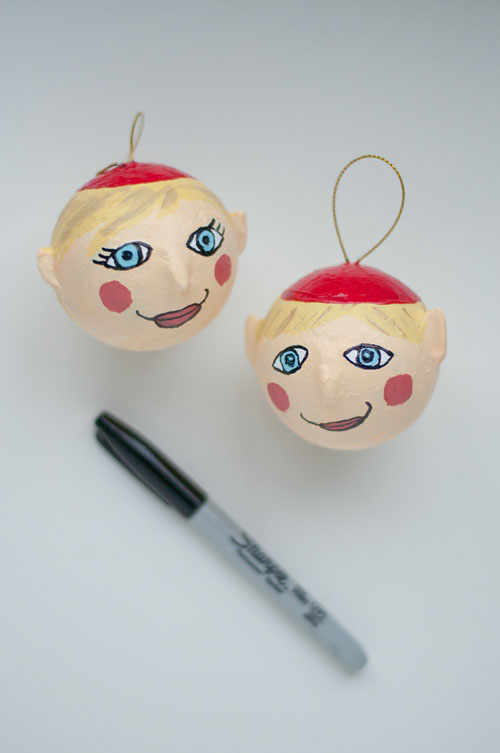
To finish, I used a marker to add fine details around the eyes and lips.
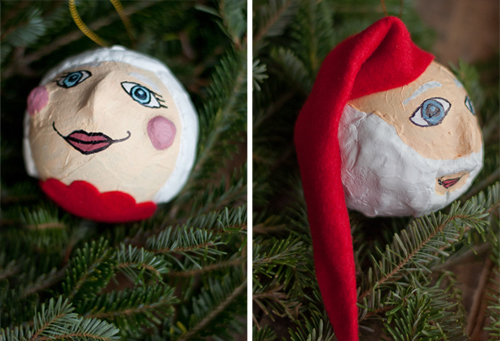
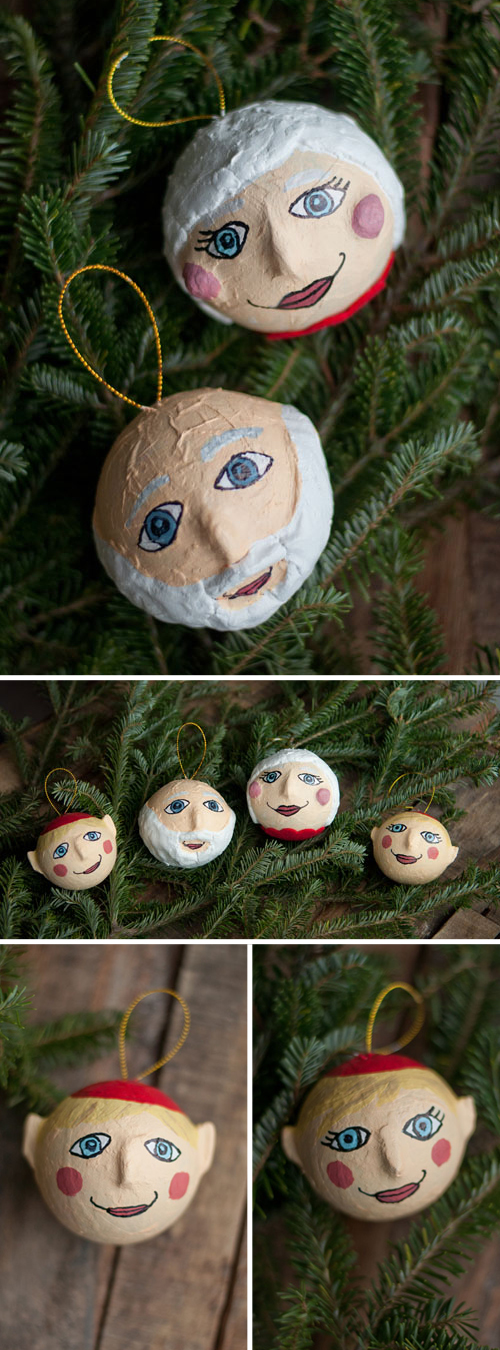
To give the Claus’s a more festive look, I added a scalloped circle at the base of Mrs. Claus’s face and a simple felt hat to Santa.
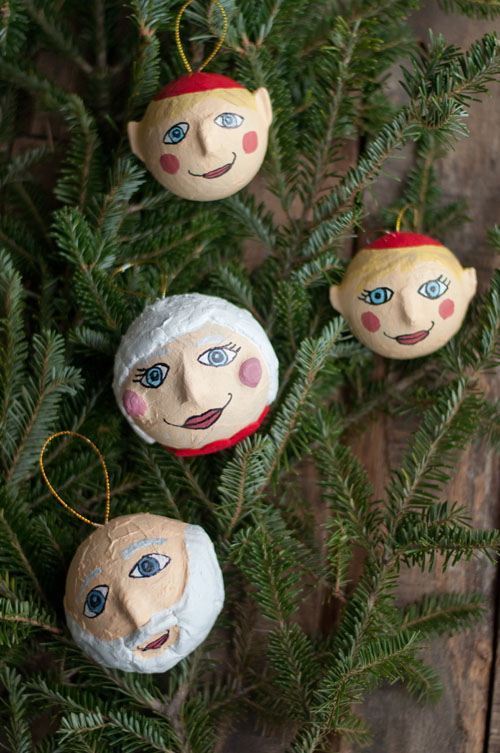
Then hang them on the tree!
P.S. — Like to make things? Find more of our fun projects here.
Images and text by Amy Christie for Design Mom.
These are adorable.
How very cute!!!
Have a lovely weekend:
http://lasagnolove.blogspot.de/2013/12/have-wonderful-weekend.html
Love from Germany,
Bambi
This is such a whimsical idea. I love paper mache crafts, and this one does look super easy with high payoff.
Pingback: Papier Maché Holiday Ornaments
Pingback: Papier Maché Holiday Ornaments with Design Mom | this heart of mine
These are absolutely brilliant! So cool to use the air dry clay, I was super curious to see what material you used for the faces so well. Thanks for sharing. Pinned, Plus’d and bookmarked :D Happy Holidays!
LOVE them!!!! I can’t wait to show my daughter…I know she’ll want to make them together. What markers or pens did you use for the eye color? I’m guessing the fine black lines are a Sharpie?
Oh, just realized you probably used paint for eye color!