My daughter Maude/Mimi prepared this Friendship Bracelet How-to for you. Here’s what she says:
I love making these for my friends — both boys and girls like to wear them. Sometimes I wear just one, and other times I like wearing a whole bunch. I like wearing them as anklets in the summertime.
Once you get the hang of it, this is a really good activity to do while you’re watching a not very good movie. Grown ups can make them too, but I think this is an awesome activity for kids age 8 to 14.
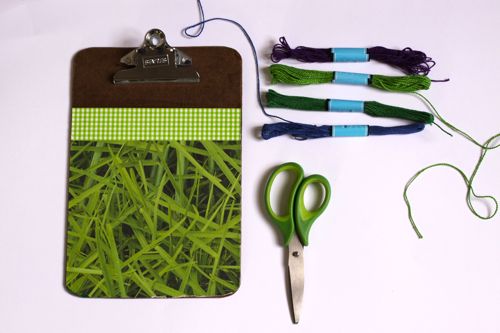
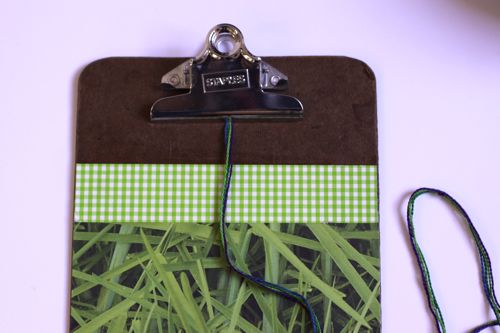
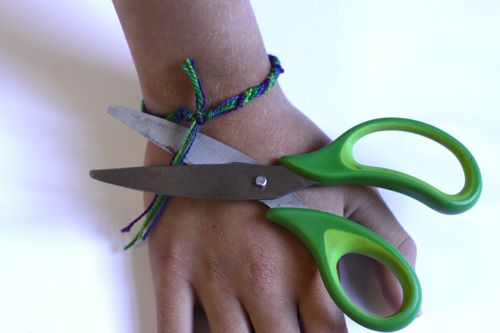
1) Gather your materials (see the picture above). You’ll need scissors, embroidery floss in 4 colors (for the bracelet pictured, I used blue, purple, green and lime green) and a clipboard. If you don’t have a clipboard, you can also use a safety pin pinned to your jeans, or even a clothes pin.
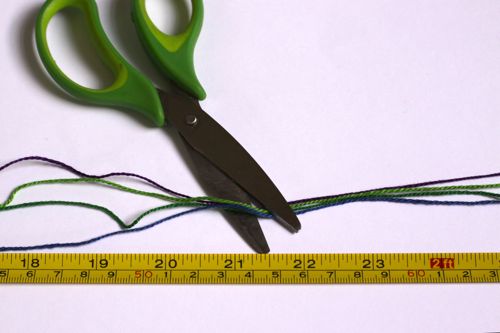
2) Cut lengths of all four colors. For a bracelet, 21 1/2 inches is a good length. If I don’t have a tape measure handy, I just use the length of my arm for a measurement. For anklets, or for grownup wrists, you’ll need to cut the threads longer.
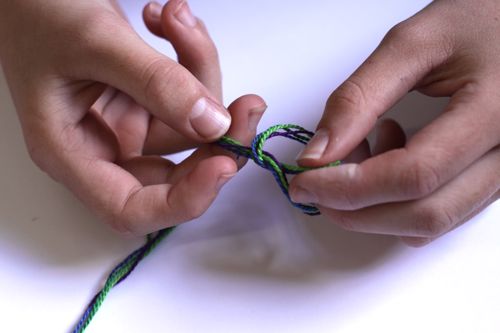
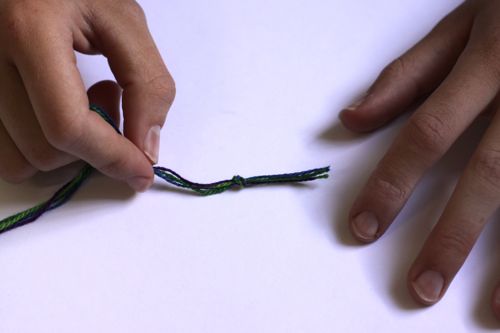
3) Tie the threads together in a basic knot.
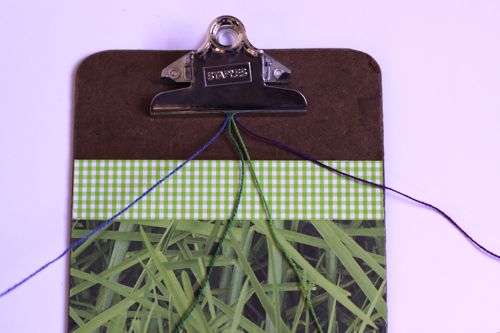
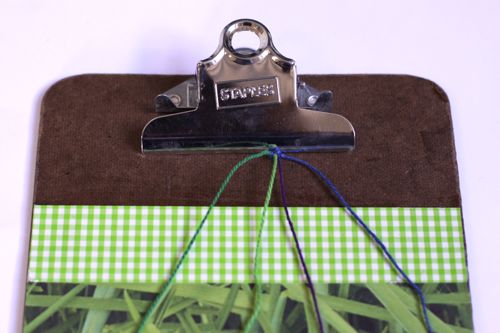
4) Tuck the knot under the clip and spread the threads apart. Notice the order I have them in — blue, green, lime green, purple — because the order will change during the lesson.
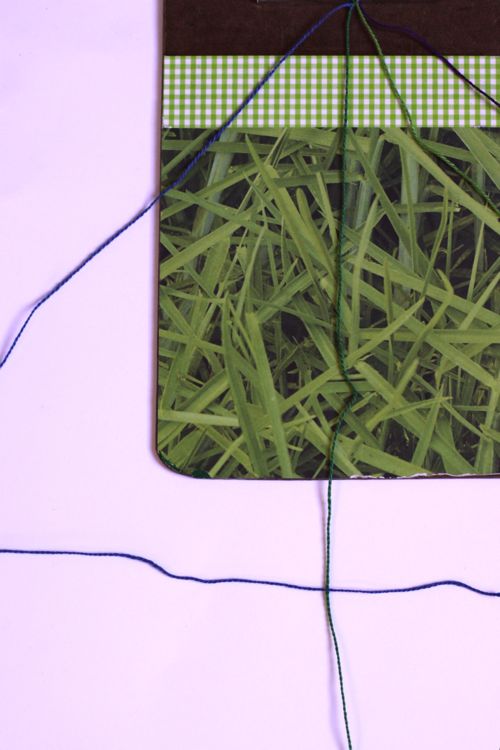
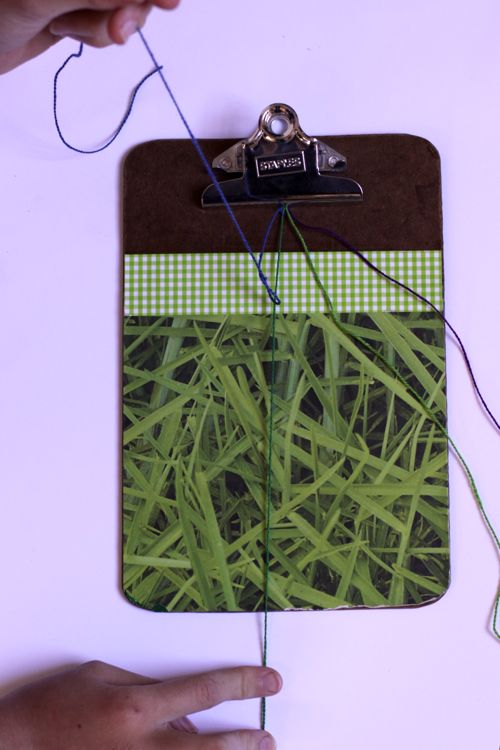
5) Take the left thread (the blue one) and cross it over the next thread (the green one) in the shape of a 4.
6) Take the blue thread and loop it over and under the green thread. Keep the green thread nice and tight with one hand and slowly pull the blue thread until it makes a knot at the top — right by the clip.
Repeat this again — blue over green.
7) Next do the same thing twice with Blue over Lime Green. Then do the same thing twice with Blue over Purple. Now, your blue thread will be on the right side instead of the left.
8) Repeat this process, starting from the left. Green over Light Green twice. Then Green over Purple twice. Then Green over Blue twice.
Then the same thing starting with Light Green on the left.
Then the same thing starting with Purple on the left.
Then the same thing starting with Blue of the left again.
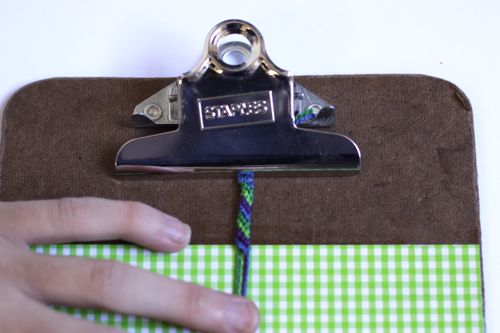
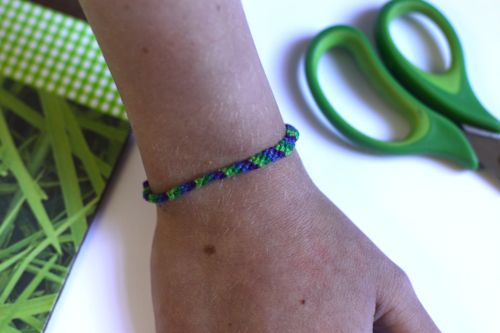
After you’ve done the Blue one three times, the bracelet will be about an inch long and look like the photo above.
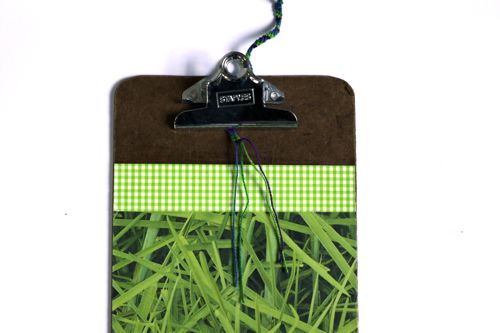
9) Every time you get about an inch done, move the woven part up under the clip and it will be easier to work with.
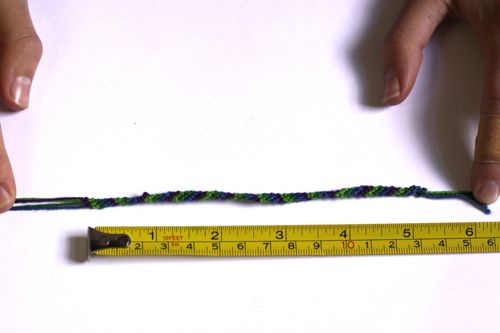
10) When you’ve woven about 5 inches, it’s time to finish it off.
11) Tie the bracelet around your wrist — I like to use a square knot (left over right, then right over left). You might want help because it’s hard to do with one hand. Trim the ends.
Tada! You now have a friendship bracelet.
When I first started making these, they took me awhile — like an hour, and I made lots of mistakes. But I practiced and now I can make them in about 10 minutes each.
I hope you enjoyed the how-to!
Love,
Mimi
OK, I was just trying to remember how to make friendship bracelets because I thought my daughter would like them. This tutorial could not have come at a better time for me. Thanks, Mimi!
The clipboard works well, but I found when I was young that the best thing was to tie a loop at the top, and then put the loop over your big toe! This made it really portable and you didn’t risk pulling the knot out of the clipboard and hearing that alarming “pop”. The only thing, you probably need to be at least fairly limber to be able to sit in a position that makes it work :)
I liked bracelets, its a fine art and i ever remember the method of creation.
I’ll create one of my friend.
Thanks
Hi Mimi, I would love to include your tutorial over at Playopedia (http://childhood101/playopedia) to share with other children who I know would love to make their own friendship bracelets. Hope this is okay! You can email me at playopedia@gmail.com if you have a moment to let me know.
Thanks for sharing
Christie
Childhood 101 :)
c bien mais on peu aussi le faire tenir avec une epingle a nourrice ca marche aussi
You could also add to your write-up the following: Measure down 5 inches from the edge of the clip on the clip board and make a mark, so that you don’t have to constantly stop and measure with a ruler or measuring tape. You could also measure peoples/friends’ wrists and add a little bit and then mark the spot with their name by it.
These are going to bring smiles to my 8 year old niece who is in Seattle Children’s Hospital with a kidney disease. She is pretty much confined to bed so this will keep her busy for a while. I only wish is could print the directions.
I always wanted to make one of these but never understood how to make them. I borrowed a book of friendship bracelets wasn’t any clear. No one at school would give me one and told to make it as if I knew how. I think can give them another go after doing some research online, your page plus Pinterest is great help. I have tried the kumihimo braids and found it very easy. A guy I met gave me friendship bracelet he is so nicer than last one I was with.
Thank you Mimi, I am so old that these did not come to us as youngsters until later, but now just at the right time for me to make one and toteach my grand-daughter