Images and text by Amy Christie for Design Mom.
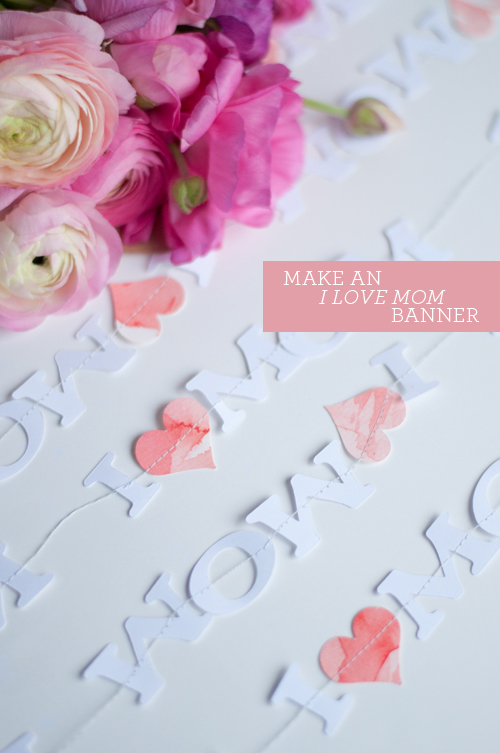
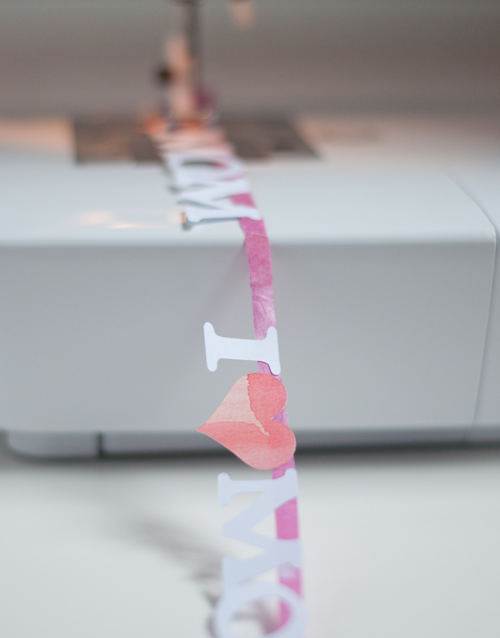
You know I love a sewn paper garland, and with Mother’s Day coming up this Sunday, I just had to put one together for moms. Big or mini, I think ‘I ♥ MOM’ says it all. This tutorial is the same as the tutorial from a few months back — it’s carefully feeding paper through the sewing machine. But letters pose a little more of a challenge.
Making use sure each letter is pierced at least once to hold it in place can be tricky. But don’t be frightened, I’ve got tips for you below. And I should note: to make the hearts, I used watercolors on paper and then punched them out. I love the texture the watercolor adds!
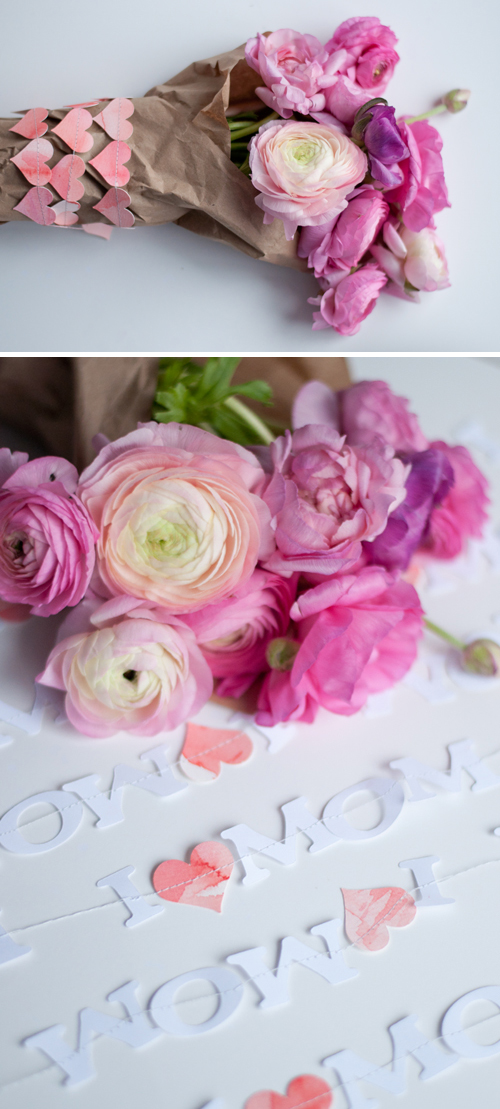
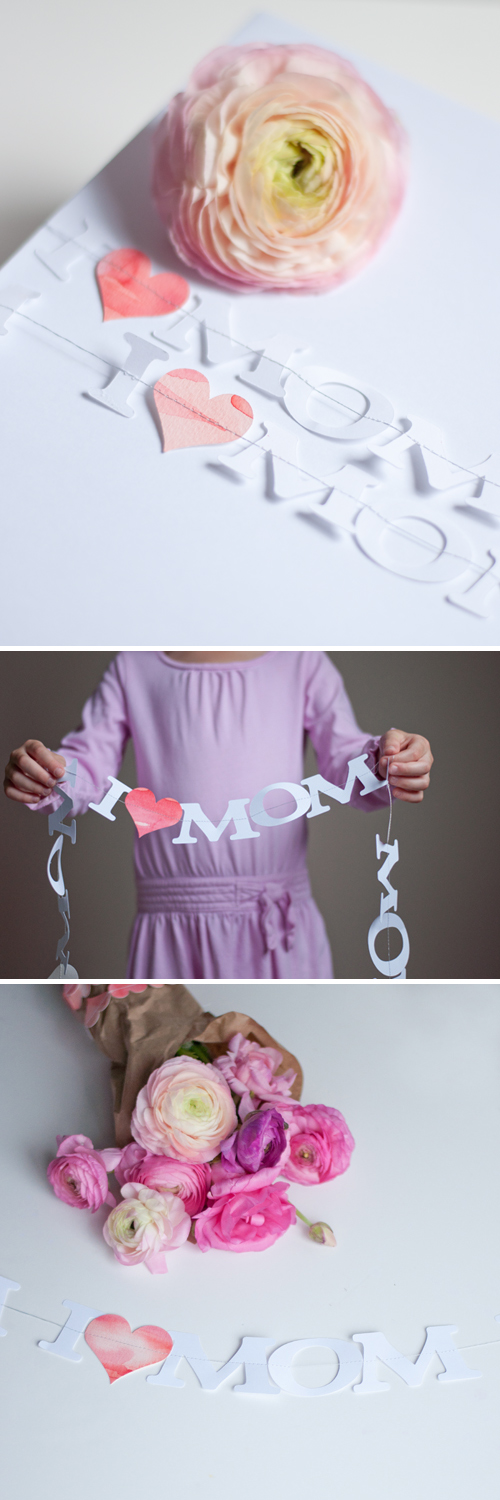
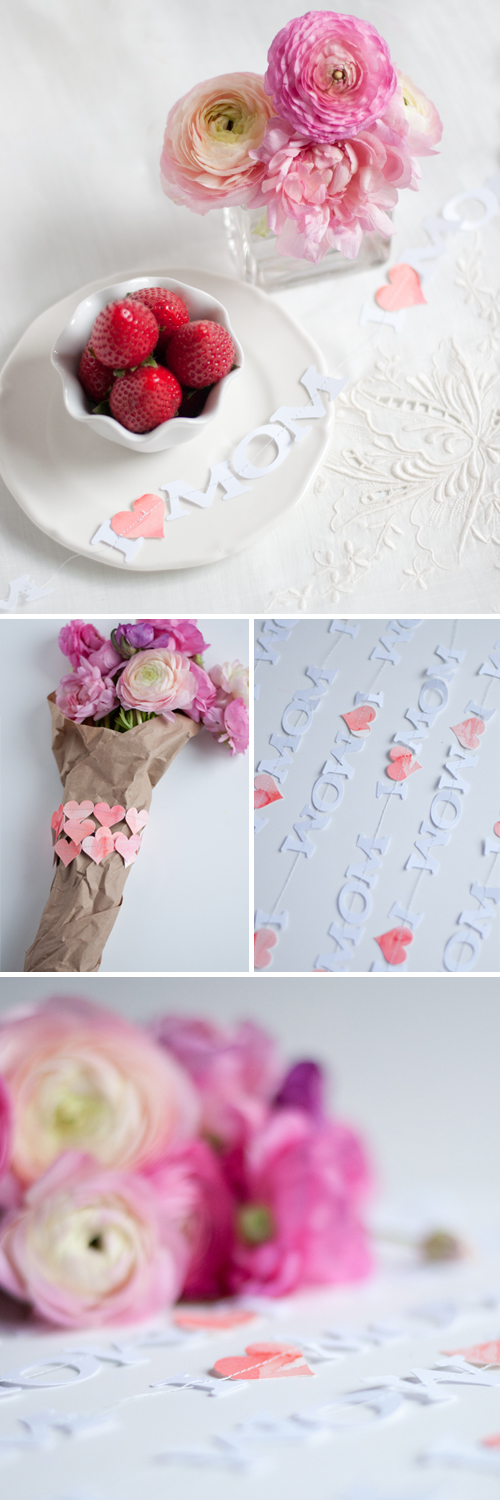
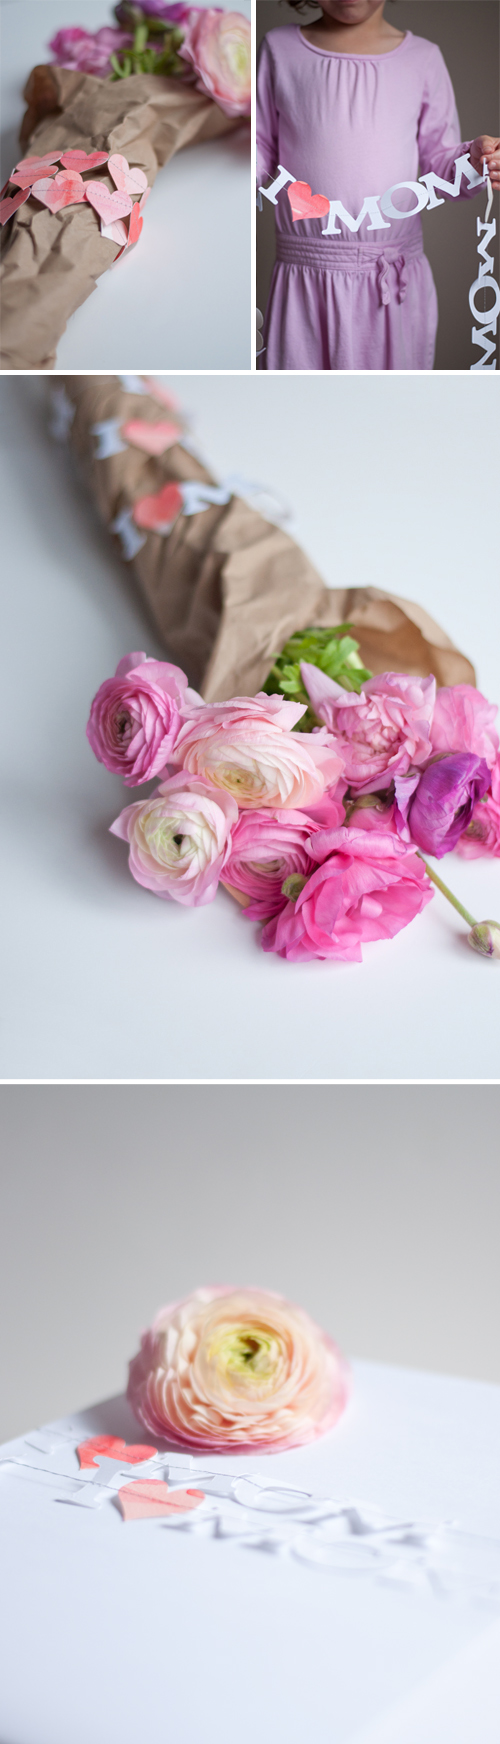
Add the garland around a wrapped bunch of flowers or use it to tie up the gift for the best mom in the world. I think it would be perfect to put on a breakfast-in-bed tray.
You ready to get started?
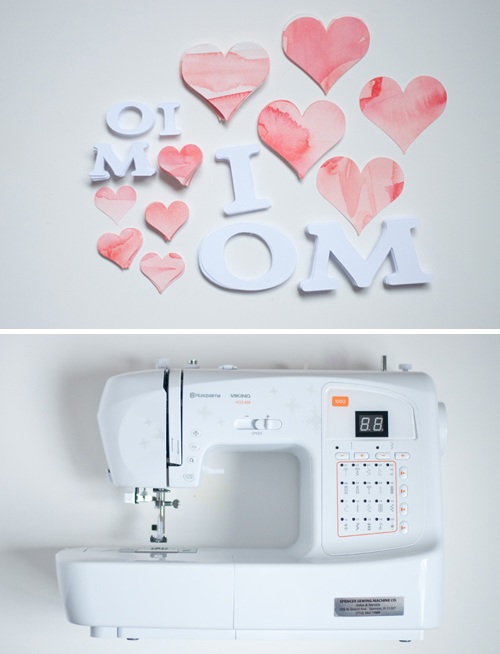
Supplies:
– paper letters
– sewing machine
– thread
This tutorial is the same as the tutorial from a few months back — it’s carefully feeding paper through the sewing machine. But letters pose a little more of a challenge. With their legs and hollow places, making use sure each letter is pierced at least once to hold it in place can be tricky.

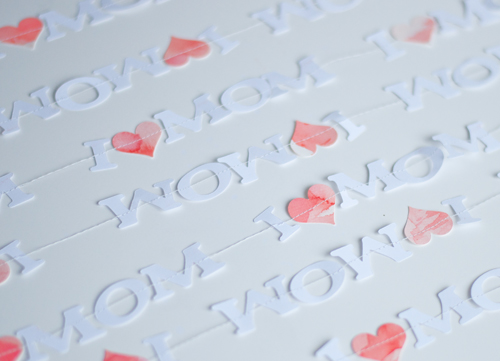
The first tip is to choose a font that doesn’t have super skinny “legs”. Yes, they look fabulous and are a typographers dream but they will be troublesome to skewer. Plus the sewing could really mangle them. If you must have the skinny font, think about staying away from the real mini size. I chose a fatter, wider font and it worked for both the mini and large versions. Both lower and upper case will work, just might have to do without a dot or two, unless you are really driven and go back to attach just them!
The second tip is to use washi tape. It acts as a third or fourth hand, holding things in place and is easily removed afterwards. It was extremely helpful with the letters because I could spell things out before and prevent any sewn spelling errors.

As a design choice, I left a small gap between the last ‘M’ of mom and the next “I”. There is a bit of technique required for this that I learned the hard way. In order for the threads to stay even, hold the last item/letter (in this case, the “M”) taut as the needle pierces the next letter. Keeping the line firm will prevent one thread getting pulled tighter than the other.
With that, you should be on your way to spelling out your own garlands. Happy making! And Happy Mother’s Day!
P.S. — We love making things. Find more tutorials here.
Sweet and thoughtful little garland.
Gorgeous and easy to make!
Beautiful! What a simple and lovely idea.
What a sweet idea! This would also be a cute idea for a nursery banner. But with different wording. Super cute!
Sweet! What Mother wouldn’t love this?!
Pingback: Squirrelly Minds » Mothers Day DIY Roundup
Pingback: Make Something with Design Mom: Mother's Day Garland | this heart of mine
Pingback: Weekend Walkabout | A Mother Far from Home
Pingback: Special DIY Mother's Day crafts and cards to really make someone's day | Cool Mom Picks
Where did you get the paper letter cut outs?