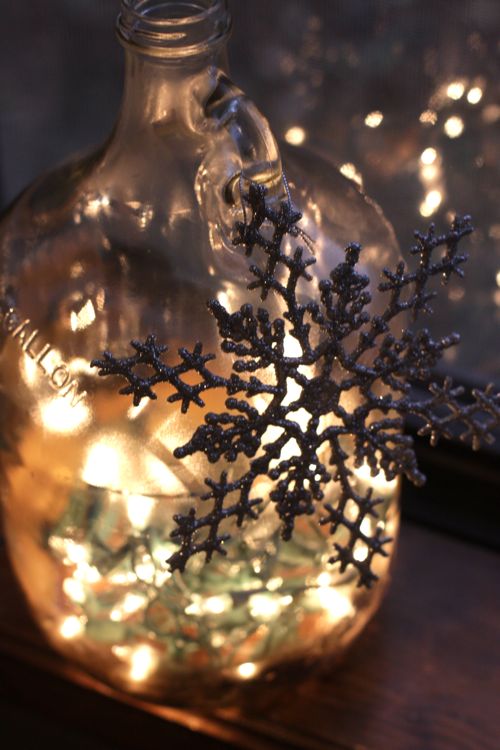
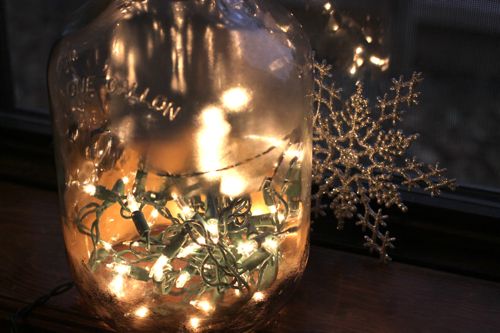
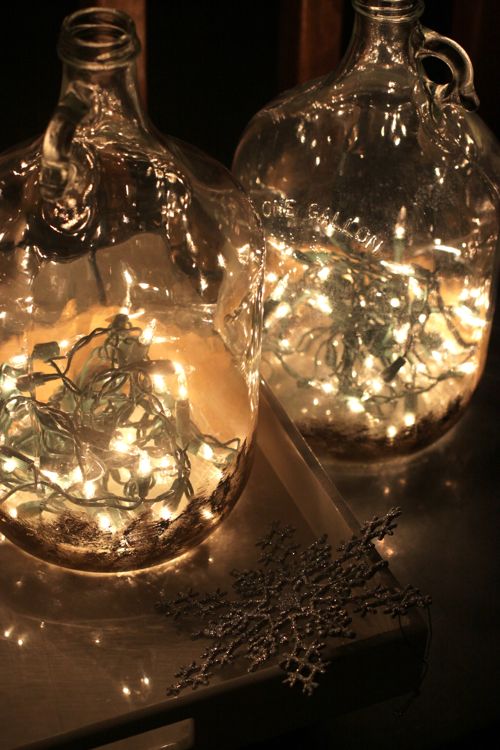
The other day, I wrote about attempting to drill through glass and I finished up the project this weekend. I think it turned out beautifully — I love the idea of bottled light thanks to Christmas Lights in a bottle!
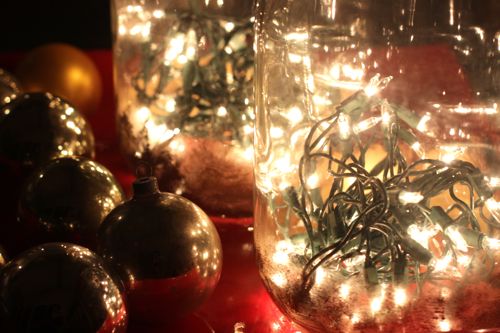
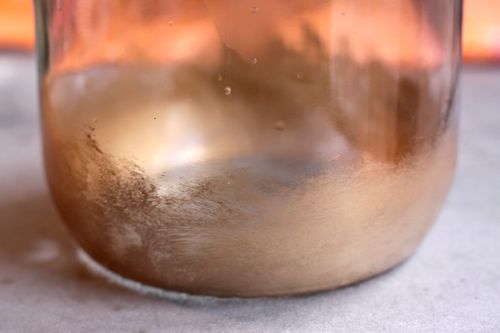
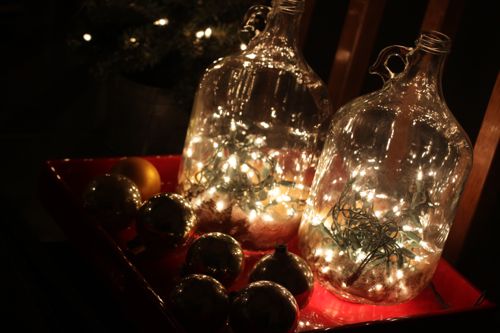
These would be pretty by a wintery window or under an entry table. I like the way the gold paint makes the bottom of the bottles look misty and glow-y, even during the daytime.
I’ve got a ton of images and DIY instructions below if you’d like to try this too.
CHRISTMAS LIGHTS IN A BOTTLE TUTORIAL
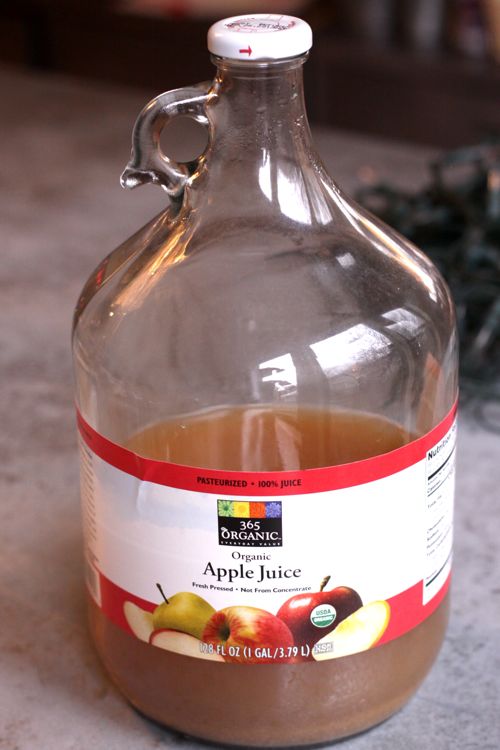
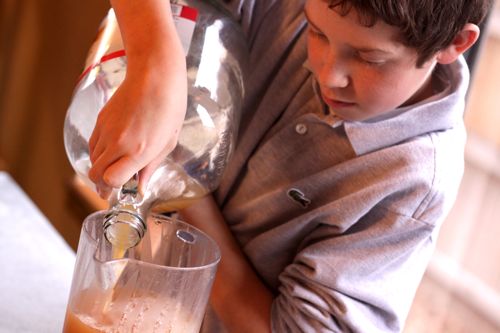
I started with these apple juice bottles. I have long admired these bottles — I love the contrast of the big round barrel and the teeny little handle — and was glad to finally come up with a project where I could use them. The juice is good too! I got impatient waiting for the family to finish up the contents, so I had my oldest son pour what was left into another pitcher, then I washed out the inside.
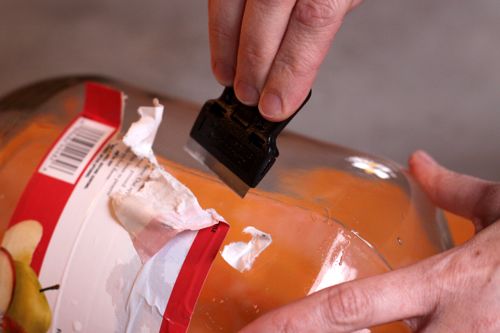
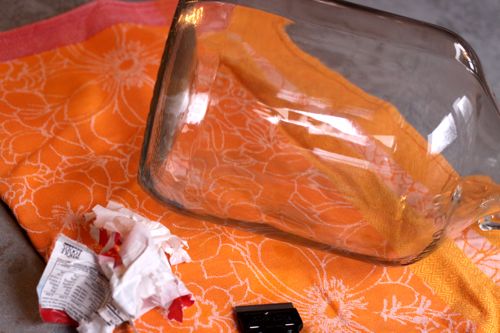
Next, for my Christmas lights in a bottle project, I used my handy mini scraper tool to take off the label. This tool is basically a straight edge razor blade with a handle. When you’re done using it, you can flip the blade upside down so the sharp part is hidden in the handle. Such a useful tool! I use it to take sticky things off windows and other glass — no chemicals required.
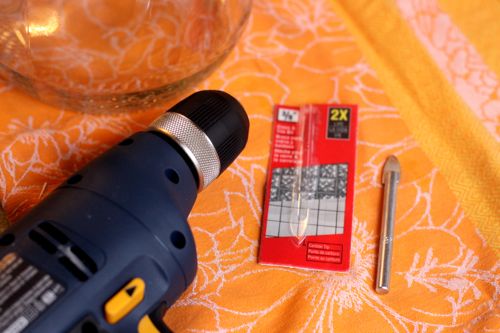
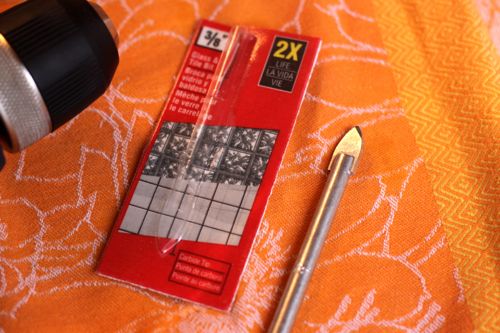
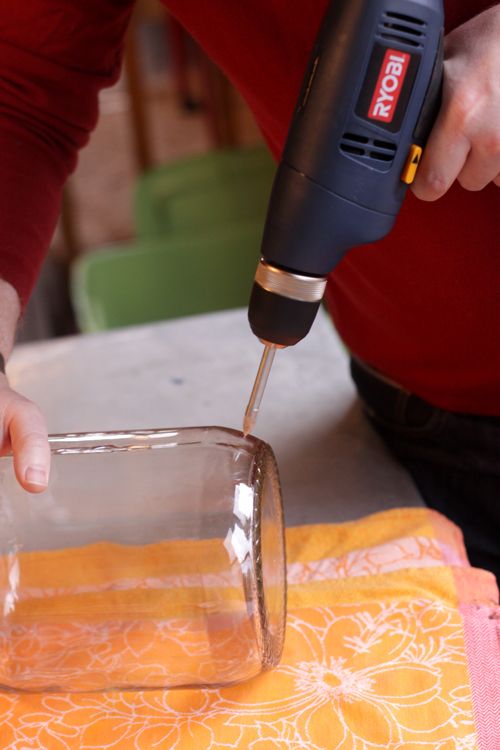
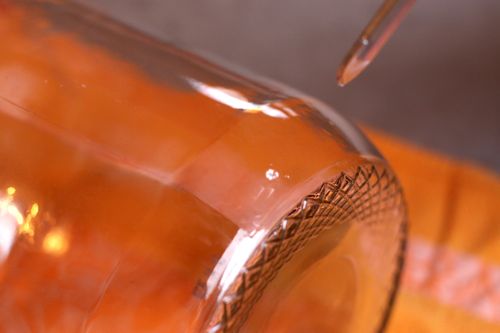
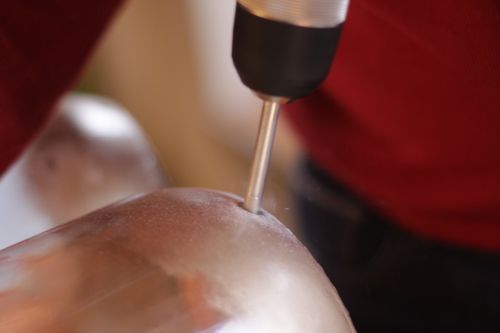
Once the bottle was clean and label free, it was time to drill through the glass. We used a 3/8″ drill bit designed for glass and tile. The drilling takes a little while — maybe 20 minutes — because you can’t go too fast. The drilling will create white dust (I guess it’s technically sand) and as the hole gets bigger, it will smoke a bit from the heat.
[UPDATE: Hah! Apparently I did it all wrong. Lots of readers are chiming in with suggestions for safer and easier and faster ways to do this. Among other things, suggestions include wearing a mask, drilling while using water to cool the bit, and using other tools entirely.]
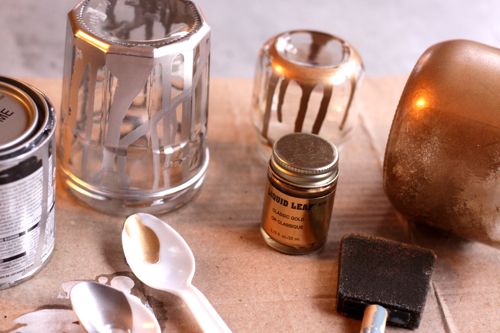
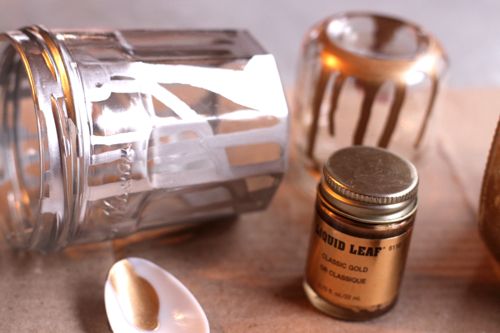
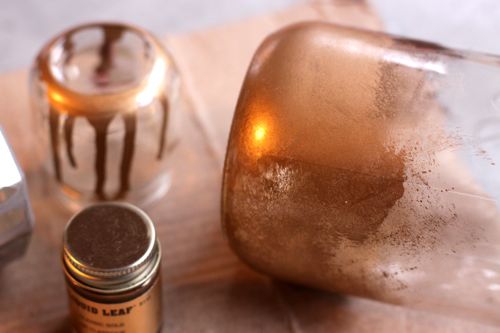
Next we painted. I experimented with some old jam jars and baby food jars first to try different techniques — like paint dripped from plastic spoons. But the kids voted and liked the sponged look best, so that’s what we did for the final project.
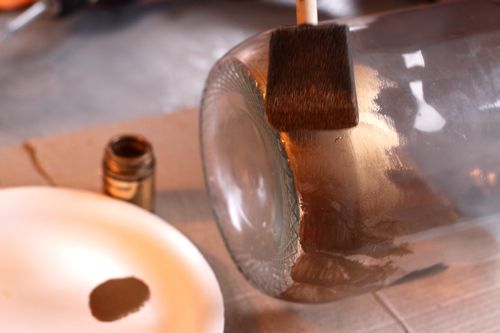
I used a disposable sponge brush and Liquid Leaf paint — but any metallic enamel paint should work. The paint is not water-cleanup, so a disposable brush is great for this project. I only needed a little bit of paint to get the coverage I wanted. Instead of brushing the paint on, I was mostly “patting” into place.
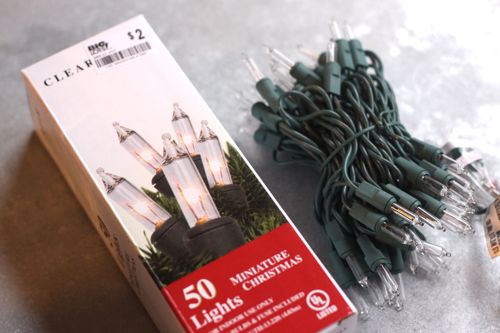
Once the paint was dry (it dries very quickly), we started stuffing our Christmas lights in the bottle. You’ll need a 50 light string that is not made to connect end-to-end. We had the hardest time finding lights like this. We went to 4 stores, but they all carried only end-to-end lights (which are the kind I prefer for my Christmas tree). Finally, I tried to think of who might carry old-school Christmas lights and Big Lots came to mind — because they often carry items from last season. Hooray! They had just what we needed.
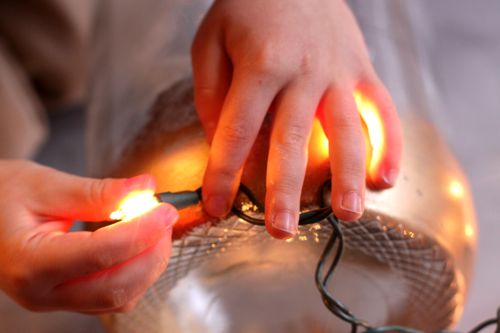
The lights fit through one at a time, but it was a bit tight — I would recommend using a slightly larger drill bit and the light stuffing would go much faster. Oscar and Maude loved this part the best. Stuff every light on the string in, and the plug will dangle out the back, ready to find an outlet.
And that’s it! The Christmas lights in a bottle are a very satisfying project and a fun addition to our holiday decor. Though really, these don’t have to be holiday at all. We could use these for any sort of event where we want a little glow-y light happening. Maybe we need to have a party where bottled light is the theme. : )
Drilling in a bucket of water, Can’t believe someone has not said about using an electric drill ?? Do Not use one in water
wayne your right with the electric part however glass is a material that is supposed to be worked with in water. i say this as a glass artist. i understand the electrical issue and your right in a bucket would be a bad idea however you need to keep running water on the surface of the glass to keep the temp down, this prevents the class from fracturing. i would say find a compromise. if you can do it on a cutting board near a sink or something along those lines were you can keep water running on the glass and not on the drill you should do that. o and use a DC drill, batteries are safer then an AC drill in this application
Why not just put the lights in through the top of the jar? It’s already open… Is it so the plug comes out of the bottom of the jar?
to be honest you said one of the hardest things is the light stuffing but there is an easier way to do it. if you own a pair of wire stripers, cut your wire down by the plug but leave yourself about a foot from the plug to work with, next slide a wire hanger through the whole. this will give you something to pull the other end of your wires through the whole. tape your two wires to the hanger and pull them back through next just strip the ends of all your wires and put them back together using crimps or wire nuts and then tape with green electrical tape or what ever color you so chose. i try to match the wire color because it wont stand out and there you go, a bit easier
Muy lindo y parece sencillo, aunque tiene su riesgo. Me tengo que animar ha hacerlo.
Less messy than continously runnung water over the bit, use a glue gun to make a circle dam, fill with a little cooking oil and it will keep the bit cooler than water. When you’re finished drilling, just peel off the wax. I use this method on plates and glazed terra cotta pots. Haven’t cracked one yet!
now they have solar Christmas lights and mine is outside with just the little 3×3 solar panel sticking out of the bottle. You can put it up to 4-5 feet away from the bottle and out in the middle of the yard and it just comes on automatically every night. People have walked up to it trying to figure out how I do it. I like moving it around the yard too!
Hi, just ran across this and love it. I saw something similar at a craft show that
was beautiful and of course you can make it for anything.
It is one of those glass blocks that are used in making “windows” They are hollow and once the lights are put inside, wrap up the block with a fancy bow and
a few flowers and wa lah! You have a present….looks really pretty on a kitchen
counter as a “night light”.
Great tutorial and added comments, learned so much reading through most of them, love the idea of adding potpourri in the inside and printed Photos on the outside, the glass blocks sound lovely wrapped in ribbon for under a christmas Tree, I will positively be making a few of these varieties, thanks for sharing, looking forward to a successful outcome, cheers and Aloha!
that was tottaly not cool
Very nice indeed. Another few suggestions to add to the project. Taping the surrounding area of the drilling with paper tape will prevent injury if a shatter occurs. Also, you could investigate micro-LED lights which are much smaller and thinner, thus easier to ‘stuff’ through a smaller drill hole. The smaller the hole the less chance it will crack or shatter.
I wonder if disguising the cable with tinsel, chiffon or the like might not make it nicer and more festive. I love the concept though, very pretty.
Gracias por esa brillante idea. Voy a experimentar a ver si lo logro.
You NEED to use water when drilling the hole. My father who is a glazier does this. For everyday people I would suggest taking a glue gun and making a circle around the area of where you will be drilling (making a wall) and add water into the circle that is created and then use a razor blade to remove the glue after your hole is drilled.
Awesome idea! M mom broke my lamp, so I need some new, I think I’ll use this one!
Cheers!
Anika
I use rice light in mine. The do not build up heat, smaller and easier to get into the bottles. If you use the mini lights, be careful. I have seen people add potpourri which caught on fire.
Putting duct tape or gaffers tape over the spot you are drilling will help prevent the glass from breaking.
Great project ….I created one for myself by using wince bottle …just wanted to know if it is ohk for bottle to get heat up …..is there a chance that the bottle will crack or something?
How hot do the bottles get? Has anyone asked that question? Because, my sister just received a wine bottle with mini-lites in it. Looked so pretty, but after 5 minutes, the bottle got too hot to touch. Be careful!!! Are there other lites one could use, like LED’s? Anyone else had this problem?
i’m a sucker for anything made with faerie lights. i really love your jug lights. i, too, have always loved the shape of these jugs. and i’m going to follow your lead and try to make some of my own. i think i’ll drill bigger holes to make putting the lights inside easier. now all i have to do is find the bottles. i purged mine during my last move.
White string lights would look great also, loved your project
Thanks for keeping this idea alive. It is sooooo classy, yet easy to make. I did this several years ago with a glass bowl. After putting the lights into the bowl, I filed the bowl with potpourri. The potpourri covers the wire that the lights are attached to and when the lights get a little warm, it releases the aroma of the potpourri. Wonderful!!!!
Just found some small strings of LED lights at Lowes with battery packs. They are strung on very thin wires and attach to a battery pack at one end so you don’t need a big whole or an outlet :) http://www.lowes.com/pd_477215-57387-163431LOW_1z0wnwq+1z11964+2z8vj__?productId=50055737&Ns=p_product_qty_sales_dollar|1&pl=1¤tURL=%3FNs%3Dp_product_qty_sales_dollar%7C1%26page%3D1&facetInfo=LED|$5%20-%20$10
Walmart has the same lights in season or online for $4
The way u explained each step on how 2 drill & decorate glass was GREAT I cant wait 2 try it that was a lot of work 4 u & I appreciate it THANK YOU ! !
to get the job done better, use a 4-spaded drill bit. It is just like the one you use only it has 4 cutting blades on the end of it. It costs about $15.00 at any of the big box stores. We don’t have a True Value around here, but I would bet they would have one. Thanks for the instructions on Pinterest!! I enjoy looking at them.
If you pick up some solar powered LED fairy lights and seal the bottle up with a cork and wax? A blob of silicon around the power cord. Pop it in anywhere in the garden and it will be weather tight!
Lovely stuff. Use battery operated lights instead, no need for drilling then.
Hi saw the posting and like that i can use my dremel to drill with. I have taken some dried potpourri put in a mason jar added a string of lights (plug in kind but u can also use the battery kind) then sprayed it all with esstential oil scent.makes a great nite lite in the bathroom or to have on when guest comes over. folks always say how nice it smells. the heat from the lights will cause the oils to warm up and smell nice. we have left it on all nite and nothing has happened. the type of string used was the mini kind u get at dollar tree during the holidays but u can find them year round at crafting stores or on line. off to do more research and crafting . happy crafting y’all
drilling holes in glass to incorporate lights
Why does this have to be the ONLY rebillae source? Oh well, gj!
Next time try putting painters tape on the area you want to dril, less mess.
What a lovely idea – what a total fuss about safety – we get the message! Puts you off sharing your lovely ideas.
This info is the cat’s pajamas!
The method of drilling the hole may vary but the real fun is in the decorating. Letting the kids vote I’m sure only added to their sense of involvement. These will make great keepsake pieces.
Weren’t you at all afraid that the glass would burst, break into a 1,000 pieces, or shatter? I love what you did, but I guess I’m not so brave. LOL
You can also buy a string of lights that are battery operated; that allows you to put your lighted jar anywhere without dangling strings. :)
Okay I LOVE this!! LOVE, LOVE, LOVE this look! Turned out absolutely Gorgeous! So my niece is getting married in August and it’s a country wedding where we are using mason jars….I’m thinking how gorgeous would this be with some of those jars….adding ambiance is so important! Thanks for the tutorial!
you mentioned that a lot of people told you to do it differently. Was the drill bit not the right size? I’d like to try this myself and I would like to know before I purchase everything. THANK-YOU!!!
1/2 ” diamond bit under water is the best way .Don’t push too hard ,or move side to side ,a straight steady cut will give you the best results :) Glasses please okay .I posted below the blocks used for building .Like bathroom windows ,or entry ways make an awesome place they can be seen both inside and out .A wire coat hanger straightened out make a good tool for placing the lights just so :)
Some of the readers are both right and wrong at the same time. The dust is sand, but it is silica sand, a product that is hazardous to the lungs. One commented that it causes silicosis in the lungs, and this is correct. Another said to run a small stream of water while drilling. This serves three purposes. One- no dust, two- cooler grinding, and three- the drill bit will last much, much, longer. this is why a rock cutter/polisher uses a coolant while grinding/cutting stones. Glass is a man made stone, made by melting silica into a solid item.
We drilled holes on the bottom of about 125 wine bottles. We clamped the bottle to a post on the deck so it was held securely. Wear gloves, there will be breakage, wear eye protection and a mask, the “sand” is glass as we all know, start with a small drill bit and drill a pilot hole, then a larger bit as needed to get the desired size you need. Pour water on the bit as you drill, it’s not so much for cooling the bit as for lubrication so it drills smooth. Use a steady hand and you’ve got it. Enjoy!!!
I love how you did your project with the help of your children! :)) thank you for fun idea of cider jar! Blessings, M
I wonder what it would look like if tinsel was put in first. May give it more sparkle. And face it, there can never be too much sparkle everyday of the year. Loved it and I am going to try drilling the hole. I have several wine bottle left from the wedding of a loved one. They are green, so, I sprayed them white and then sprayed on adhesive and roll them in Epsom Salt. Makes it look like it it covered in snow. I love the idea of adding lights. I think it will make a wonderful Christmas present to the couple.
I am very concerned with the lack of safety in this tutorial. The “dust” is not sand (1. sand is crystaline quartz…not glass 2. sand is usually eroded, such that it is not harmful to touch). It is microscopic shards of glass that can be extremely hazardous! This tells me that the author has no clue what she is doing. She is lucky that she didn’t hurt herself or anyone else. Please, always use safety goggle (not safety glasses) and a face shield for protection. Rubber lab gloves and an old shirt as well!
Amen . Mrs Ferris, well said .Safety first always !!!
leather glove if the bottle breaks you have a better chance of not getting hurt with the leather ones rubber will cut very easy.
Here is an idea that may decrease your grief of looking for cords without plugs at end. Attach the other end to the lid using a variety of methods. You can use longer sets (LED cool lights work best for this. Not as bright. Twinkle lights work well to.) ans can go all the way up the bottles.
If you love these apple juice glass jars, Trader Joes has even better in a balsamic vinaigrette and I bought just because of the bottle:) and even better it’s less than $4!! Uhmmm….say what?!?!
the best way to drill a hole in bottles are: use a 1/2″ glass diamond drill bit(shaped like a tube) and buy plumbers putty (home depot, lowes) make a small donut shape from putty, apply to the area that you need to drill a hole, then fill it with water. should’t be much, so while you are drilling, the bottle and the bit are staying cool to prevent glass cracks and over-heated drill bits.
you can use the end to end lights. You just get your electrically proficient hubby (or friend) to cut off the plug receptor end and wrap them up. I also do the lights in glass using glass blocks and putting a pretty ribbon on it to match whatever decor it’s going to be displayed in.
You won’t find my glass lights on the website right now. But I wanted to say that I have 2 drill presses. I use water on the glass piece and don’t let it get dry. I continuously pour a bit of water over the area I’m drilling and keep a bowl under it to catch the excess water. You can also use a spray bottle and you will have less water spillage. I don’t recommend drilling it dry..your glass will break, the bits of glass dust will go flying and you won’t get a clean cut if it manages not to break. Wear protective eye wear for sure.
The mask & water are a very good idea the last thing you need in your lungs is glass !! You know the thick glass building block ,used for bathroom windows and entry ways ? They are absolutely a wonderful design change for any house seen from inside and out .I actually drove over a block with the lights in it already .On a dirt road in Mexico ,when I lived there .Not my idea but pretty cool huh ?
I use modeling clay and make a rope circle which I apply around the area for the hole. Then I smash it around to adhere to the bottle. Next pour water inside the circle. Put on a mask and safety glasses. Use a cordless drill with a diamond tip bit, and drill on slow speed. Refill the ring with water as needed.
WORKS EVERY TIME.
Super interesting and creative idea! Was especially curious about making a whole into a jar! Thanks, got some ideas here! ;)