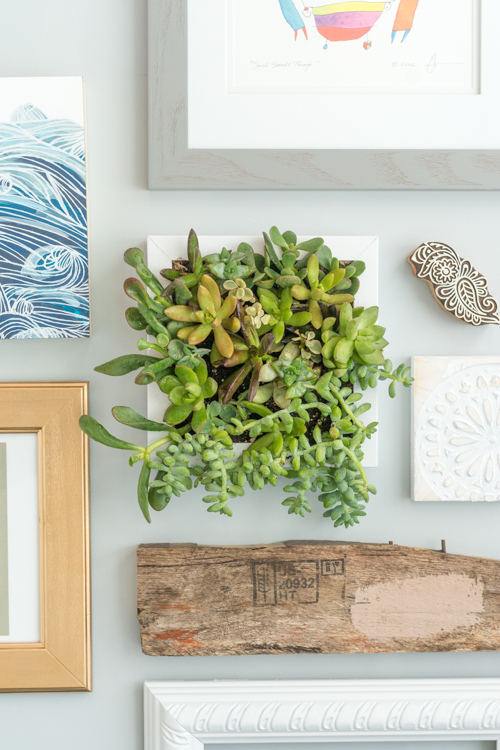
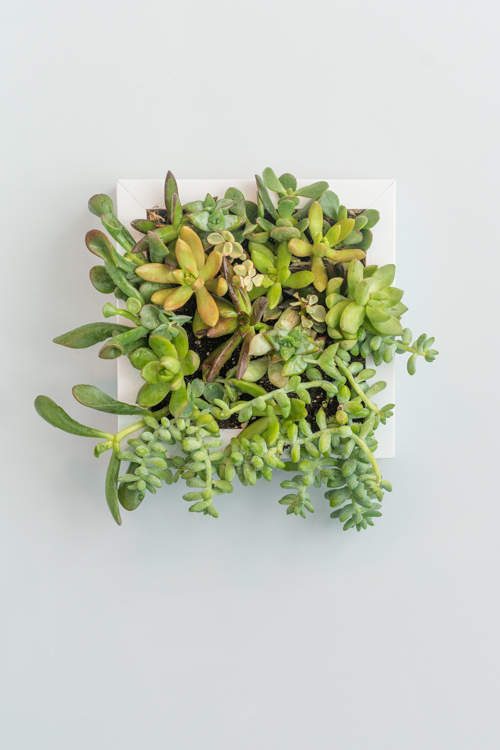
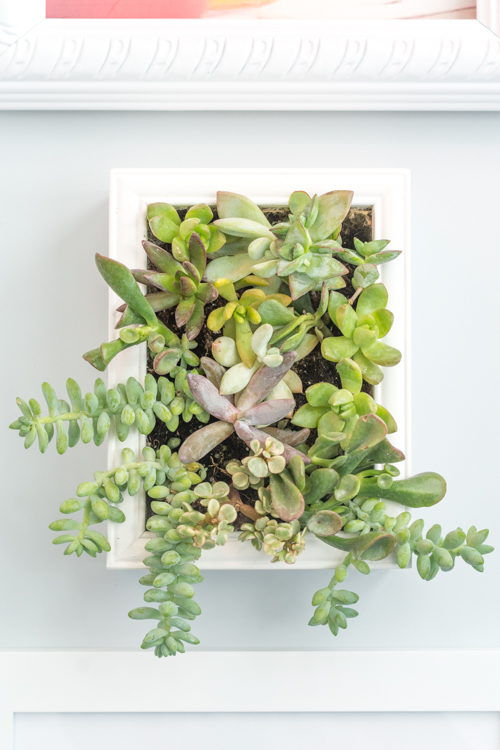
Still in love with succulents? Me too. They’re so easy to care for and they add beautiful depth and color and texture to any space. So I LOVE the idea of using a shadowbox frame as planter. Succulents on the wall? Yes, please!
This project is especially appealing to me for 4 reasons: 1) You can choose any style shadowbox — silver, modern, carved, traditional, black, glossy — whatever works best for your decor. 2) It hangs on the wall and keeps flat surfaces clutter free. 3) It works in any room. 4) It would make such a fun gift!
Let’s get dirty.
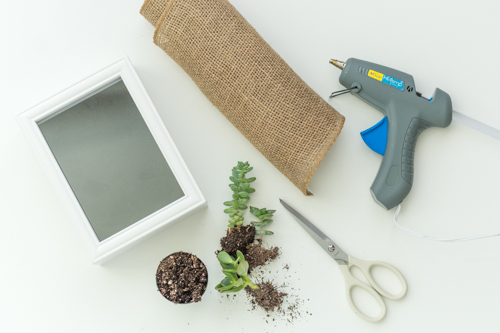
Supplies:
– shadow box frame — we used a square and rectangle
– burlap
– hot glue
– scissors
– an assortment of succulents
– soil*
– flat-head screwdriver
Start by removing the succulents from their pots, pulling away excess soil, and separating them into individual plants. Getting them down to just the roots in the best and makes it easier when tucking the plants in the small holes in the burlap.
*We had enough soil to fill our frames just using what came in the succulent pots. Depending on how larger your frames are, that might work for you too. If not, extra soil is necessary.
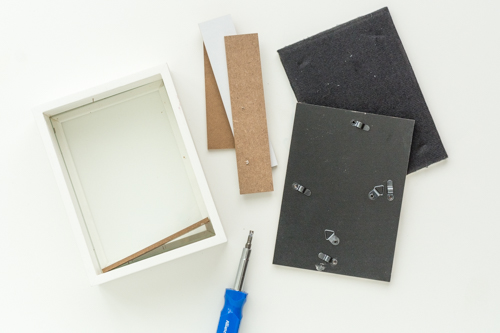
After prepping the plants, the next step is to dissemble the shadow box to remove the glass. Remove the backside. Then remove the inner side pieces (they span the space between the glass piece and back) using the flathead screwdriver. Once they are out, remove the piece of glass and recycle it.
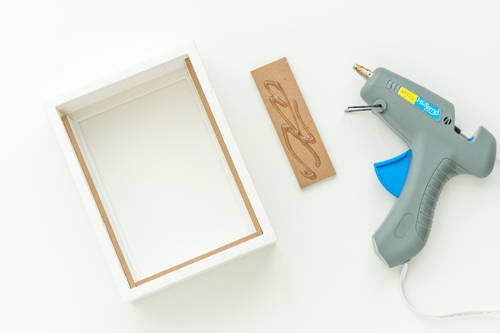
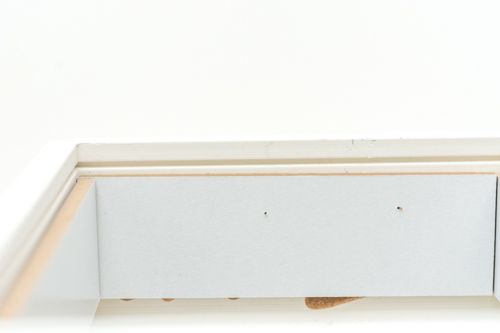
Once the glass piece is removed, replace the inner side panels using hot glue. Attach the side pieces towards to backside edge (not the front side of the frame). Placing them here will support the back panel.
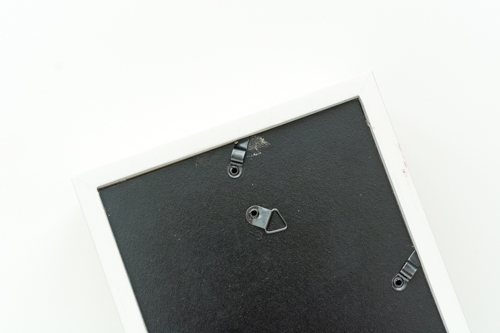
Replace the back panel.
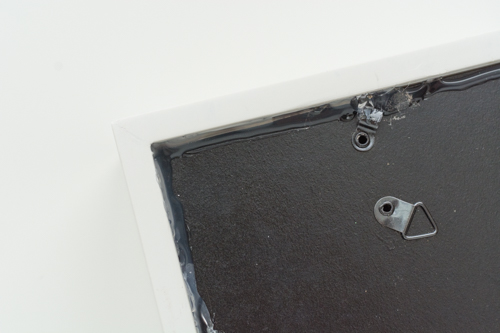
You can add a bead of hot glue around the seam of the backside, to prevent leaking.
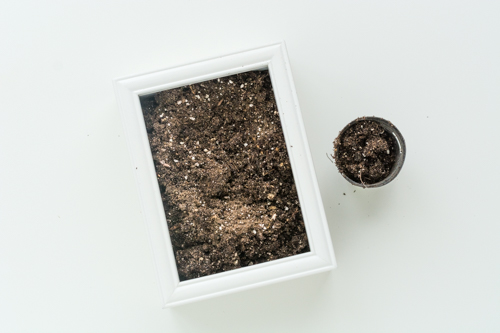
Turn the frame over and fill with soil. We found the best amount of soil was to fill it up to about a finger’s width from the frame edge.
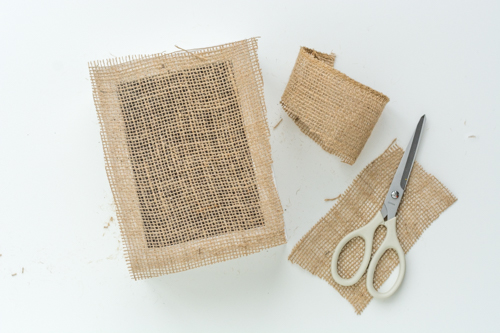
Cut a piece of burlap to the size of the frame. This size is just the right size as the piece of burlap will be tucked inside the frame on the underside.
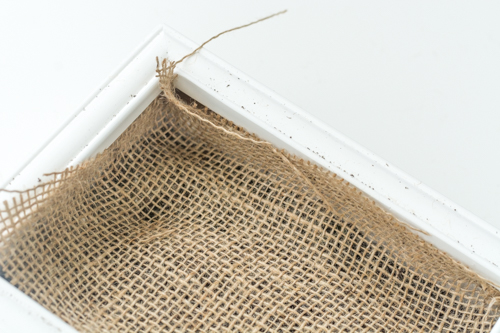
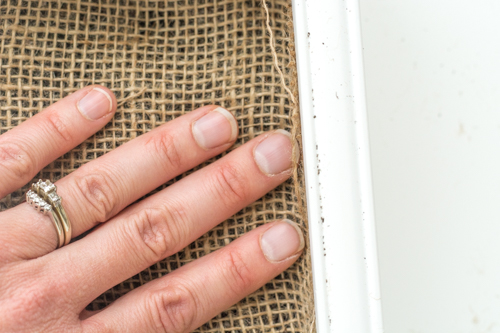
To place the burlap, start with one side and place a line of hot glue right below the frame edge. Press the burlap into the hot glue, pressing into the glue and down onto the soil.
Continue around the frame with the other three sides, adding the glue and pressing into the glue and down onto the soil. Tug the burlap taut with each new side as well.
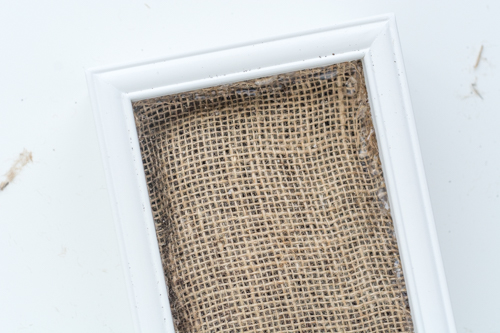
Once all the sides are connected, add a bead of glue on the topside of the burlap, under the frame edge. This is, again, preventative, working to keep all the innards inside. Once this is complete, it’s ready for plants.
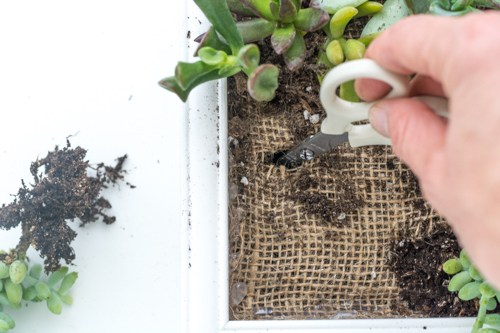
Note where the top of the frame is (the same side as the hanging parts on the backside) because the little holes we cut to tuck the plants into need to be parallel to the topside. Parallel cuts keep the plants from falling out.
To place plants, we found working from top to bottom is great as is random placement, depends on what you prefer.
– SMALL cuts into the burlap should be made parallel to the top of the frame.
– Use your finger (or scissors) to dig into the hole to make a place for the succulent root.
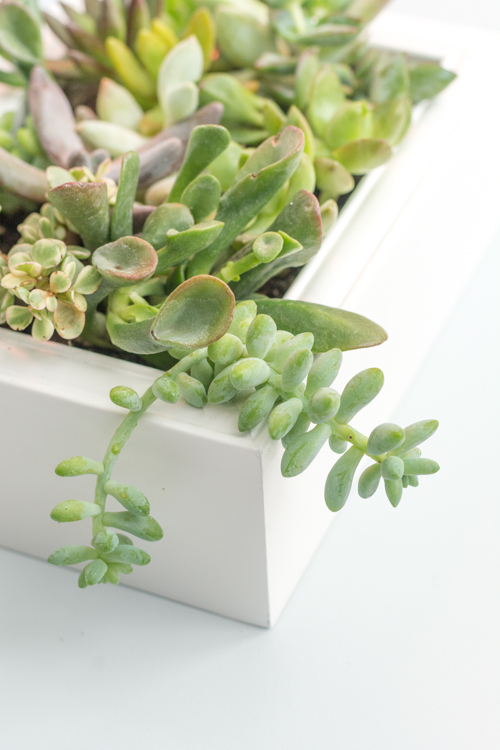
– Very gently tuck the succulent plant into the hole, working to get it as far into the burlap-covered soil as possible. Be very gentle as succulents are easily broken.
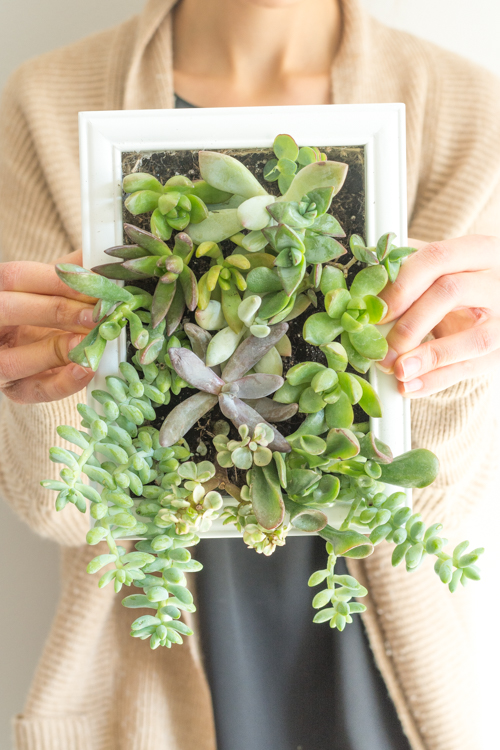
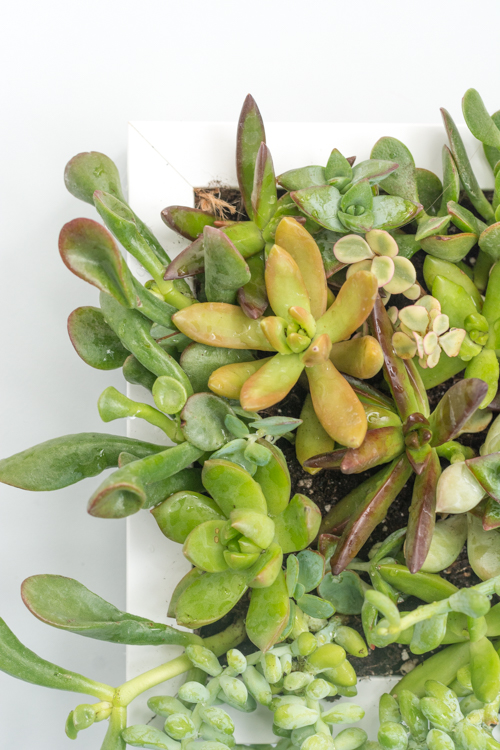
– Pack the frame full. Plants should be placed quite close together.
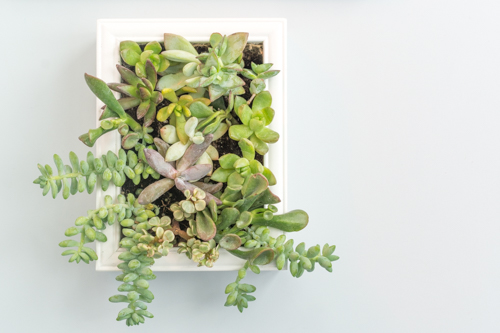
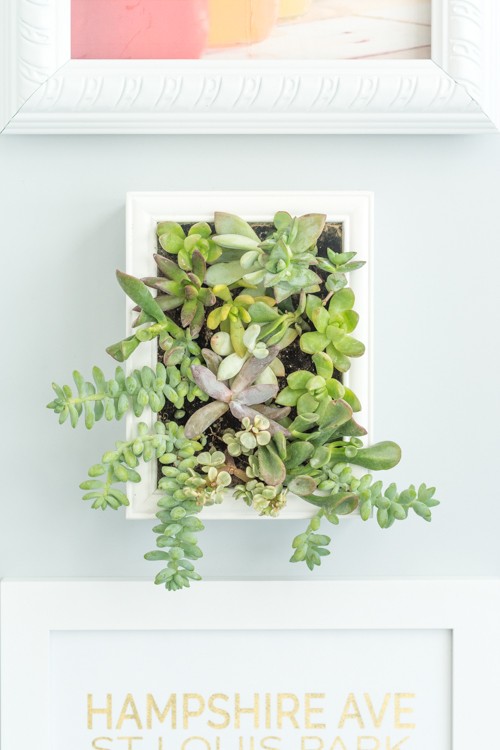
Once the frame is done, hang where you like.
To care for the plants, take the frame down once a week to water, and then rehang.
___
And now your turn. Have you ever tried vertical plants? And do you have an opinion on succulents? If you make one of these planters, I’d love to see it!
Credits: Images and styling by Amy Christie.
Such a lovely idea! Will have to give it a go – thanks for sharing this gem. I am a huge fan of succulents too.
What a great idea! I’ve been trying to find ways to add more plants in our home. This is perfect. Thank you!
What a great idea, I have a bunch of little succulents that will work. Thanks for the suggestion/tutorial.
These frames are so pretty! I love them!
Paige
http://thehappyflammily.com
Love this! I’ve always been a fan of living walls but do not have a green thumb. I think I can manage this, though!
I love this idea and just wanted to share that my local succulent supplier told me to water mine once a month, rather than once a week as you have above. I’m terrible at watering (hence the succulent love) and I go even longer between with no issues.
Wow, that looks really cool. I don’t know if I’m brave enough to do this though. Pretty sure I’d end up with a lot f broken succulents, and then later a lot of dead succulents.
I tried this and I have to say it wasn’t easy but I like the results. It also cost me about $100 to do two frames.
What keeps the back from rotting? Is it plastic?
I must say, this was very difficult and my succulents didn’t even survive the process of being squeezed into the tiny slits. I hope others found success in this beautiful project but unfortunately I did not.