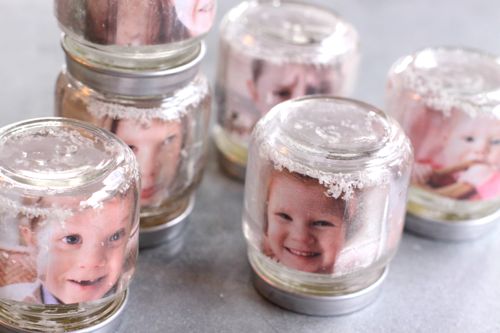
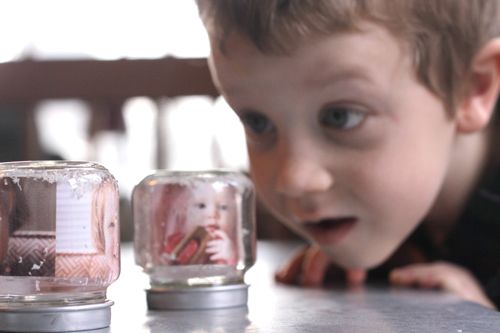
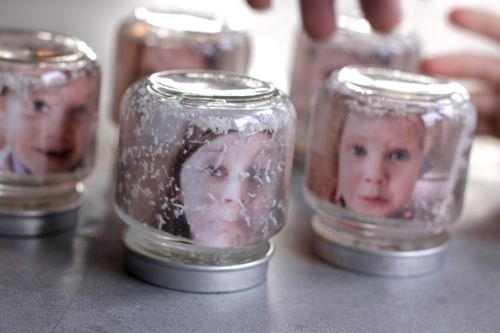
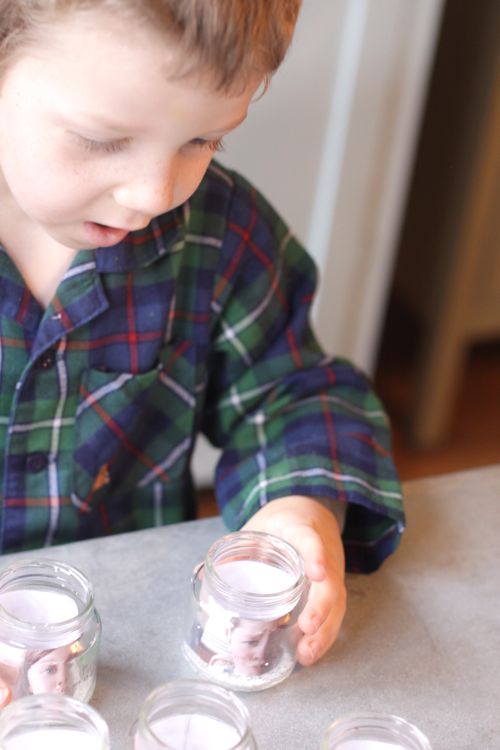
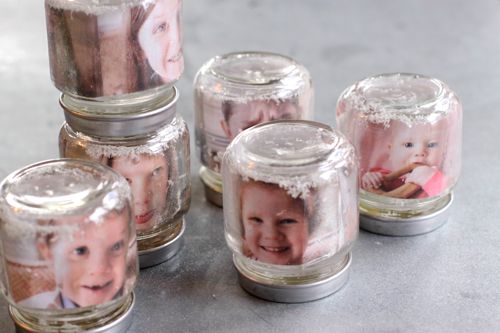
Here it is. Our fifth sibling gift project for Christmas 2010. And I think it turned out charming. Oscar made photo snow globes for each of his siblings (and one for himself too).
We had every thing we needed for this project right in our house, expect white PVC pipe. So we stopped at the hardware store and picked up a 1 foot length of pipe for .33 cents, then we were ready to go.
DIY MAGICAL PHOTO SNOW GLOBES
If you’re looking for an easy last-minute gift your kids can make, this is a great one. A fun project for big kids or little kids.
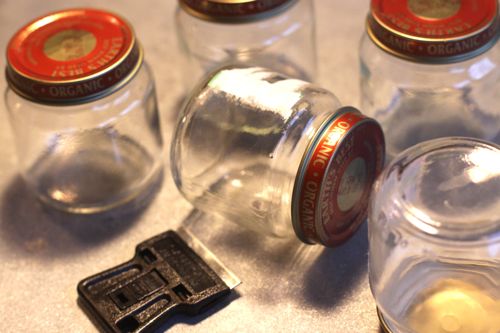
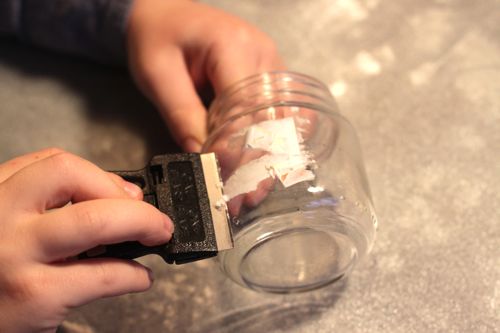
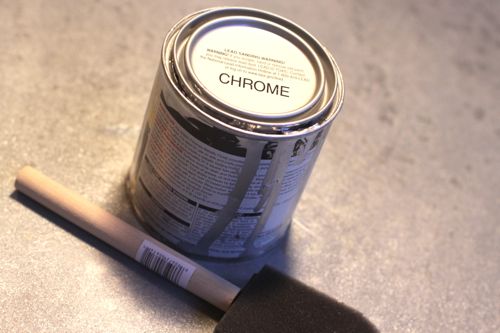
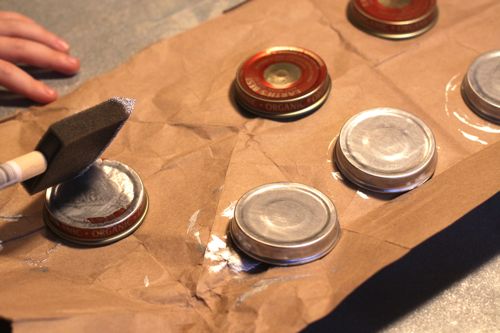
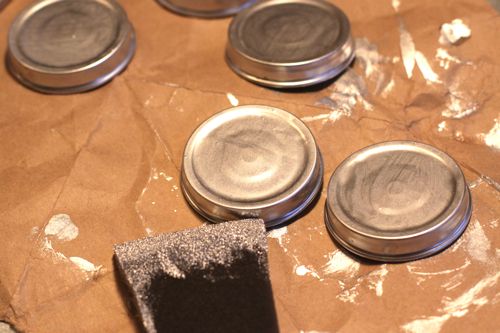
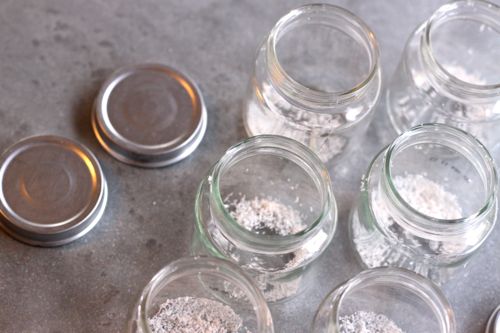
1) We split this photo snow globes project into two parts. One evening, we prepped our baby food jars — we scraped off labels and painted the lids. Then we let them dry overnight. (Although really, they would have been dry enough to work with in about an hour.)
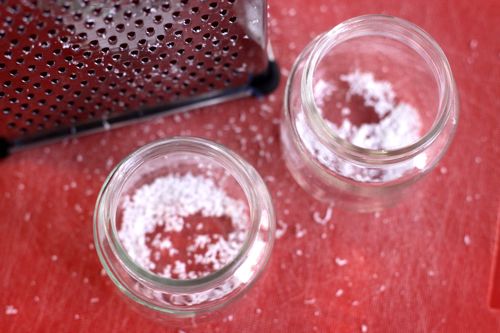
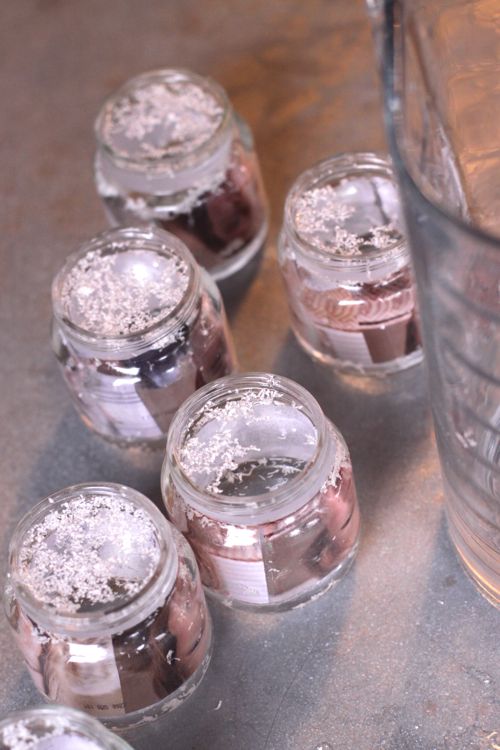
2) The next morning, we finished the project. We made “snow” by grating the PVC pipe on our cheese grater.
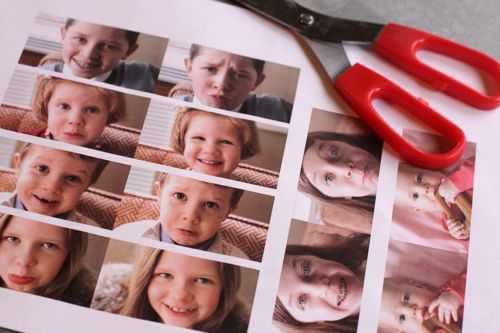
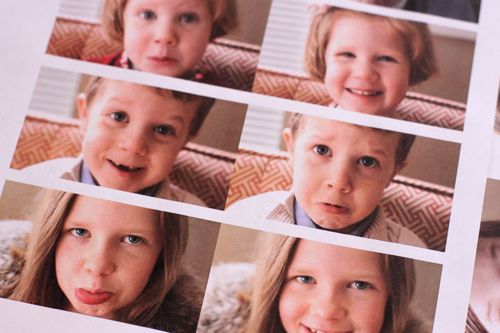
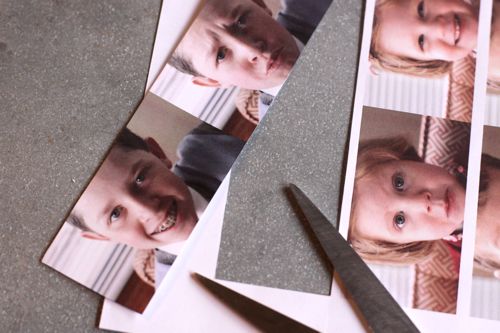
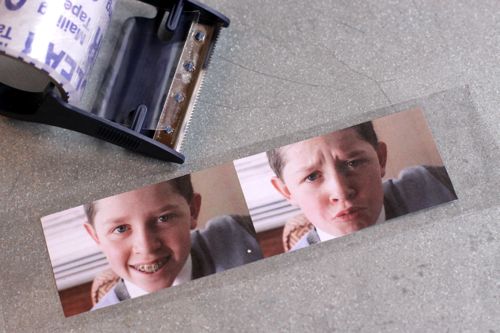
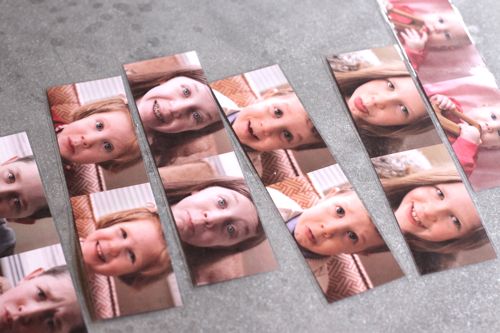
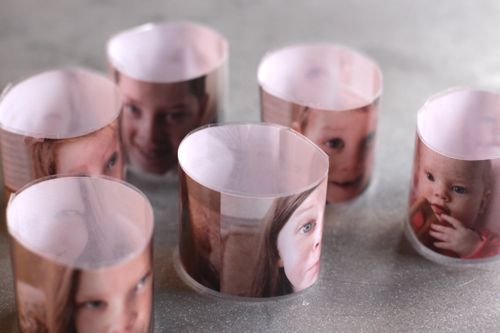
3) Then we prepped the images. We printed out image strips that measured 1.5 inches high by 5.75 inches wide. We used a smiling and frowning photo for each child. We trimmed out each image strip so there were no white edges showing.
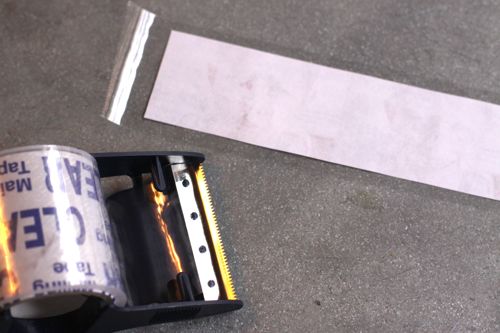
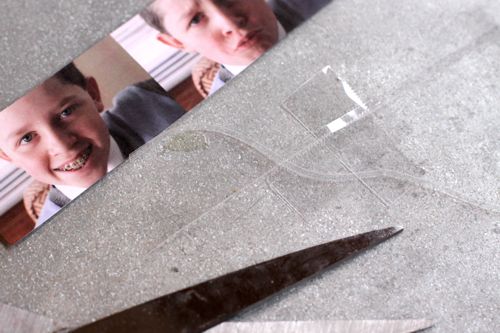
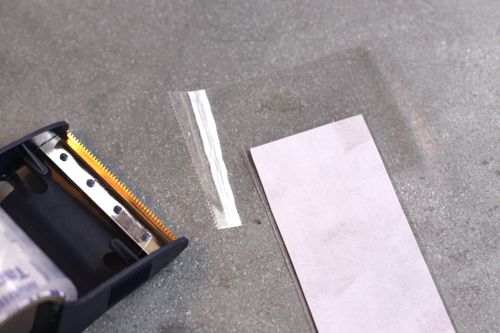
4) Then we waterproofed the images by laminating them with clear packing tape. We used a piece of tape on each side of the image strip and then trimmed them out leaving a little edge of tape all around.
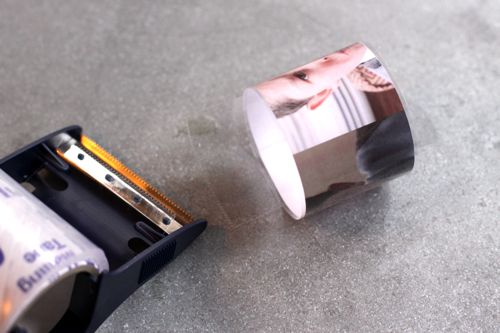
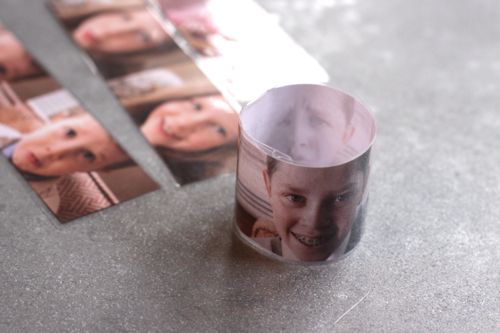
5) After the photo strips were laminated, we used more packing tape to loop them into circles.
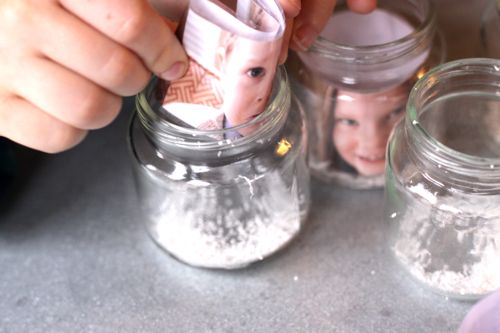
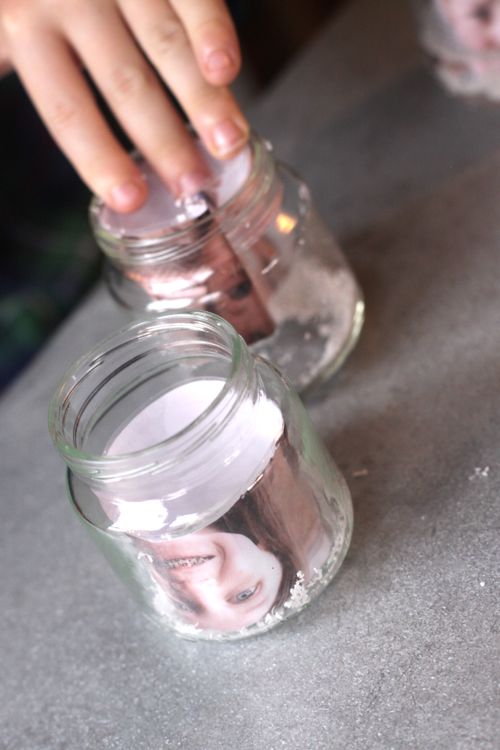
6) Next we placed them into the bottles. We forgot to put them upside down! So we had to take them out and do it again.
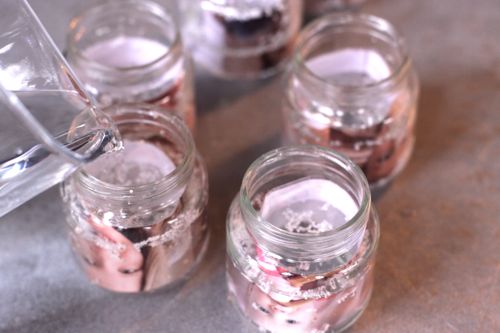
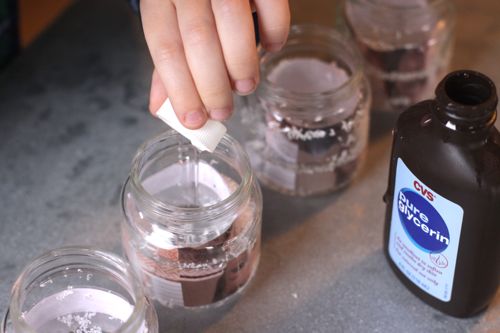
7) Then, we filled the jars about halfway with water, added a few drops of glycerin — about half a lid — and filled the rest of the bottle with more water. (Glycerin is there to help the snow drift more slowly. I heard clear corn syrup works as well.)
8) Once the bottles were filled, we screwed on the lids as tightly as we could and turned the jars upside down. Voilá: Photo Snow globes! Shake them and admire them to your heart’s content.
Need more sibling gift ideas? We made several fun projects this year: Monogram Mugs, Bleached Out Tees, Bottlecap Magnets and Custom Leather Patches. You can also find a list of projects from past Christmases here.

We have a baby due this January(any day now) and I’ve been trying to think of creative inventive birth announcements to DIY and send out to the family! Since its winter time, I think these snow globes might be the perfect idea! I think I’ll make circle labels to stick on the top of the snowglobe(bottom of the jar) and then tie a pink or blue ribbon around the lid section, since it’s going to be a surprise if it’s a boy or a girl! Thanks for the creative idea! :)
Did anyone ever get an answer on the photo sizing? I would really like to try this but have no idea how to size the image. Ideas? And if you used glitter… did it work? I would love to do these but I need some advice on the photos. Thanks! Sooo cute!!
These are very cute! I have tried them twice before I make them with my Girl Scouts and both times water gets into the picture :/ I press & press the tape but somehow the water still gets in. Even tape in opposite directions.
Maybe lamintate the pictures Claudia?
*laminate
Where are you printing the pictures from? What software? My pictures don’t print that size.
Did you get a response on how to do the pictures?
how do you print the pictures that size?
even after laminating the water still gets inside. Is there anything I can do?
I made sure they were all totally covered with tape, some even have 2 layers of tape. I just did them, so I hope they don’t get water on them.
I made these for my grandson’s First Birthday party. I used the larger baby food jars and regular size pictures. (3 1/2 x 5) I had to cut them down to fit, but most of the pics had excess stuff on them anyways. I decided to do a globe for each month leading up to a year. The party is in 2 weeks, I am excited to see these as centerpieces!
Made these for the rehearsal dinner for my son’s wedding, they turned out SO neat!!!
Would love to do these with my Pre-K also. Did anyone find out the anwers to how to do that photo sizing or the anwer to waterproofing the photos??
Michelle
You can make a “photo strip” using almost any word processing program, photo paper and your home printer. Decide what size you need the photos to be; then insert them side by side into a blank document. Click on the photo corner and make it the required size by dragging. (I suggest using a diagonal drag to retain proportions.) Once you have them lined up, just insert your photo paper & print.
I love this idea! I’d really love to try and make some, however, I too am having a horrid time trying to find a way to print the pictures out in such a size. Is there a photo printing site that can do this for me? I am familiar with shutterfly but can’t figure out a way to do it there. Please let me know!
cool! i can do that too.
Hi there! I loved this so much that I featured it in my “100 Jolly Christmas Crafts & Decorations”! Have a great day! http://www.aspectacledowl.com/100-christmas-crafts-decorations/
I absolutely love this idea for favors for my daughters first birthday. I was thinking of using glitter instead of the “snow”…think it’ll work just the same??
I know many people have asked and I haven’t seen a response. I would really like to do this with my first graders but how do you get the pictures sized? What program do you use?????
Thank you!!
See post from 11/7
Didn’t see any post from 11/7
Where to get the Photos? You can print pictures that size by using the instant print photo machines at Target or Walmart. Just choose “collage” then “mimi-prints” . Your next choice will be how many photes you want on a 5×7 sheet. For this project 4 should work. You can pick how you want the photos arranged so be sure to place your happy and sad faces next to each other. If your doing just one child you’ll end up with 2 extra photos. I’m a pre-school teacher and use these small photos for everything from cubby tags to job helpers to personalized projects. Hope this helps!
Hope this helps
A gift that keeps on giving!
Brilliant idea~
The photos were awesome for those of us who are visual learners!
Good on ya, Mate!
Where or how did u print the pictures that size?? Love the idea!!
I just made these with glitter and laminated the pictures instead of using tape. It turned out wonderful except that all the glitter stuck to the picture.. :(
I don’t know what I can do differently! If anyone could help me, that would be more than appreciated!
Thank you!
Does anyone fear using PVC pipe because PVC contains known carcinogens? My son did this craft at our local food co-op and when I found out that they were using PVC pipe, I internally freaked out, although I said nothing to my son who was very excited about this project.
PVC when burned releases dioxins, so if you grate hard and fast enough, you could generate enough heat to cause concern. Does anyone have any ideas about this? My other son is scheduled to go do this project at our co-op on Saturday.
Thank you!
I too, was wondering about this. As I was grating my PVC I noticed a smell and stopped. It is leaking to my picture also. Not worth the risks. :-S
For Ruchi, use tape, the laminated sticks
Did anyone use glitter instead of pvc and what’s the longest the snowglobes lasted?
I loved, loved, this idea! As an art teacher, I am always looking for new ideas for holiday gifts. When I read this, the first thing I thought was that the photo will eventually leak and will get ruined. I am an avid user of my laminator and know that if items get wet, the water will eventually seep through and leak. I think the best solution is to use a plastic holiday item and glue it with waterproof glue. Not nearly as cute as a photo, but they will last. I looked into waterproof paper and waterproof sealing for photos but eventually, even they won’t hold up. The only solution is to empty the snow globe and use it only for holiday times. That may be the best solution.
I was wondering also, how long will the picture last. Does the water eventually leak into the picture?
Going to make these for favors. Thank You
How did you get the pictures to print out so small?
Maybe try getting a plastic keychain picture holder and sealing it with some sort of waterproof glue and glue it to the bottom of the jar or lid? Thinking maybe the plastic keychain will help keep water out for longer.
A little Teflon tape applied in a strip around the upper jar threads ensures a tighter fit and reduces the possibility of leakage.
where do you print out the image strips? is this something i can have printed on snapfish? I am going to do these for my daughters birthday “treat bags”
Great project. Objects submerged in liquid tend to look warped or out of focus – how did you avoid this problem?
What a great project. I’m going to try and incorporate this into one of our birthday party themes.
playpenchicago.com
Hello Gabrielle!
Long time reader here – and… well, I bought all the mixings for snow globes for Christmas time, and alas, I could not find the glycerin anywhere! (Michaels has been out for weeks.) Then, I happened upon this older post of yours. Corn Syrup?! Wow, I’m going to try it. I also saw your bottle said CVS on it – (tricky tricky spy in action!) :) I’m going to try there too. Any other ideas where I could find it?
I’ve definitely had my best luck finding glycerin at pharmacies. Ask a pharmacist! They’ll probably know exactly where to point you.
The pharmacy can sometimes order it, ours did. But it
can be expensive and might be more than you want to spend. Check on line sources to get the best value.
What size baby food jars did you use?
Great Idea, I love to do different holiday name place settings, so i’m going to make one for each guest so they know where to sit and take them home as a gift!!
bonsoir serait il possible d’avoir le détaille pour le pot avec la neige et photo en français je peux pas lire merci beaucoup
How has the waterproof pictures held up? Did the packaging tape do well? I’m looking at doing this and was interested. Have you ever glued the lids on so they can’t come back off?
Funny, I was just considering making some of these TODAY! But, I was wondering if it would work using regular, laminating machine, laminated pictures? Thank you SOO much for ALL of your inspirational clever and creative projects!
I’m making a snowglobe for the first time, and I was using dollhouse miniatures to create a scene. Is there some kind of coating I could use to protect the fabric and the characters I painted with in the snow globe?
Hi where did you get these pictures done at? & how long did the pictures last in the water & glycerin ? Thank you for your time
Did anyone find out where or what program she used to print the small photos?
Is there a list of all I need and how many it will do? I have 2 classrooms that I would like to do this wonderful project with. This is the best project I have seen in a long time!!!!
Thank you
Gayla Richards
Where did you get the pictures printed? I want to make these for Christmas this year, but I’m having a very hard time finding a place to get the pictures printed at.
Thank you!
Kelsey
How did you get the photos to print out like that?