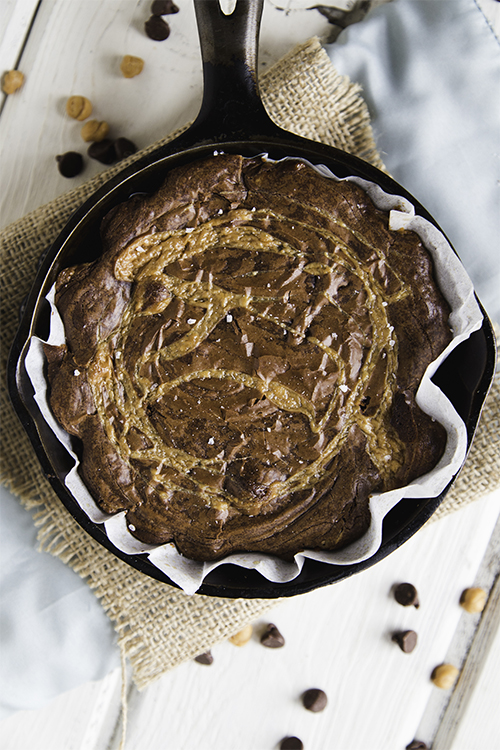
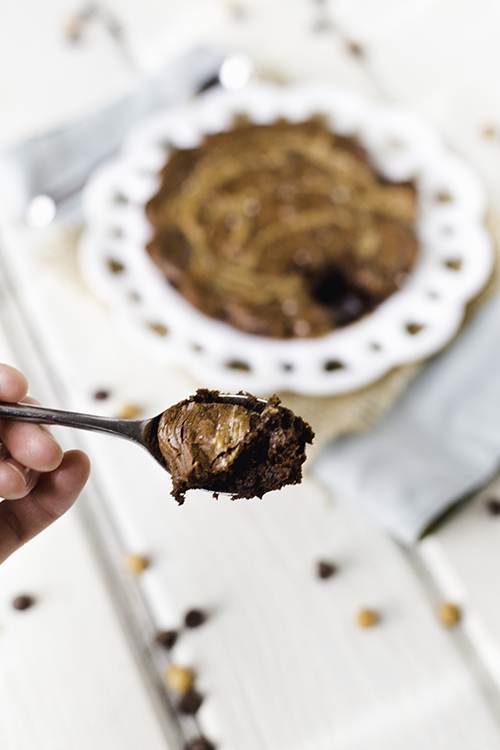
These brownies are chewy and moist, fudgy and thick. The caramel layer is soft and the sea salt just takes these over the top.
Whether you’re looking for a sweet treat to end a date night or something to share with your roommate while you count the weeks to spring break, these salted caramel brownies are the perfect treat to share with someone at the end of the day!
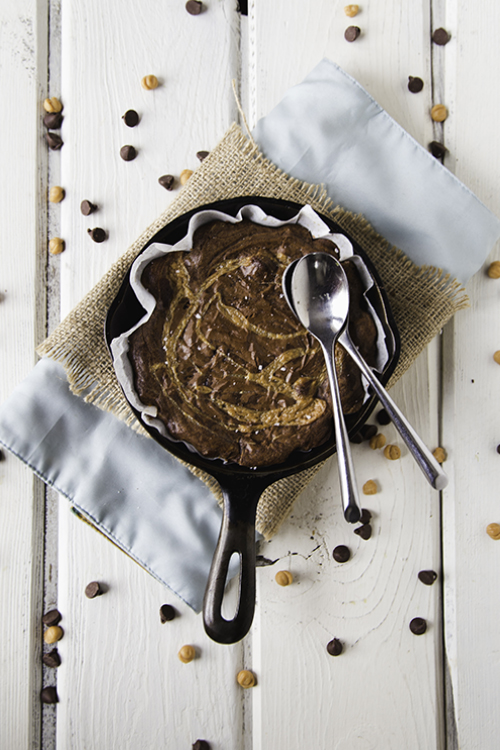
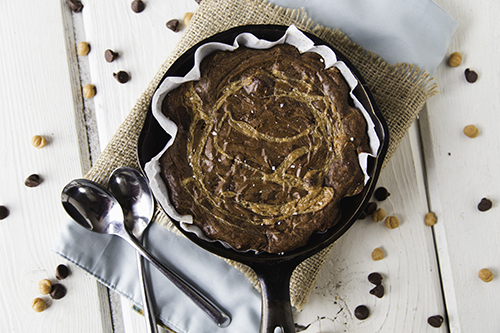
Salted Caramel Brownies
Ingredients
Brownie Batter:
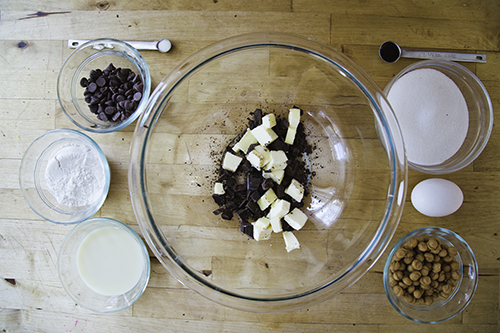
4 tablespoons unsalted butter, cut into ½-inch pieces
1 ½ ounces unsweetened chocolate, roughly chopped
½ cup + 2 ½ tablespoons granulated sugar
1 egg
⅛ teaspoon table salt
½ teaspoon vanilla extract
⅓ cup flour
Filling:
½ cup caramel bits*
½ cup sweetened condensed milk**
generous ¼ cup chocolate chips (milk, semi-sweet, or dark – your preference)
sea salt
—
parchment paper
6 ½-inch cast iron pan or 2 ramekins
cooking spray
————————
*I found that caramel bits as opposed to caramel squares worked best for quicker melting that didn’t scald the sweetened condensed milk in this recipe. Plus, no unwrapping caramel squares!
**Unused sweetened condensed milk can be kept for up to two weeks in a covered container in the refrigerator. Otherwise, it can be frozen for up to three months. Allow to thaw overnight in the refrigerator. It may need a bit of a whisk if it separates once thawed. I like to use the leftovers for an additional batch of these brownies or in my coffee if I’m feeling indulgent.
Instructions
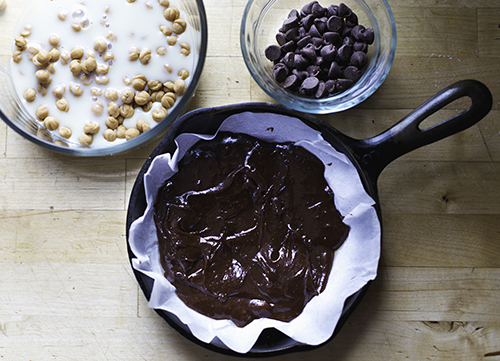
Preheat oven to 350°. Line cast iron pan or ramekins with parchment paper that extends up the sides. Spray parchment paper with cooking spray.
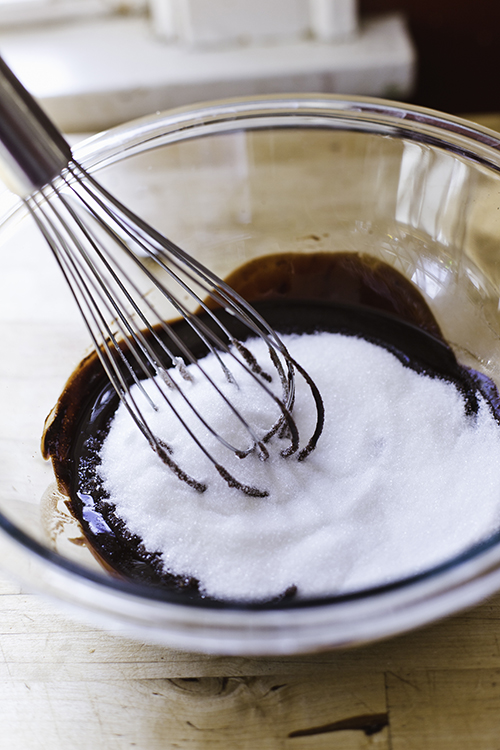
Place the butter and unsweetened chocolate in a bowl large enough to fit the batter ingredients. Microwave in 15-second increments, stirring between each increment, until mostly melted. Remove from microwave and whisk until smooth. Whisk in the sugar. Then whisk in the egg, table salt, and vanilla extract. Use a rubber spatula to gently stir in the flour until completely combined.
Spoon a little under half the brownie batter into your prepared pan(s). You want a really thin layer here – a ¼” deep at most. Bake this thin layer for 5-7 minutes until just beginning to look a little puffy.
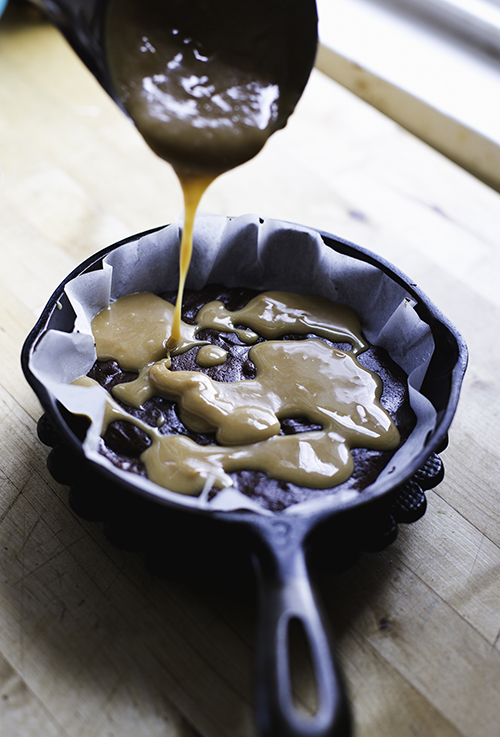
As it bakes, melt the caramel bits and sweetened condensed milk together in the microwave in 10 second increments, stirring between each increment until melted together and smooth.
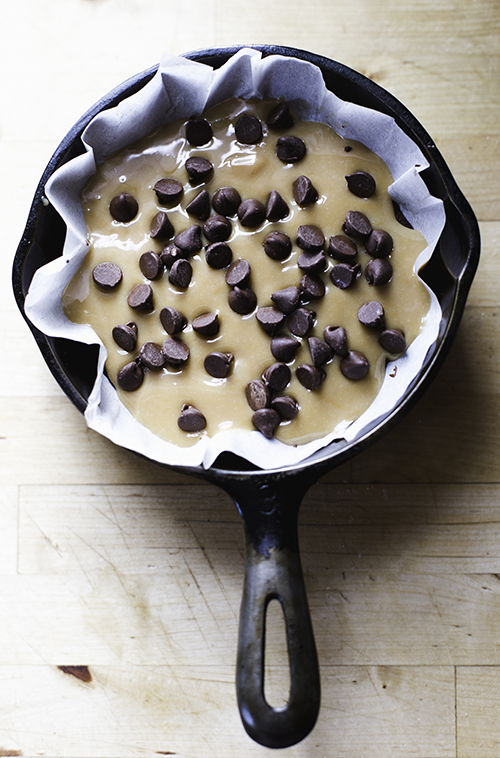
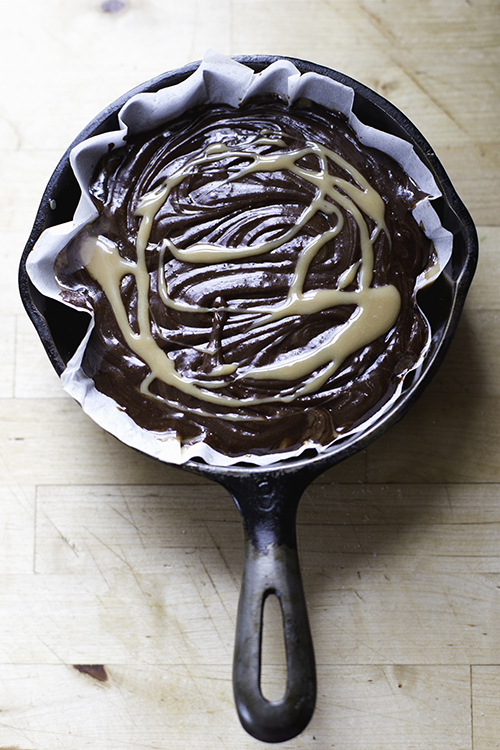
Once the thin brownie layer is bit puffy, remove pan(s) from the oven. Pour the melted caramel/condensed milk layer over the base brownie layer, spreading as needed. Sprinkle the chocolate chips over that. Use a spoon to dollop the remaining brownie batter over the caramel and chocolate chips. Use a butter knife to combine the caramel and brownie batter and swirl. Take about a tablespoon of the caramel/condensed milk mixture and drizzle over the top of everything to make the top look pretty.
Return the pan(s) to the oven and bake for 20 minutes. Once done, don’t be concerned if it still looks a little gooey and a toothpick inserted in the center doesn’t come out clean. The residual heat of the pan(s) will finish the brownie, and we’re going for fudgy brownies here anyway.
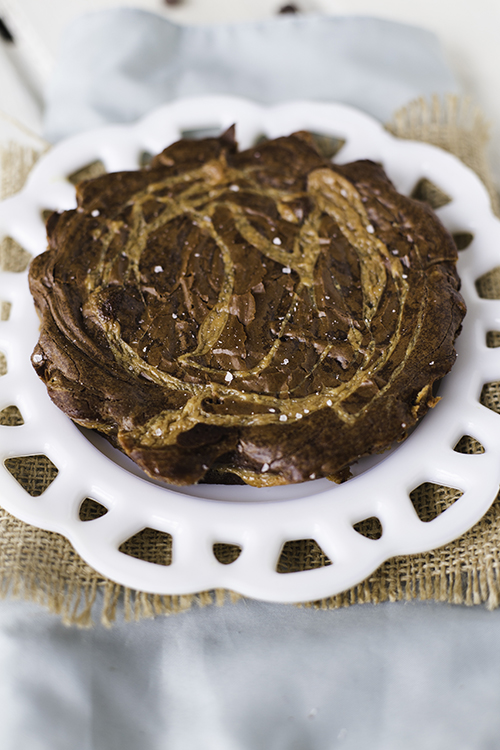
Sprinkle a couple turns of sea salt over the top to taste. Allow to cool slightly before digging in. You can eat this straight from the pan(s) or use the parchment paper as a sling to lift this onto a plate once mostly cooled.
Would you like more recipes for two? You can find the whole series here.
____
Credits: Images, styling & recipe by Liz Berget. Assistance by Amy Christie.
This looks delicious!
Kristi | Be Loverly
Wow! Looks amazing. What size cast iron pan did you use? The smallest I have is 8-in. Would that work?
I think it would work – they might just be a little on the thin side. I’d start checking for doneness after 15 minutes so they don’t dry out.
YUM! I can’t wait to try these! Love love love the dessert for two series :)
Gabby, it makes me so, so happy that you consistently use gender-neutral words to describe significant others. Thank you for doing that. Also these brownies look awesome.
Lizzie }{ http://www.queermartha.com
Impressive work on the photos too. As always! :)
These look delicious!! We made the mexican hot chocolate mug cakes last night and they were so stinkin’ good – love that you’re continuing this series! Can’t wait to try these too :)
We just made those mug cakes too! They really were SO good- it’s my daughter’s new favorite dessert.
I’m totally going to make these for our Valentine’s Dessert next week! They look amazing!
Paige
http://thehappyflammily.com
The photos look amazing. Pinned!
great ideas! you should work with Christina Lane of the Dessert for Two blog and cookbooks too :)
http://www.dessertfortwo.com