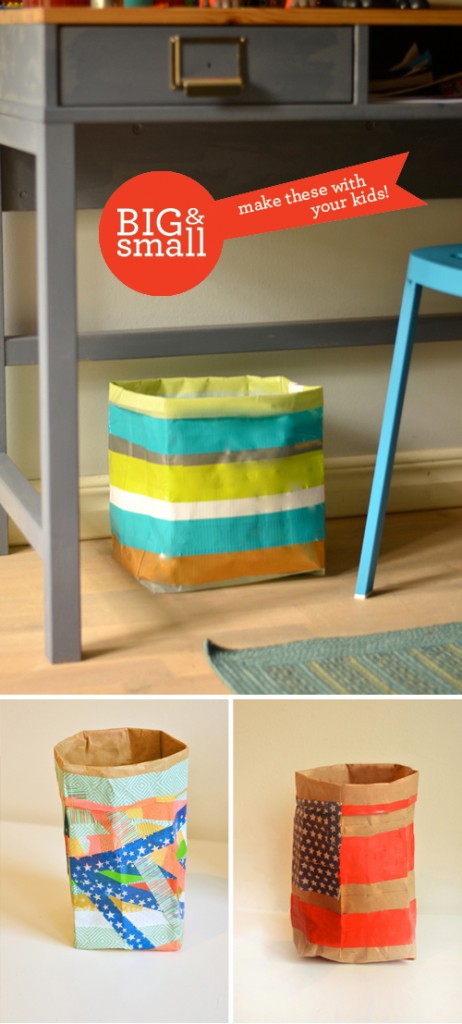
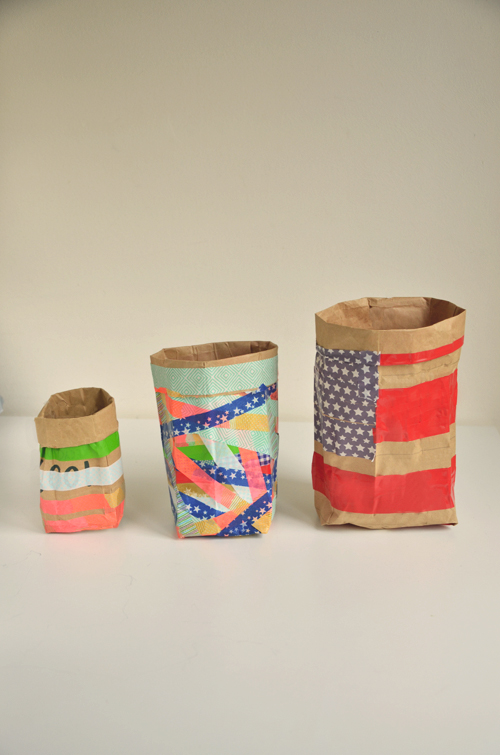
Busy homes are pretty much always in need of storage containers to organize stuff — why not make them ourselves! This Big & Small project is all things fun and functional. The materials needed are minimal and the best news is, you probably have everything in your house already. It’s ideal for all ages and perfect to do side by side.
Both Bigs (grownups) and Smalls (kids) can follow the same instructions and simple technique but will simply vary the tape used. Small children can make these containers using washi tape. Washi is a light but colorful tape perfect for small hands.
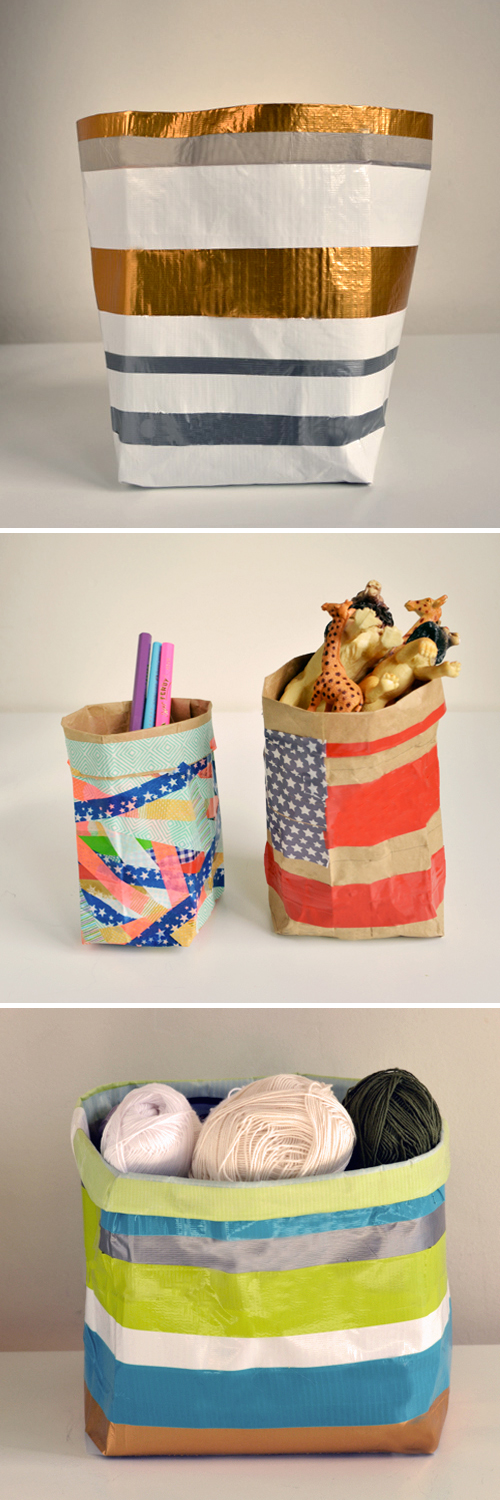
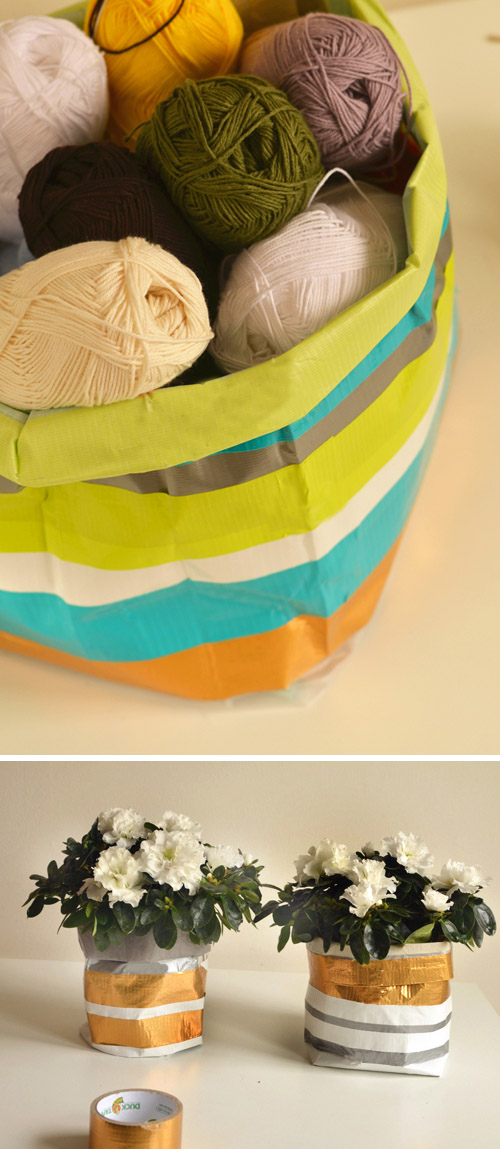
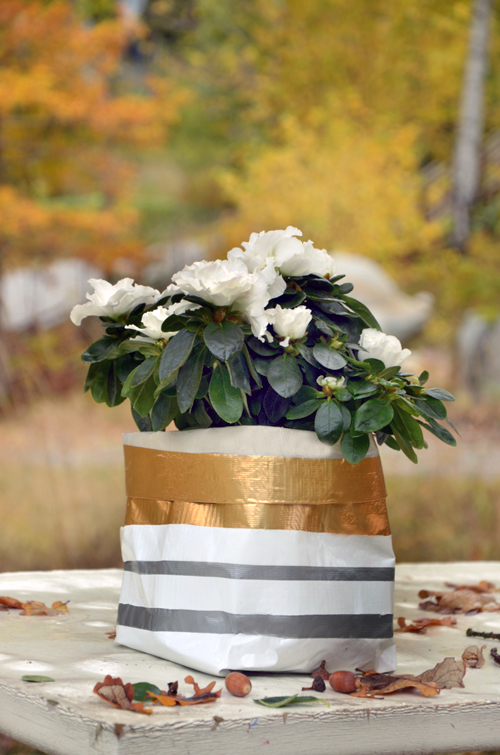
Bigs can use duct tape to make larger containers for both display and utilitarian purposes. Chances are you’ll find more and more places you want to use tailor-made containers with this technique. The combination of duct tape and plastic also makes these containers usable both in and outside the house. How cool is that!?
Round up building blocks or safari animals with bins in the playroom. Use them to sort and store paints and ribbons in your craft space. Try one as a rubbish bin, and another as a plant pot!
These containers are also fantastic up-cycle projects when you use re-cycled plastic or paper bags. Let’s get started.
Make Your Own Sturdy Household Containers
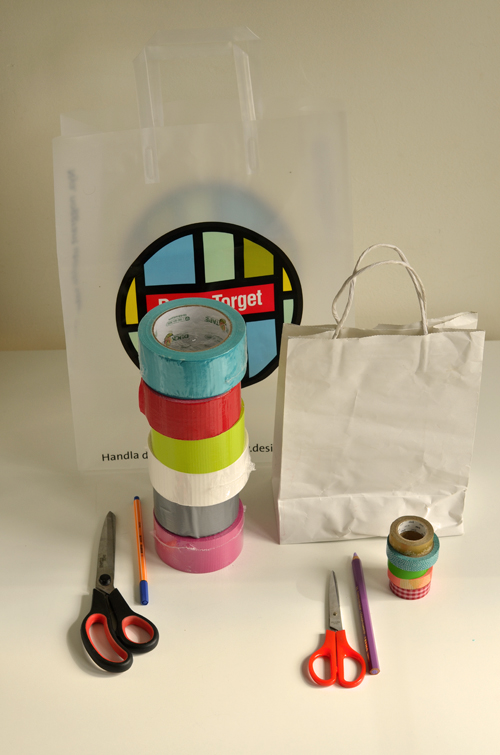
Supplies:
– plastic or paper bags
– straight edge, optional
– scissors
– paper packing tape, washi tape, duct tape
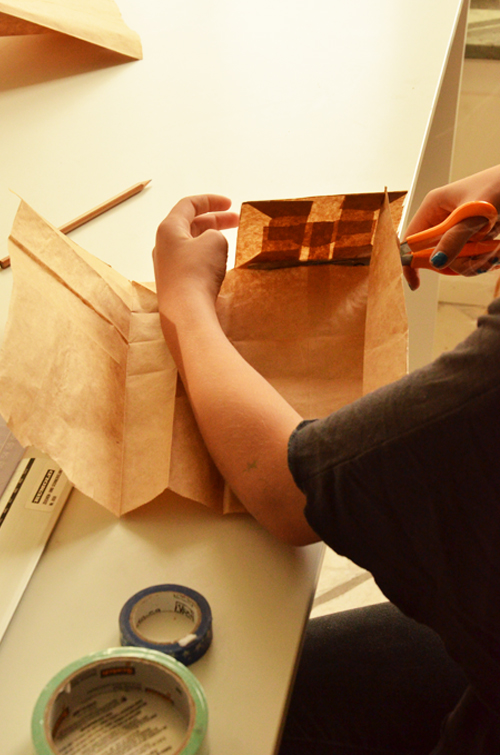
First things first. Cut the bag down to a simple rectangle.

Lay the bag flat on the work surface and begin decorating with a tape of your choice. The Smalls will probably have more success and need less assistance with washi tape, while the Bigs can get creative with duct tape. Make patterns or simple graphics or keep it solid in color. When using paper grocery bags, you can even leave stripes of the original brown paper bag.

Once you are satisfied with the pattern, bring the ends together and close the seam using one long piece of tape. If you would prefer a seamless connection, close it by matching the pattern up at the edge. Once the seam has been closed, you should be left with a cylinder shape.
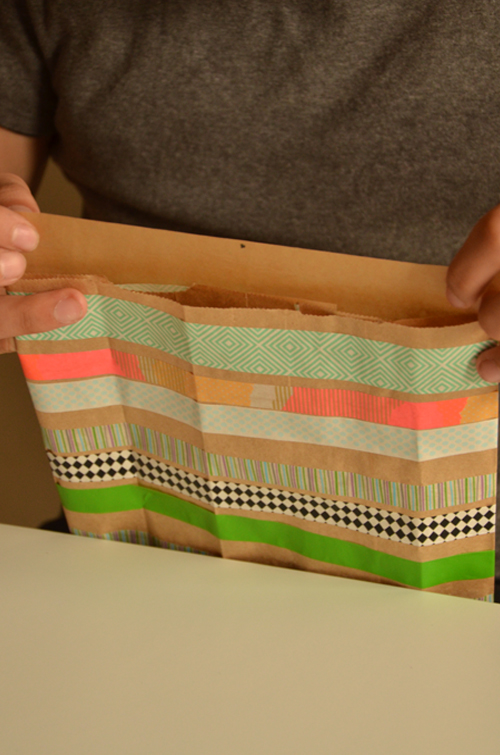
Flatten the cylinder and close the seam at the base with tape.
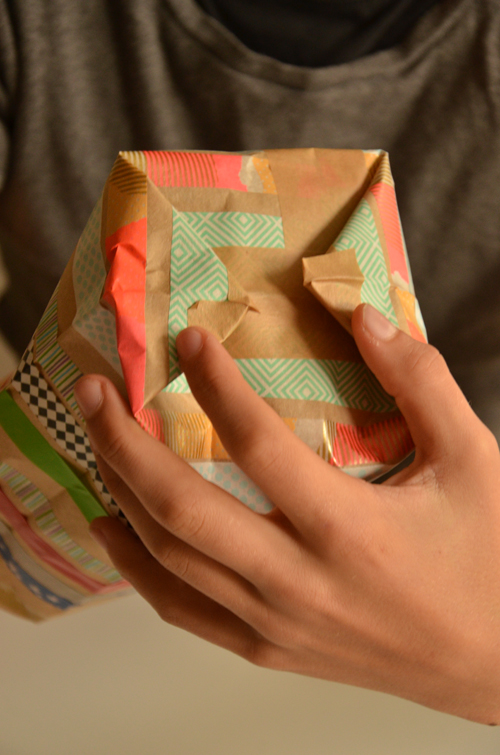
After the bottom is closed, open the cylinder into a tube and with the open side facing down, gently press down on the middle of the closed end and both of the ends should push up into triangular shapes. Adjust these triangular “ears’ so they are neat, similar sized and with their bases beginning at the same height.
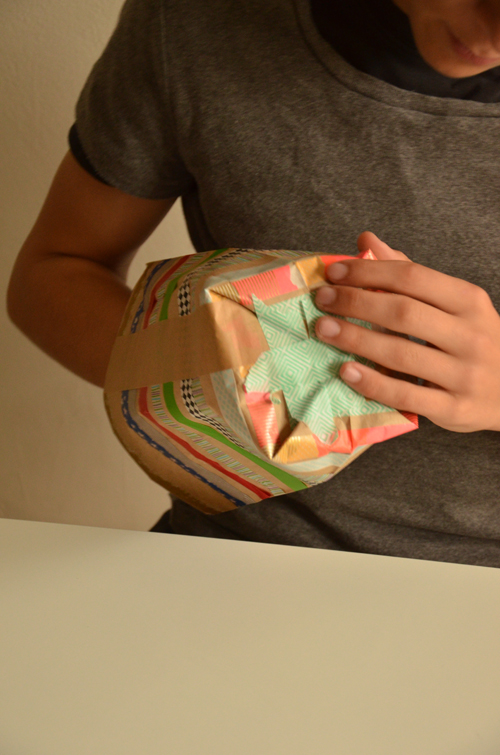
Once they are adjusted, fold them over and secure with tape. And with that, the container should now stand on its own.

Folding over the top edge will not only modify the height of your container but will also give it a little extra stability and a stylish edge. When you have determined the right height for your container, roll over the top edge and press into place.
And that’s it. Now you can use your containers for anything you’d like. I’d love to hear how you put yours to use!
P.S. — Big & Small is our series of projects created for Design Mom by Gina Wide in her home in Sweden, and designed for Grownups and Kids to do side-by-side. Find all the Big & Small Projects here.
Project by Gina Wide. Readied for publishing by Amy Christie.
Great idea!
this is beautiful!!!!
beautiful!
I think we’ll do this as a thanksgiving week project. no school here, we need projects galore
Wow this looks beautiful! And seams to be wonderful handmade present for christmas… to fill it up with the favorite candy or a lovely flour!
Thanks for shearing
and hopefully you can enjoy autumn in your new home?!
We are already remembering sunnier days here in Germany
http://lasagnolove.blogspot.de/2013/11/you-get-to-decide-what-to-worship.html
But ok, we try to be optimists about this..
Love from Germany
B&B
I love this idea. I would like to do this with our children in their craft room.
What a simple idea! Perfect for small hands!
Love this! May I ask what type of bag you used for the metallic version?
Pingback: Creative Duct Tape Projects for Kids - MotivaNova - MotivaNova
Pingback: you could wear a paper bag … | handsome and pretty
Pingback: UN SACO MUY “IN” | La Trastienda de Liderlamp